Note
: For the best field of view, it is better to mount the unit in the
middle of the windshield near the rear-view mirror.
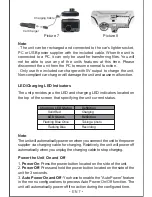
1. Connect the small end of the power/transmission cable to the USB
connector located on the side of the unit.
2. Connect the other end of the power/transmission cable to the
included car charger. (Picture 7)
3. Plug the included car charger into the car’s lighter socket. (Picture 8)
4. The unit will power on and start recording automatically after your
car engine is starting.
5. When the car engine is turned off, the unit will automatically power
off after saving the recordings.
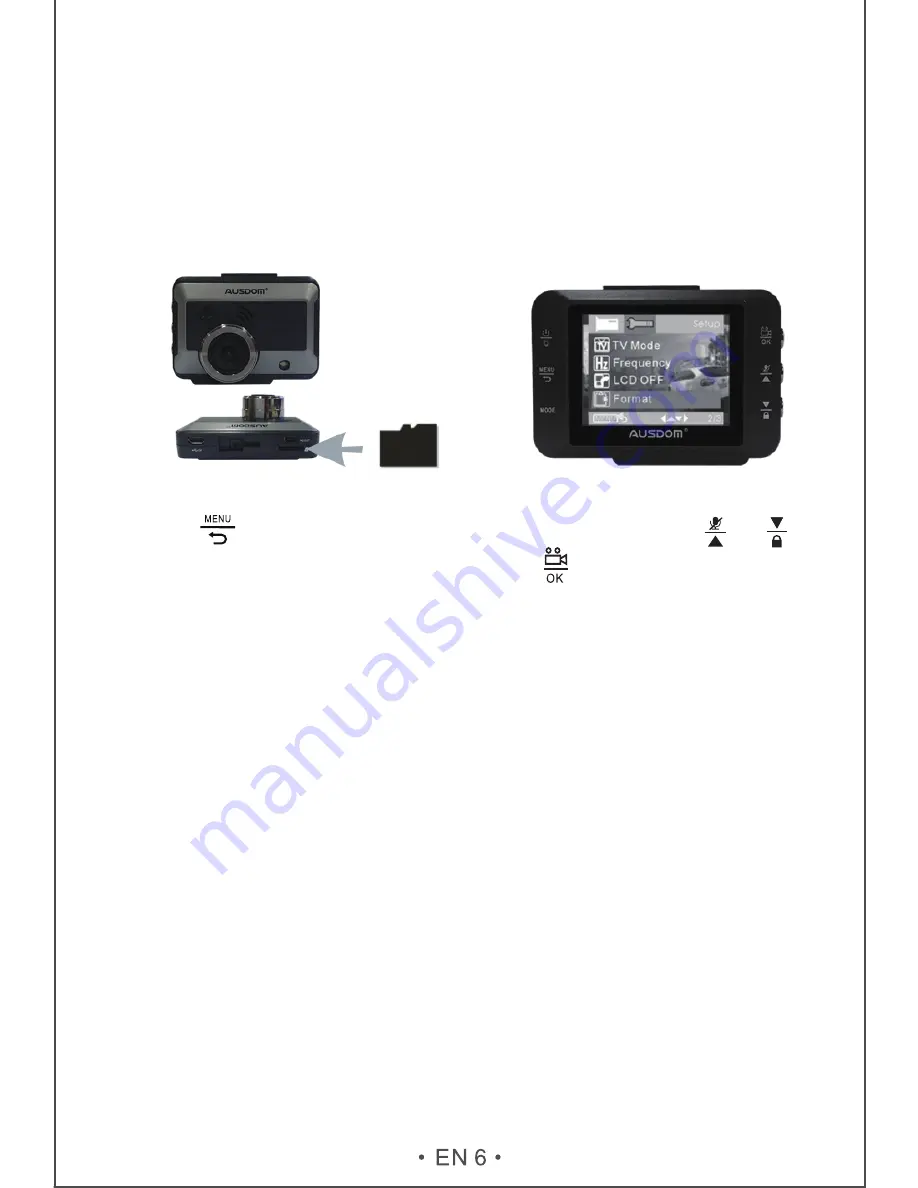
3. To remove the memory card, push to eject memory card out of the slot.
Note
:
-
Make sure the memory card has been formatted before using.
-
Do not remove the memory card during recording.
-
You have to insert the memory card into the camera before connecting
the camera to the power supply.
-
For best results, use the format function of the car camera to prepare
your memory card.
Inserting the Memory Card
Connecting to Power
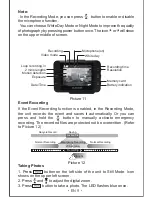
1. Before starting to record, you have to insert a Class 6 or above
micro SD card with up to 32GB capacity into the slot located on the
side of the unit. (Refer to Picture 5)
Memory Card
Picture 5
Picture 6
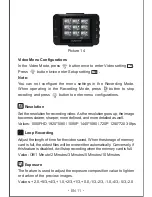
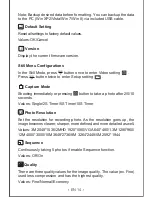
2. Press button twice to enter Setup setting, press the or
button to select “Format” item and press button to format the
memory card. (Refer to Picture 6)


