background image

21

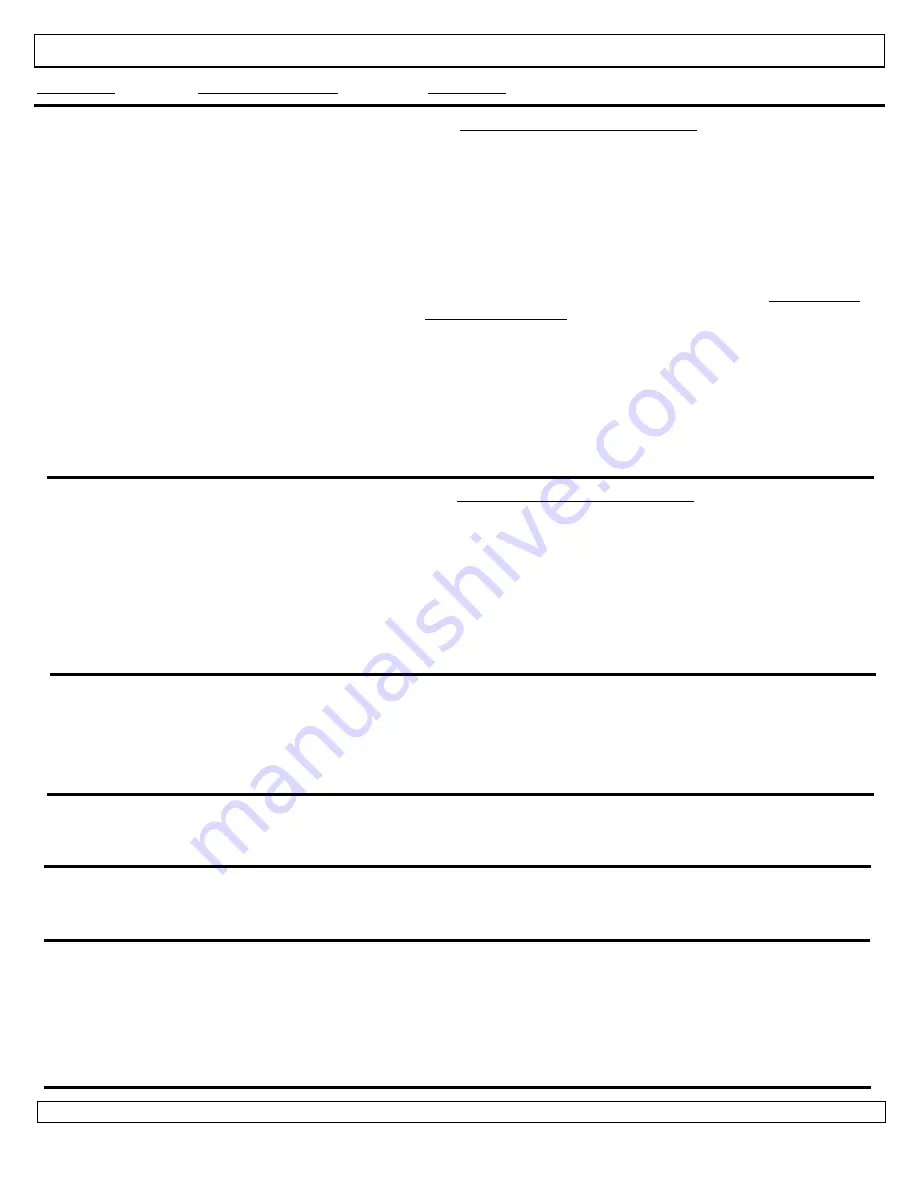
Persistent grease
fire

Grease trapped around
burner system

Turn control knob “Off”. Open hood carefully and let fire burn out.
After the grill cools, remove and clean all parts. Check and clean
Grease Cup.

Flare up

Grease build up

Excessive fat in meat

Clean the grill.

Trim fat from meat before grilling.

Humming or
whistling from
the regulator

Outside temperature, humidi-
ty, barometric pressure, and
the gas level within cylinder
may cause rubber diaphragm
inside the regulator to vibrate,
with a humming or whistling
sound.

Although this sound may be alarming, this is NOT dangerous as
long as it is not accompanied by the smell of gas. Simply adjust the
burner settings and usually the sound will subside. If the humming
sound persists, a change in atmospheric conditions will eventually
stop the vibration. Should you smell gas, do not use the grill and
call Customer Service at 1-800-251-7558

If your problem is not resolved from the information above, please call Customer Service at 1-800-251-7558.

Flames blow out

High or gusting winds

Gas in LP Cylinder is low

Excess flow valve tripped

Turn grill in a different direction or increase flame height..

Replace 1 pound.disposable cylinder. 

See “Low flame” problem above.

Gas in LP Cylinder is low

Excess flow valve tripped in
regulator

Turn control knob to “Off” position. Wait five minutes; relight LP gas
grill. If flame continues to be low, turn off gas at cylinder and grill.
Disconnect the regulator from the LP gas cylinder. Reconnect the
regulator to the LP gas cylinder.  Perform a leak test. Relight grill.
This will reset the excess flow valve.

Low  flame
or low  heat

Replace 1 pound disposable cylinder.

Obstructions in burner

See How to Clean the Burners page 17-Re-install after cleaning

TROUBLESHOOTING (Cont’d)

Possible Cause:

Solution:

Problem:

Obstructions in burner

Electrode and burner are wet 

Electrode wire and/or ground
wire loose or disconnected

Wire is shorting (sparking
between Ignitor wire and
electrode)

LP gas cylinder is empty

LP Excess flow valve tripped
in regulator

1 lb. Cylinder Coupling Nut
not fully connected to
regulator

See How to Clean the Burners page 17- Re-install after cleaning

Dry electrode with clean cloth. Air dry or use blow dryer.

Reconnect the electrode and ground wires. 

Replace Ignitor wire/electrode assembly (Call the Customer Service
Department)

Replace 1 pound disposable cylinder.

Turn control knobs to “off” position and turn LP gas cylinder handle
clockwise until it stops.  Wait five minutes; relight LP gas grill.

Tighten coupling nut by hand about one-half to three quarters
additional turn. Do not use tools.

Grill Burner will not
light using a match

Burner not connected to valve.

Make sure burner tube is over the gas nozzle. See How to Clean
the Burners page 17- Re-install after cleaning.

Summary of Contents for Adventurer 2400

Page 1: ...OR OUTDOOR HOUSEHOLD USE ONLY NOT FOR COMMERCIAL USE Failure to follow these instructions could result in fire or explosion which could cause death serious personal injury or property damage Read and follow instructions carefully before assembly or use Do not use this product for any other purpose than which it is intended These instructions must be kept with the user SAVE THESE INSTRUCTIONS Aussi...

Page 2: ...R TOLL FREE NUMBER THANK YOU FOR PURCHASING A MECO CORPORATION PRODUCT 1 800 251 7558 8 am 6 pm E S T Mon Fri 1 423 639 1171 TELEPHONE 1 423 639 2570 FAX CONSUMER SERVICE DEPARTMENT MECO CORPORATION 1500 INDUSTRIAL ROAD GREENEVILLE TN 37745 USA www meco net To reduce the risk of serious bodily injury or death The use of alcohol prescription or non prescription drugs could impair the consumer s abi...

Page 3: ...3 Parts Replacement Illustrations 1 2 26 10 9 7 35 36 23 8 14 3 5 6 12 15 13 38 19 20 25 27 28 31 34 40 41 42 29 37 30 33 24 11 4 32 39 16 21 17 22 18 ...

Page 4: ... 9 9 14 Assy Leg Bracket Assy 03 6506 12 3 3 3 3 3 15 Assy Leg 03 6506 13 3 3 3 3 3 16 Screw ST4 8x10mm Type B Leg Bowl Bracket 03 6506 14 20 20 20 20 20 17 Screw ST4 8x10mm Type A Leg Lock 03 6506 15 6 6 6 6 6 18 Leg Lock 03 6506 16 3 3 3 3 3 19 Leg Foot 03 6506 17 3 3 3 3 3 20 Screw ST4 8x45mm Type B Leg Foot 03 6506 18 3 3 3 3 3 21 Bowl Pan 03 6506 19 1 1 1 1 1 22 Post Support Bowl Pan 03 6506 ...

Page 5: ... 2 2 49 Electrode Side Burner 03 6506 43 1 1 1 50 Burner Side 03 6506 44 1 1 1 51 Lantern Gas Tube 03 6506 45 1 1 1 52 Lantern 03 6506 46 1 1 1 53 Cover Lantern Top 03 6506 47 1 1 1 54 Globe Lantern 03 6506 48 1 1 1 55 Mantle Lantern 03 6506 49 2 2 2 56 Screw 10x3 4 Type 25 Csk Lantern Knob 03 6506 50 1 1 1 57 Knob Lantern 03 6506 51 1 1 1 58 Screw 4 24x3 8 Type 25 Lantern Housing 03 6506 53 2 2 2...

Page 6: ...til you find the setting that best allows level ing You will hear a light click at each setting when extending the leg Check the grill level by the level indicator located to the left of the Main Grill control knob See FIG 1 page 5 STEP 5 Unlatch the hood and remove the Grid Disconnect the Electrode wire underneath the bowl FIG 4A At a point directly opposite the control knob lift up the Bowl Pan ...

Page 7: ...Side Burner Table right side up and insert the hose end through the left leg PTO TM opening of the grill FIG 5C Push the Side Burner Table down until the collar rests on the internal stop FIG 5D Rotate the Side Burner Table back and forth slightly to make sure it is resting solidly Do not apply excessive force Insert Hose into PTO TM SIDE TABLE ASSEMBLY To reduce the risk of serious bodily injury ...

Page 8: ...ntle or it will be destroyed FIG 6B Bottom Burner notches Mantle pulled over notches FIG 6C FIG 6D Mantle in conical shape STEP 1 Assemble Mantle to Lantern Place Lantern on a table You may sit down for this step Lift the Lantern top cover off and remove the glass globe FIG 6A Assemble mantle over the top and bottom burner notches Light Mantle with match FIG 6E Insert the large opening of the Mant...

Page 9: ...f the Lantern gas tube into the rear leg PTO TM opening FIG 7D Note In order for the Lantern gas tube to be upright it must be secured to the LP cylinder and the cylinder must be secured in the leg holder You may delay gas tube installation until instructed on pages 10 11 or proceed there now to secure the gas tube Rotate the Lantern head around the gas tube to the desired position for access and ...

Page 10: ... CYLINDER To reduce the risk of serious bodily injury or death Use only 1 pound LP cylinders with this grill and the appliances Read and follow all warnings on LP gas cylinder If you see smell or hear the hiss of LP gas escaping from the cylinder 1 Do not attempt to light appliance 2 Extinguish any open flame 3 Disconnect from fuel supply Do not operate the LP gas grill without the LP gas cylinder...

Page 11: ...leum LP contain chemicals known to the state of California and other authorities to cause cancer birth defects and other reproductive harm To reduce the risk of serious bodily injury or death Keep grill and accessory appliances clear and free from combustible materials gasoline and other flammable vapors and liquids Locate your LP gas grill in an open area with good ventilation and at least 10 fee...

Page 12: ...nd tighten cylinder connections Repeat Leak Test B If the leak is coming from the LP gas cylinder itself from the valves at the control knobs or if the leak cannot be stopped do not use the grill Call Customer Service at 1 800 251 7558 8 Upon completion of leak test A Turn all control knobs to the Off position B Disconnect LP cylinders from the connections to the Main Grill Burner Side Burner and ...

Page 13: ... FIG 13C 4 Push the control knob in and turn to the High position FIG 13A 5 If Grill burner fails to light repeat Steps 3 4 If the burner fails to light after three or four attempts following Steps 3 5 turn control knob to the the Off position Wait five minutes then repeat the lighting procedure NOTE If the burner still fails to light refer to the Troubleshooting Section 6 After ignition replace t...

Page 14: ...n from gas build up or melting of the cover Make sure there are no obstructions to the flow of combustion and ventilation air to the side burner During failed lighting attempts or if the side burner goes out during the cooking process turn control knob Off to dissipate any accumulation of gas Wait five minutes before repeating lighting procedure To avoid burns keeps hands and fingers away from the...

Page 15: ...AL LIGHTING THE LANTERN FIG 15B Hold lit match near burner Your burners have been preset by the manufacturer for optimal flame performance A blue flame possibly with a CHECK YOUR FLAME Yellow Tip Primarily Blue Flame 15 FIG 16 Turn Control knob to On position Check the flame before each cooking session and throughout the grilling season Always check especially after long periods of storing the gri...

Page 16: ...imes since the grill will become very hot Open the hood carefully when cooking to avoid the hot air and steam trapped inside Do not allow children to operate or play near an LP gas grill Keep animals and bystanders out of the grill area Do not leave grill unattended Do not move an LP gas grill when in use or hot Do not drag or put side pressure on the legs Do not allow cords of any electric applia...

Page 17: ... cleaning To reduce the risk of a fire empty the Grease container after each cooking session so excessive grease does not accumulate Never light the LP gas grill without the Grease Container in place Allow grill to completely cool before replacing side burner cover To re install the Bowl Pan be sure to locate the indents on the 4 Bowl Pan posts and re connect the electrode wire 5 Lantern Wipe clea...

Page 18: ...al for surface rust to be present on the burners b Remove the two screws from the housing FIG 19B Hold the knob and lift the housing off Check the burner inlet holes Use a pipe cleaner to clear insect nests from the Burner inlet hole FIG 19C Replace the housing and two screws 6 After cleaning re install Main Grill Burner Replace Grease Container and Cooking Grid Note When refitting the Burner be s...

Page 19: ...e the Side Burner Table or the Side Table Turn the Side Burner upside down Push the hose back down into the collar while pulling with the other hand FIG 19A Tuck the hose within the flange b Place Side Burner or Side Table upside down on the Cooking Grid under the Hood FIG 19B Make sure the collar is toward the front so the hood will close c Close and latch the Hood Secure the 1 pound LP gas cylin...

Page 20: ...gh before clicking the Ignitor Make sure burner tube is over the gas nozzle See How to Clean the Burners 6 page 17 Re install after cleaning When lighting the Burner push in and turn control panel knob counter clockwise to the high position Pause 4 seconds then Push in Ignitor button several times so that it clicks each time TROUBLESHOOTING FIG 19E Lantern zip pocket FIG 19F FIG 19G Lantern in poc...

Page 21: ...control knob to Off position Wait five minutes relight LP gas grill If flame continues to be low turn off gas at cylinder and grill Disconnect the regulator from the LP gas cylinder Reconnect the regulator to the LP gas cylinder Perform a leak test Relight grill This will reset the excess flow valve Low flame or low heat Replace 1 pound disposable cylinder Obstructions in burner See How to Clean t...

Page 22: ...out charge This warranty does not include the cost of any inconvenience or property damage due to failure of the product and does not cover damage due to misuse abuse accident damage arising out of transporta tion of the product damage incurred through commercial use or failure to perform normal and routine maintenance LIABILITY FOR CONSEQUENTIAL PROPERTY OR COMMERCIAL DAMAGES ARE EXPRESSLY EXCLUD...

Page 23: ...23 ...

Page 24: ...24 P N 03 6506 00 REV 04 06 Aussie AdventurerTM ...

Page 25: ... the Spring lever outward with your thumb and begin closing leg underneath the grill Release the lever as the rod slides back within the tube FIG 2 FIG 1 FIG 2 FIG 3 GAS TUBE PLASTIC CLIP Leg Lock Assembly Instructions for Open Close Leg Note Use these instructions with Step 2 on page 6 STEP 2 Loosen the 2 screws holding the plastic Gas Tube Clip in the rear leg Pull it away and discard it FIG 3 T...

Page 26: ...d hanging down near each leg Push the L shaped end into the Leg Lock Clip recess to lock ROD ROTATED BACK INTO GRILL BODY CAVITY NOTE Before folding the legs for storage or transport release the rod from the spring clip and rotate it back into the body cavity To avoid leg collapse and damage do not drag or push your grill PUSH ROD INTO SPRING CLIP ...

Reviews: