Product Description
The ACM60 and ACM120 mixer amplifiers are designed for commercial installations. Both models operate on 230/240
VAC, 50Hz (or 115 VAC, 60Hz with factory modification) and may be desk or rack mounted (rack mount kit supplied
fitted). Both amplifiers incorporate a 6 zone 100 volt line speaker zone selector with all call. The ACM60 will deliver 60
watts into a load of 8 ohms, 70 or 100 volt line. The ACM120 will deliver 120 watts into a load of 4 or 8 ohms, 70 or 100 volt
line. As standard, both models are self standing and come with rubber feet. They may be stacked to a maximum of four
units high.
.
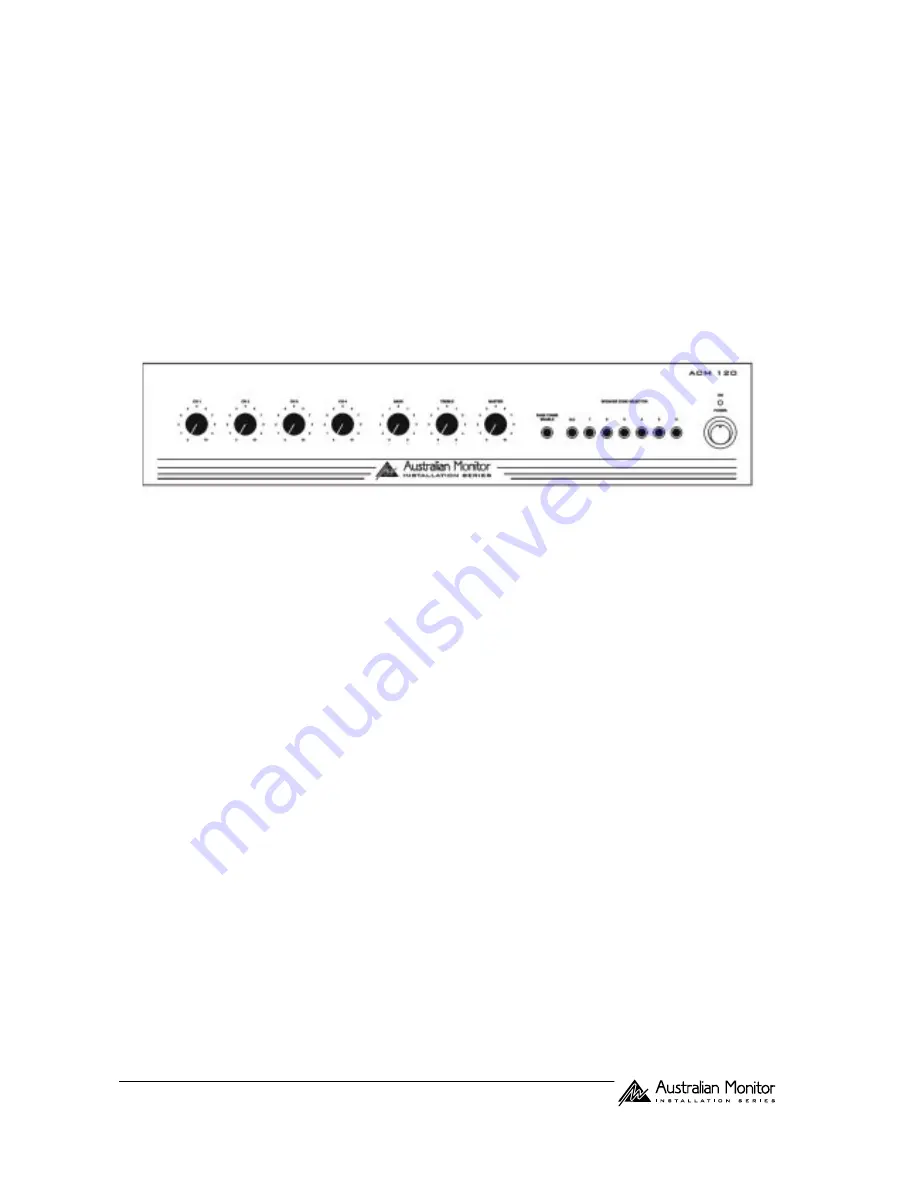
Front Panel Features
(ACM120 shown. The ACM60 has identical front panel features)
Microphone/Line Level Controls
The 4 dual mic/line input controls are labelled Ch 1 through to Ch 4 and should be adjusted to provide the required level
mix for each individual channel. Start with the controls set to level 0 and turn the controls clockwise until the desired mix
level for each channel is reached.
Bass Control
Setting this control in the centre position will give an overall flat bass response. Adjusting the bass control in a
clockwise direction will provide up to 12 dB of bass boost @ 100 Hz. Adjusting the bass control in a counter-clockwise
direction will provide up to -12 dB of bass cut @ 100 Hz. It is recommended to start with the bass control at the centre (0)
position and adjust if necessary.
Treble Control
Setting this control in the centre position will give an overall flat treble response. Adjusting the treble control in a
clockwise direction will provide up to 9 dB of treble boost @ 10kHz. Adjusting the treble control in a counter-clockwise
direction will provide up to -9 dB of treble cut @ 10 kHz. It is recommended to start with the treble control at the centre
(0) position and adjust if necessary.
Master Output Control
The master level pot controls the overall output level of the amplifier depending on the levels set for the individual input
channels as detailed above. Start with the control set to level 0 and turn clockwise until the desired output level of the
amplifier is reached.
Page Chime Enable Button
This allows the user to disable or enable the Pre-Announce Chime. This switch does not however activate the chime.
Activation is accomplished via the rear panel barrier strip (normally wired to a paging microphone). If the pre-announce
chime is connected to a paging microphone (meaning that it would be activated by the switch on the microphone), the
Page Chime Enable switch on the front panel of the amplifier allows the user to disable the chime function for those
occasions when it is not wanted.
ACM60, 60w Mixer Amplifier
&
ACM120, 120w Mixer Amplifier


