RC QUADROKOPTER 2.4 GHz
41932
– 5 –
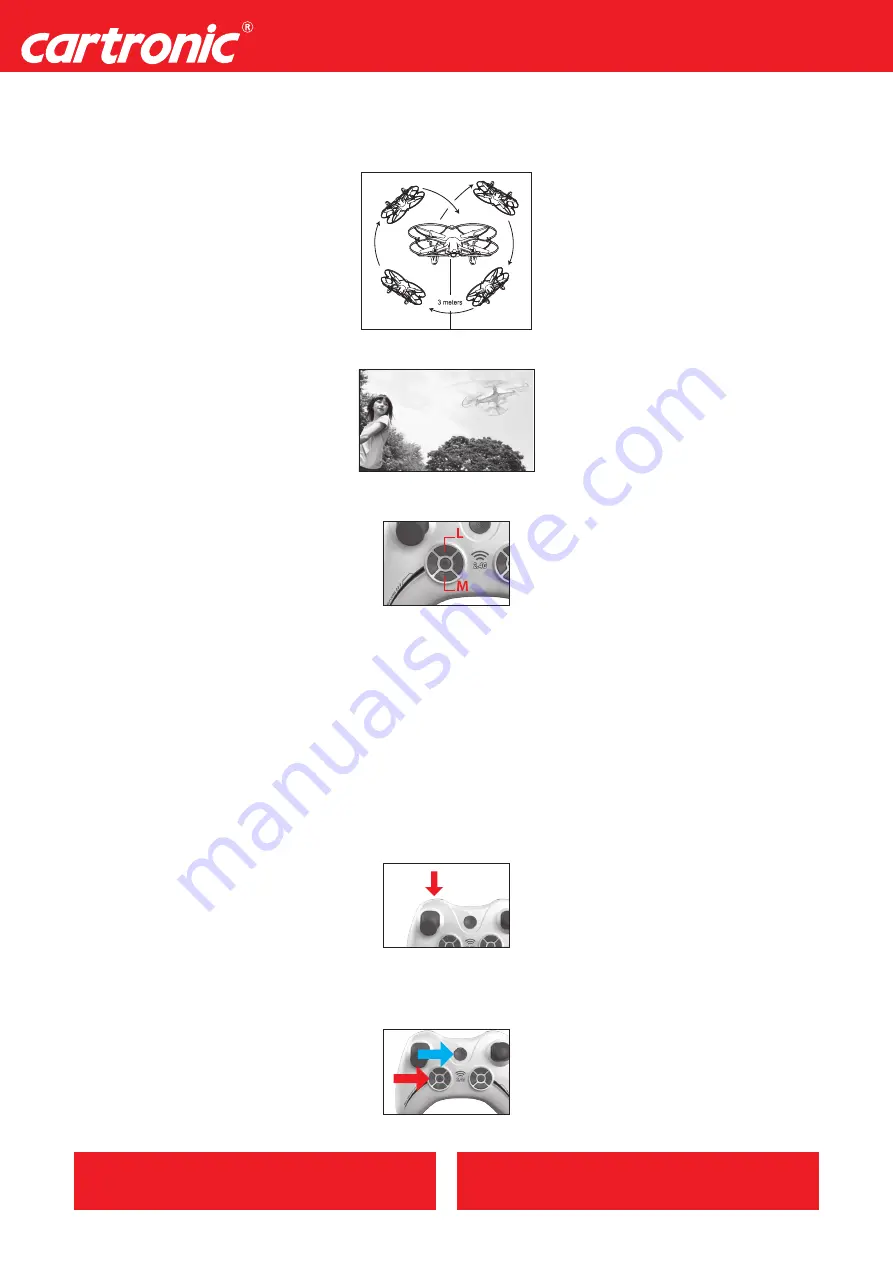
3D ROLLE
Wenn Sie nun ihren Quadrokopter sicher fliegen kön-
nen, gibt es noch ein paar tolle Stunts die ihr RC Flugmo-
dell vollbringen kann. Zuerst fliegen sie hierzu den Qua-
drokopter auf eine Flughöhe von mindestens 3 Metern
über dem Boden. Jetzt drücken sie die 3D Eversion Taste
auf der Fernbedienung hinten rechts. Danach bewegen
sie den rechten Kontrollhebel in irgendeine Richtung
um eine 360 Grad Drehung zu fliegen.
Hinweis:
3D Eversion ist leichter zu kontrollieren, wenn
die Batterien voll geladen sind.
STARTEN IM FLUG
Dank der 6-Achsen-Konstruktion (Gyroscope) kann der
Quadrokopter auch im Flug gestartet werden. Hierzu
wirft man den Quadrokopter in die Luft und betätigt
zeitgleich den Gashebel. Der Quadrokopter fängt sich
und schwebt sofort los.
FOTOGRAFIE / VIDEO ANLEITUNG
Schalten Sie den Quadrokopter ein. Die Kamera funktioniert
wenn die rot blinkende LED-Diode auf dauergrün schaltet.
Falls das Licht nur kurz aufleuchtet und kurz darauf wieder
ausgeht steckt die SD-Karte nicht in der Kamera. Bitte schie-
ben Sie die SD-Karte ein und die LED-Diode leuchtet Grün.
So werden Foto- und Videoaufnahmen gemacht:
Einschalten der Fernbedienung und mit dem Quadrokopter
verbinden.
Foto aufnehmen:
Stellen Sie sicher das die Kamera funktioniert. Die Taste
„L“ auf der Fernbedienung drücken. Es ertönt ein Signal von der Fernbe-
dienung und die LED-Diode leuchtet einmal rot auf.
Video aufnehmen:
Stellen Sie sicher das die Kamera funktioniert. Die
Taste „M“ auf der Fernbedienung drücken. Es ertönt ein Signal von der
Fernbedienung und die LED-Diode fängt rot zu blinken an. Durch noch-
maliges drücken der Taste „M“ ertönt wieder ein Signal und das Video
wird gestoppt. Die LED-Diode hört auf Rot zu blinken und leuchtet wie-
der Grün.
Hinweis:
Die 3D Eversion des Quadrokopters geht nicht mit installierter
Kamera. Sollte die 3D-Funktion bei angebauter Kamera noch funktionie-
ren, bitte das Flugmodell neu starten.
SCHALTEN DER GESCHWINDIGKEITEN
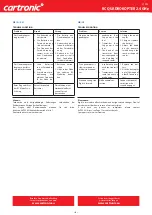
Durch Drücken auf den Knopf auf der oberen linken Seite der
Fernbedienung kann zwischen den beiden Geschwindigkei-
ten geschaltet werden.
Langsam:
Durch Drücken des Schnell/Langsam Knopfes
einmal und es ertönt nur ein Beep, dann ist die
langsame Geschwindigkeit eingestellt.
Schnell:
Durch Drücken des Schnell/Langsam Knopfes
erneut und es ertönen zwei kurze Beeps, dann ist die schnelle
Geschwindigkeit eingestellt.
RESET FUNKTION
Durch Drücken und halten des rot markierten Pfeiles und an-
schließenden Einschaltens der Fernbedienung (blauer Pfeil),
kann alles auf Werkseinstellungen zurückgesetzt werden.
Jetzt kann der Quadrokopter kann normal gepaart werden.
(Wenn Fluganfänger zum ersten Mal mit einem RC Modell
fliegen sollten Sie diese Anweisung durchführen.)
Besuchen Sie unseren Online-Shop
für weitere spannende Produkte:
www.cartronic.eu
For more exciting products
visit our online shop at:
www.cartronic.eu
3D EVERSION
When you are familiar with the basic operations of your
quadcopter, you can start with some awesome and ex-
citing tricks and stunts! First of all fly the aircraft to a
height of at least 3 meters above the ground. Press the
3D Eversion switch on the rear right side of the transmit-
ter and push the right lever in any direction to make a
360 degree flip.
Note:
3D Eversion is easier to handle with a fully charged
battery.
THROWING FLIGHT INSTRUCTIONS
Thanks to the 6 axis gyroscope you can throw the Quad-
copter up in the air and push the throttle right up. It will
automatically level out and hover smoothly in the sky.
PHOTOGRAPHY / VIDEO INSTRUCTIONS
Turn the quadcopter power on. The camera works normal-
ly when the indicator changes from flashing red to steady
green. If the red indicator just lights up and turns off seconds
later, it means that the SD card is not in the camera. Please
insert the SD card and the indicator light turns green.
Learn how to take photos and videos:
Turn on the Transmitter and pull the left lever up and down
to connect the signal between the quadcopter and transmitter.
Taking a Photo:
Make sure the camera works normally. To take a photo
push the button “L” on the transmitter. The transmitter will beep once and
the green indicator on the camera will turn red and flashes on time.
Taking a Video:
Make sure the camera works normally. To take a video
push the button “M” on the transmitter. The transmitter will beep once
and the green indicator on the camera will turn red and starts to flash.
Press the button “M” again and the transmitter will beep again and the
video stops. The flashing red light on the camera will turn to a steady
green again.
Note:
3D Eversion function of the aircraft is automatically cancelled when
the camera is installed. If the 3D rollover function is still on and the in-
stalled camera does not work, please restart the aircraft power.
SPEED GEAR’S SWITCH FUNCTION
Push the button on the top left corner of your transmitter to
switch between the low and high speed settings.
Low Speed:
Press the High/Low speed switch for one time,
the buzz will send out one sound.
High Speed:
Please press High/Low speed switch once again,
the buzz will send out two sounds.
RESETTING FUNCTION
Press the button marked with the red arrow on your trans-
mitter first, then switch on the power (blue arrow). Now all
trimming functions have been reset and you can start syn-
chronizing your RC Modell with the factory settings. (It is
recommended that people who start flying should use this
reset before the first flight.)
GB / IE
DE / A / CH


