Drive Shaft Magnet Installation
NOTE: An aluminum collar is available for most models to hold the magnets.
Please call Auto Meter Products for further information.
Although it is possible to install magnets without removing the four universal
joint bearing caps that are attached to the differential pinion end yoke; it is highly
recommended that they be removed. This allows for a better job of cleaning
surfaces, and applying the J-B Weld brand adhesive.
Caution: Use J-B Weld brand adhesive only. Many other brands were tested, and
only J-B Weld withstands the centrifugal forces encountered.
1. Remove the U-bolts or straps that retain the universal joint bearing caps to the
end yoke on the differential.
2. Slide the driveshaft forward into the transmission while being careful not to
allow the bearing caps to fall off the universal joint.
3. Gently slide the two bearing caps that were contained by the end yoke off of
the universal joint cross. Be careful not to lose any of the needle bearings.
4. Place needle bearings in a safe place until ready to reassemble.
5. Clean any surface rust (etc.) from bearing cap end with a wire brush attached
to a bench grinder or drill.
6. Using the 80-grit emery paper supplied, roughen up the end of the bearing
cap to improve J-B Weld adhesion.
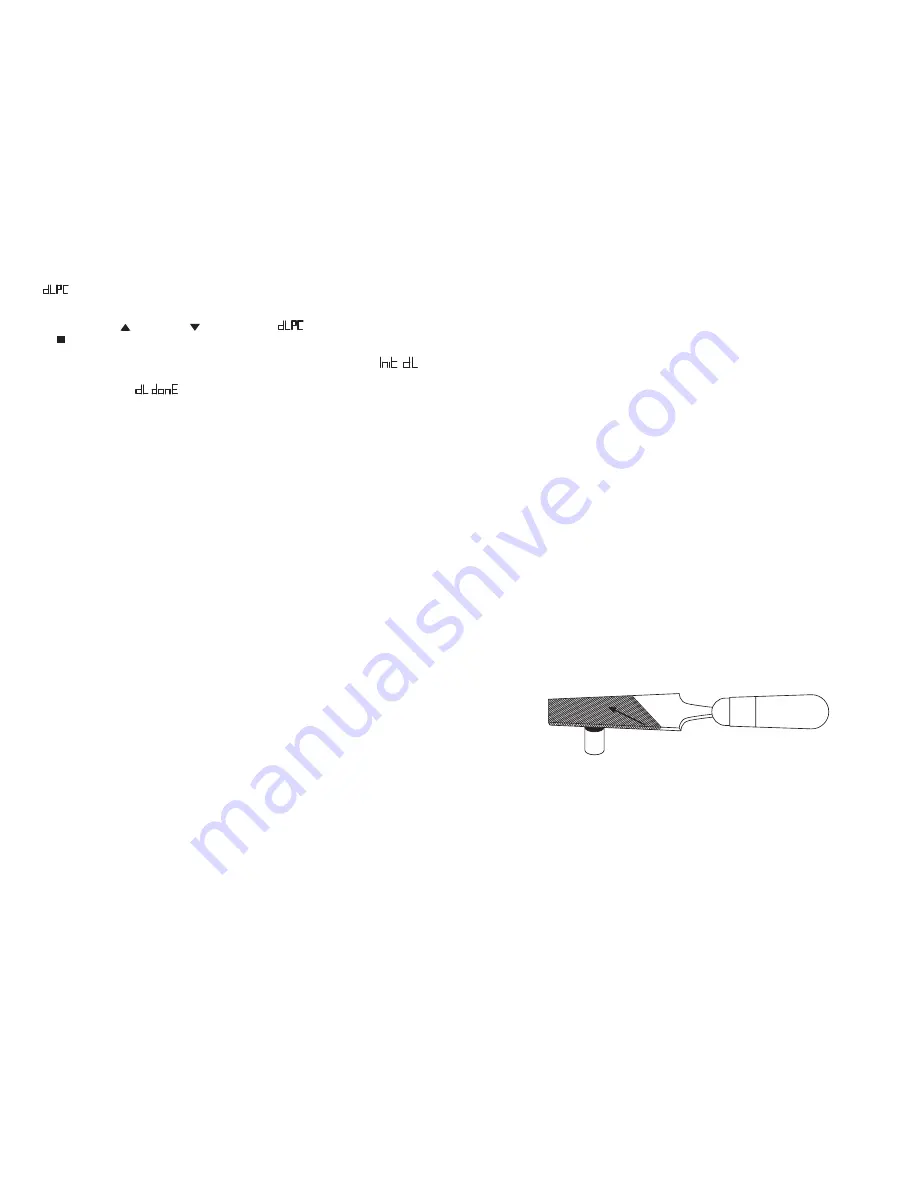
7. Using the sharp edge of a file, scratch the yellow end of the magnets so
that the end can be identified after the paint is removed during cleaning of the
magnets. (See Figure 1)
NOTE: The magnet is painted yellow on one end to identify the south side. The
sensor supplied will only work with the end of the magnet.
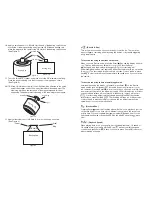
South (Painted)
End of Magnet
Figure 1
8. Using a CLEAN rag, apply acetone or lacquer thinner to the rag. Wipe the
bearing cap ends and magnets clean. Allow the cleaner to evaporate.
NOTE: The surfaces must be clean, and free of all residues to provide a strong
bond with the J-B Weld.
9. J-B Weld consists of two parts. Squeeze equal parts from each tube onto
any clean disposable surface. Mix together thoroughly with the wooden stick
provided.
Optional Magnet Collars
9387 - 1.875" I.D. Four Magnet Collar
9388 - 2.125" I.D. Four Magnet Collar
9389 - 1.49" I.D. Machineable Four Magnet Collar
Optional Shift Lights
5329 - Chrome Quick-Lite
5330 - Black Quick-Lite
5331 - Silver Quick-Lite
5328 - Mini LED Shift-Lite
5332 - Black Super-Lite
5333 - Silver Super-Lite
(Download to a PC or Laptop)
• Connect the USB cable (not included) between the tach and the PC.
• Using the Up ( ) and Down ( ) Arrow to select
and then press Enter
( ). Start the DataPro Software included with the Tach. Click on the Recorder
Menu and select Playback Tach Download or press F9.
• Click on the Download button. The display on the Ultimate III will show
while data is being transferred. This should take about 5 seconds. Then the
display will show to indicate the download process is complete.
• Press (
X) to exit the download mode.

