49
2:4 Repair manual
2
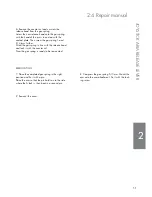
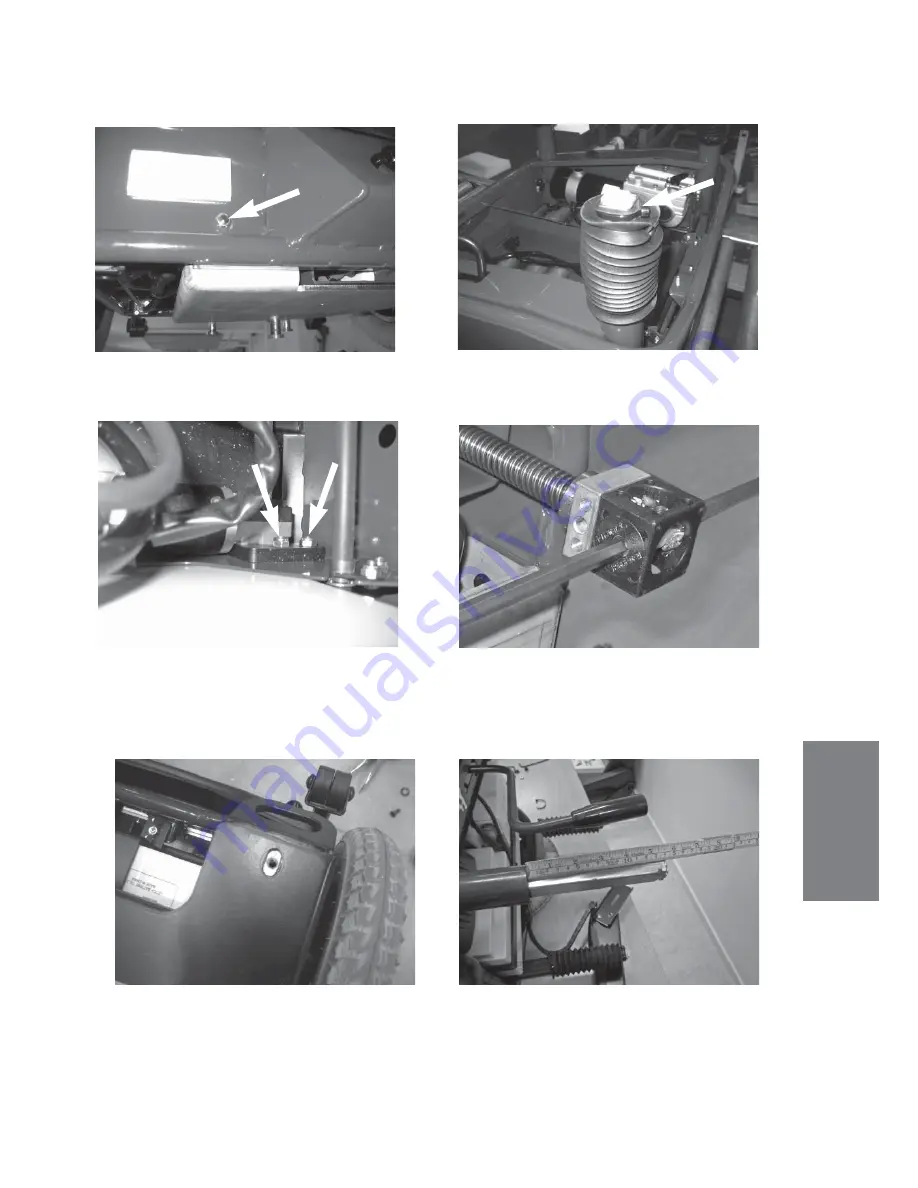
7. Unscrew also the two front screws for the
DriveLOC plate.
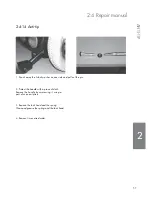
8. Cut away the bundle band and remove the
rubber housing from the Ketter-pillar that is going
to be changed.
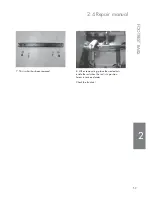
9. Unscrew the two screws of the lift motor at-
tachment.
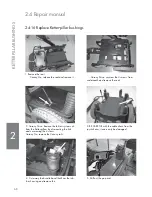
10. Pull the pillars slightly outwards unil the hex-
agon rod can go free. Cut away the locking of
the hexagon rod. Pull away the hexagon rods,
one at a time, to allow removal of the damaged
pillar. Replace the damaged pillar with a new.
11. Make sure to get the upper part of the new
Ketter-pillar facing towards the correct position,
to fi t the Carony rail when remounting.
Do not forget to place an o-ring to lock
the hexagon rod!
12. Be extremely careful to get the
same height
of the new Ketter-pillar, - shall not differ more than
1 mm compared to the others.
Uneven pillar heights causes damage.
Make sure to
measure from the pipe
(not from
the bushing, which might be differently mounted).
REAR KETTER PILLAR CARONY DRIVE
Summary of Contents for Carony Drive
Page 2: ......
Page 4: ...4 ...
Page 6: ...6 ...
Page 10: ...10 0 1 Technical data ...
Page 22: ...22 2 2 Exploded views and components 2 Carony Go foot rest 3 4 2 5 6 7 1 3 4 5 2 6 7 1 ...
Page 26: ...26 2 2 2 Exploded views and components Carony Go Drive lever system 1 2 4 9 7 5 6 8 10 11 3 ...
Page 34: ...34 2 2 Exploded views and components Carony Go Drive seat and armrests 1 8 7 6 3 5 2 10 9 4 ...
Page 62: ...62 22 ...
Page 86: ...86 Notes ...
Page 87: ...87 Notes ...
Page 88: ...Notes ...


