51
2:4 Repair manual
2
FRONT KETTER PILLARS CARONY DRIVE
2:4:9 Change of FRONT Ketter-pillar of Carony Drive
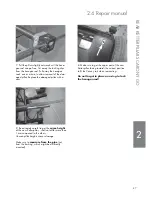
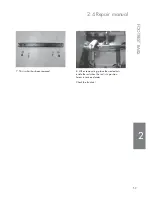
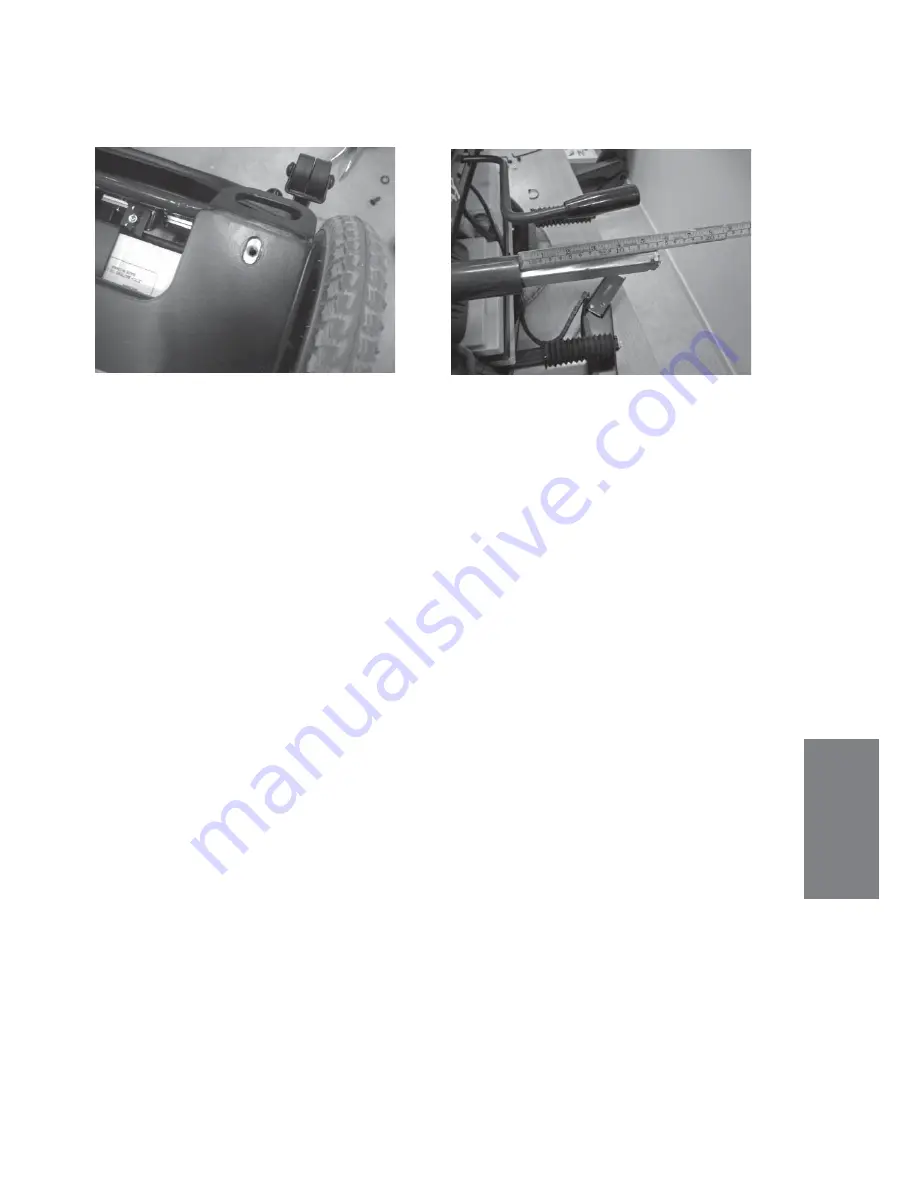
12. Be extremely careful to get the
same height
of the new Ketter-pillar, - shall not differ more than
1 mm compared to the others.
Uneven pillar heights causes damage.
Make sure to
measure from the pipe
(not from
the bushing, which might be differently mounted).
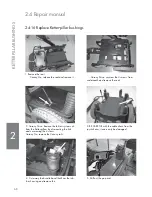
Follow the instructions of method 2:4:7 Change of REAR ketter-pillar of Carony Drive
Use the instructions from 1 - 3
Do NOT remove rear cover or disconnect batteries, pic. 4
Pic. 5: Just remove the plastic cover (NOT the DriveLoc plate)
Proceed from pic. 8 through to pic. 12.
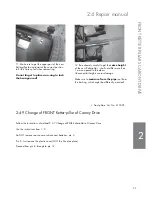
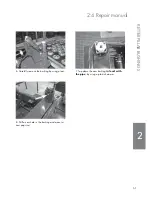
11. Make sure to get the upper part of the new
Ketter-pillar facing towards the correct position,
to fi t the Carony rail when remounting.
Do not forget to place an o-ring to lock
the hexagon rod!
• Front pillars: Art. No: 417423
Summary of Contents for Carony Drive
Page 2: ......
Page 4: ...4 ...
Page 6: ...6 ...
Page 10: ...10 0 1 Technical data ...
Page 22: ...22 2 2 Exploded views and components 2 Carony Go foot rest 3 4 2 5 6 7 1 3 4 5 2 6 7 1 ...
Page 26: ...26 2 2 2 Exploded views and components Carony Go Drive lever system 1 2 4 9 7 5 6 8 10 11 3 ...
Page 34: ...34 2 2 Exploded views and components Carony Go Drive seat and armrests 1 8 7 6 3 5 2 10 9 4 ...
Page 62: ...62 22 ...
Page 86: ...86 Notes ...
Page 87: ...87 Notes ...
Page 88: ...Notes ...


