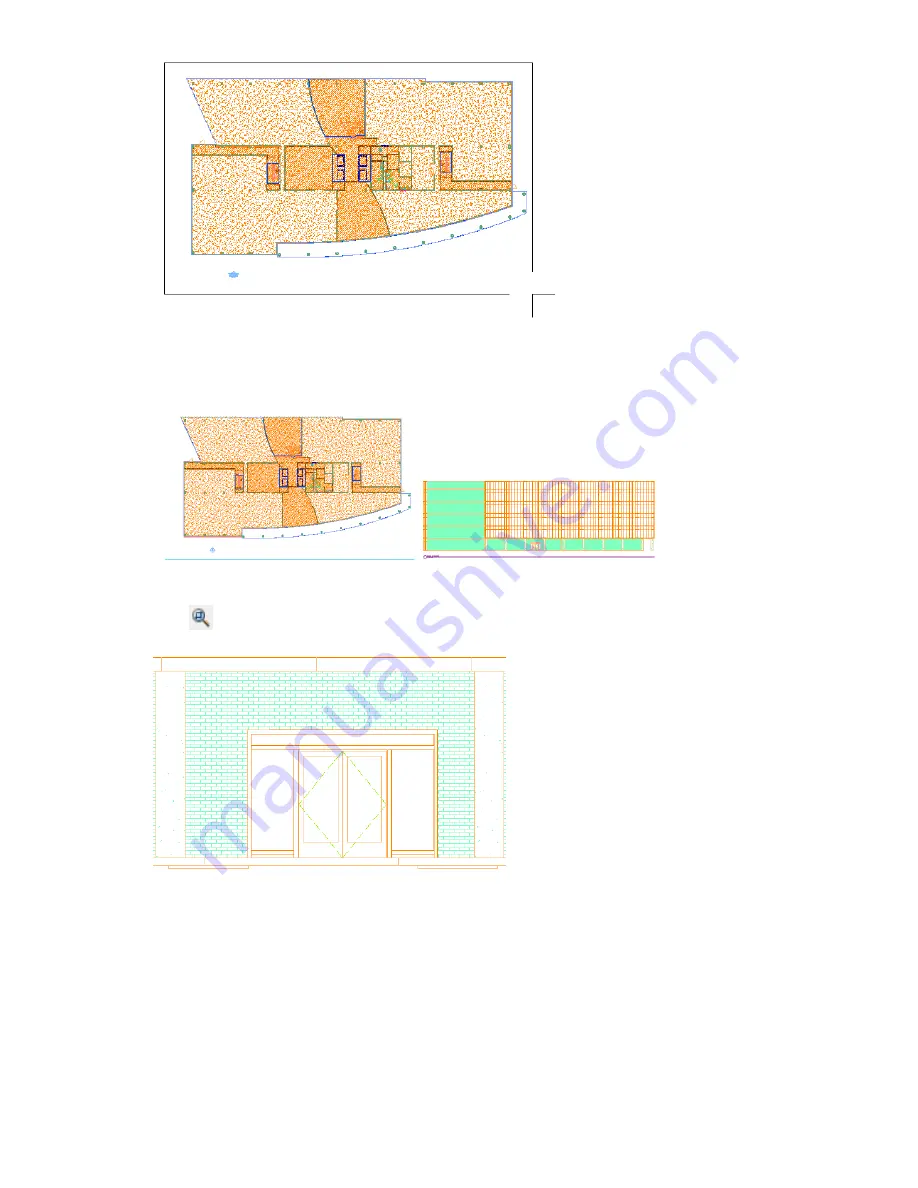
15
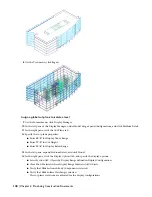
Click to the right of the plan view to specify the location of the 2D elevation.
The elevation and title mark are placed in the drawing. A model space view with the elevation name is automatically
created. This is for annotation and can be dropped onto a sheet.
16
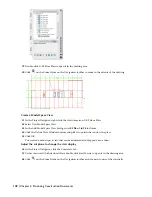
Click
on the Zoom flyout on the Navigation toolbar, and zoom in to the elevation to explore the details of
the elevation and the assigned materials.
17
Save all open project drawings.
In this exercise, you created a view for an elevation and generated an elevation of the rear of the building model. Next,
you change the materials assigned to objects and update the elevation to reflect the newly assigned materials.
Exercise 3: Changing Materials Within an Elevation
When you assign materials to objects in Architectural Desktop, the components of the objects are assigned default
surface hatch patterns based on the type of material. You can modify the hatch pattern for a specific component,
change the type of material to assign a different standard hatch pattern, or specify additional materials for components.
You can work with surface hatch patterns to clearly illustrate the different views of your building model, such as
elevations and sections.
146 | Chapter 4 Producing Construction Documents


