This exercise shows how to modify the surface hatching assigned to the elevation view of the building model. Specifically,
you change the material of the brick wall in the shell drawing for the entry level and the hatch pattern of the concrete
columns. When you refresh the elevation drawing, the surface hatch patterns are updated.
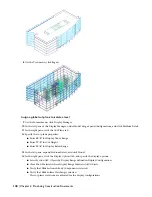
View the elevation of the building model
1
With the Project Navigator open, click the Views tab.
2
Under Views\Exterior, expand the Elevations drawing, and double-click South Elevation (the model view name).
3
Zoom in to the entry at the lower middle of the south elevation.
Modify the wall material
4
In the Project Navigator, click the Constructs tab.
5
Under Constructs\Architectural\Shell, double-click 01Floor Shell to open it in the drawing area.
6
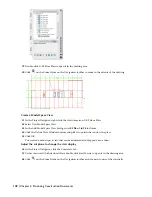
Select the curved brick wall at the bottom of the drawing, right-click, and click Edit Wall Style.
7
In the Wall Style Properties dialog box, click the Materials tab.
8
Click the Material Definition for Brick Veneer, and select Masonry.Unit Masonry.Brick.Norman.One-Third Running.
9
Click the Material Definition for Brick Veneer (Structural), and select Masonry.Unit Masonry.Brick.Norman.One-Third
Running.
10
Click OK.
11
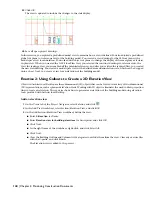
Click
on the Standard toolbar to save the 01Floor Shell drawing.
12
On the File menu, click Close.
Update the elevation view
13
In the communication bubble in the lower-right corner of the screen, click Reload 01Floor Shell.
14
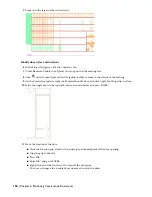
Verify that the Elevations drawing is displayed.
15
Select the elevation, right-click, and click Refresh.
Lesson 1: Creating a Floor Plan, an Elevation, and a Section | 147


