TIP:
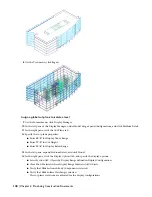
The hatch pattern names are displayed at the end of the content location paths. Resize the dialog box, if
necessary, to view the hatch pattern names. Concrete_C.pat is listed above General_Texture.pat in the ...\support\pats
content location.
■
In the Display Properties dialog box, enter
1"
for the Surface Hatch Scale/Spacing.
■
Click OK three times to close the Wall Style Properties dialog box.
23
Save and close the 01 Floor Partitions drawing.
Update the elevation view
24
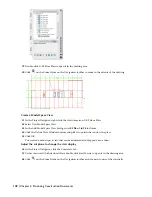
Verify that Elevations.dwg is displayed in the drawing area.
If you closed the drawing, click the Views tab in the Project Navigator. Under Views\Exterior, double-click Elevations
to open it in the drawing area.
25
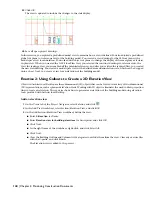
At the lower-right corner of the screen, right-click
, and click Reload Xrefs.
26
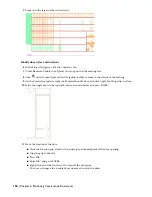
Select the elevation, right-click, and click Refresh.
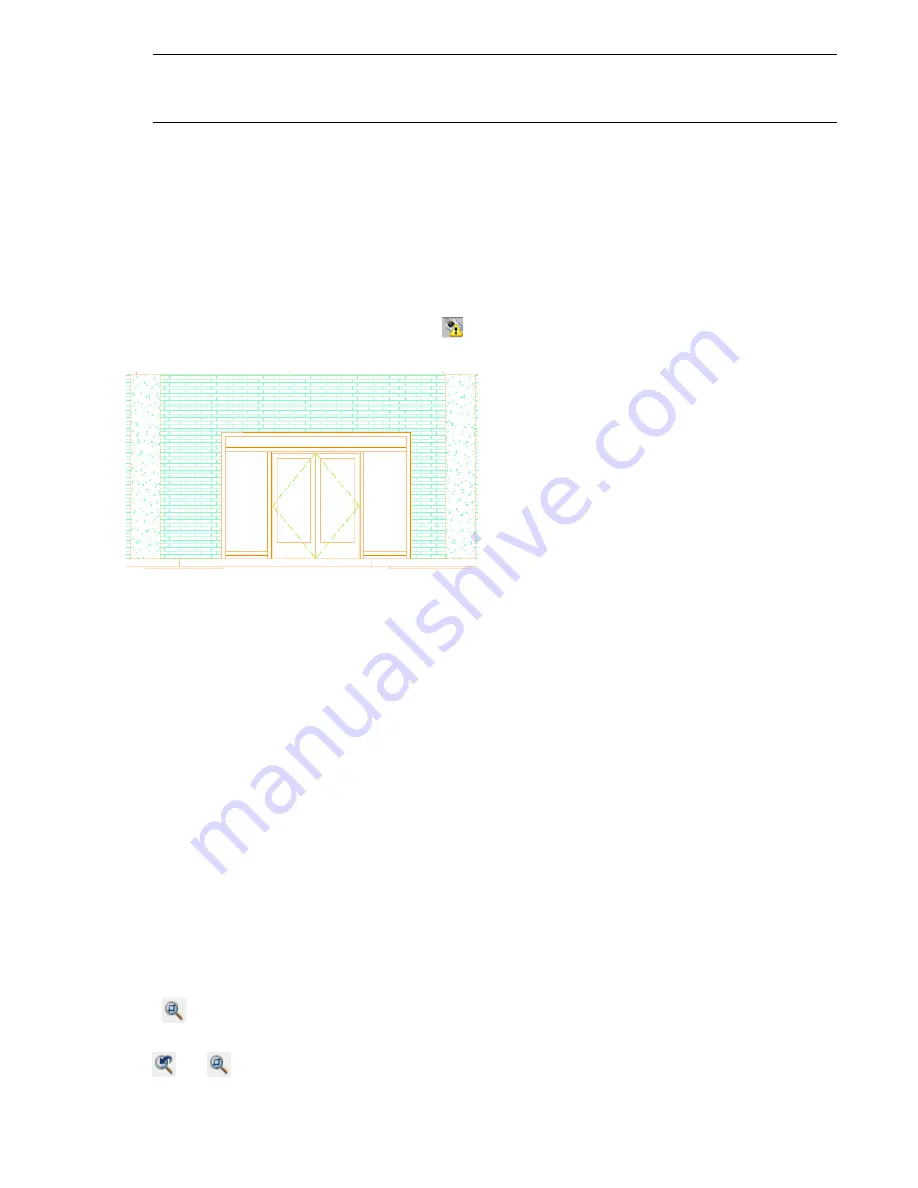
The elevation is updated with the new column hatch pattern.
27
Save all open project drawings.
In this exercise, you explored the elevation view of the building model, changed the material assigned to the brick wall
of the 01 floor shell, and modified the surface hatch pattern of the columns. Each time you changed a material, you
updated the surface hatching in the elevation view by refreshing the drawing. Next, you use a similar process to modify
the building model and update the changes in the section view.
Exercise 4: Modifying and Updating a 2D Section
A section represents a building model as if the model were cut vertically to show interior detail. You can create
two-dimensional (2D) or three-dimensional (3D) sections. You can control the size and shape of the section you generate,
and you can assign materials to the section for an optimal visual representation of the sectioned objects. Section objects
remain linked to the building model that you used to create them; therefore, any changes to the building model can
be automatically updated in the section.
You use the same section/elevation tools to create a 2D section as you did to create an elevation. In this exercise, you
work with a 2D section that has been created. You modify the building model and then automatically apply those
changes to the section.
View the section of the building model
1
With the Project Navigator open, click the Views tab.
2
Under Views\Interior, double-click 2D Sections to open it in the drawing area.
3
Click
on the Zoom flyout on the Navigation toolbar, and zoom in to an area of the section to explore the
sectioned objects and material surface hatching that is assigned to objects.
4
Use
and
on the Zoom flyout on the Navigation toolbar to zoom in to other areas of the section, and view
the material surface hatching.
Lesson 1: Creating a Floor Plan, an Elevation, and a Section | 149


