21
At the Select object to tag prompt, enter
m
(Multiple) to add room tags to the untagged spaces.
22
Select all the spaces in the drawing, and press ENTER.
If you use a crossing window to select all spaces, the software notifies you that you have already selected one of
the spaces. Click Yes to tag the room again.
23
On the Edit Property Set Data worksheet, click OK to accept the default property set information.
24
At the Select object to tag prompt, press ENTER to end the tag command.
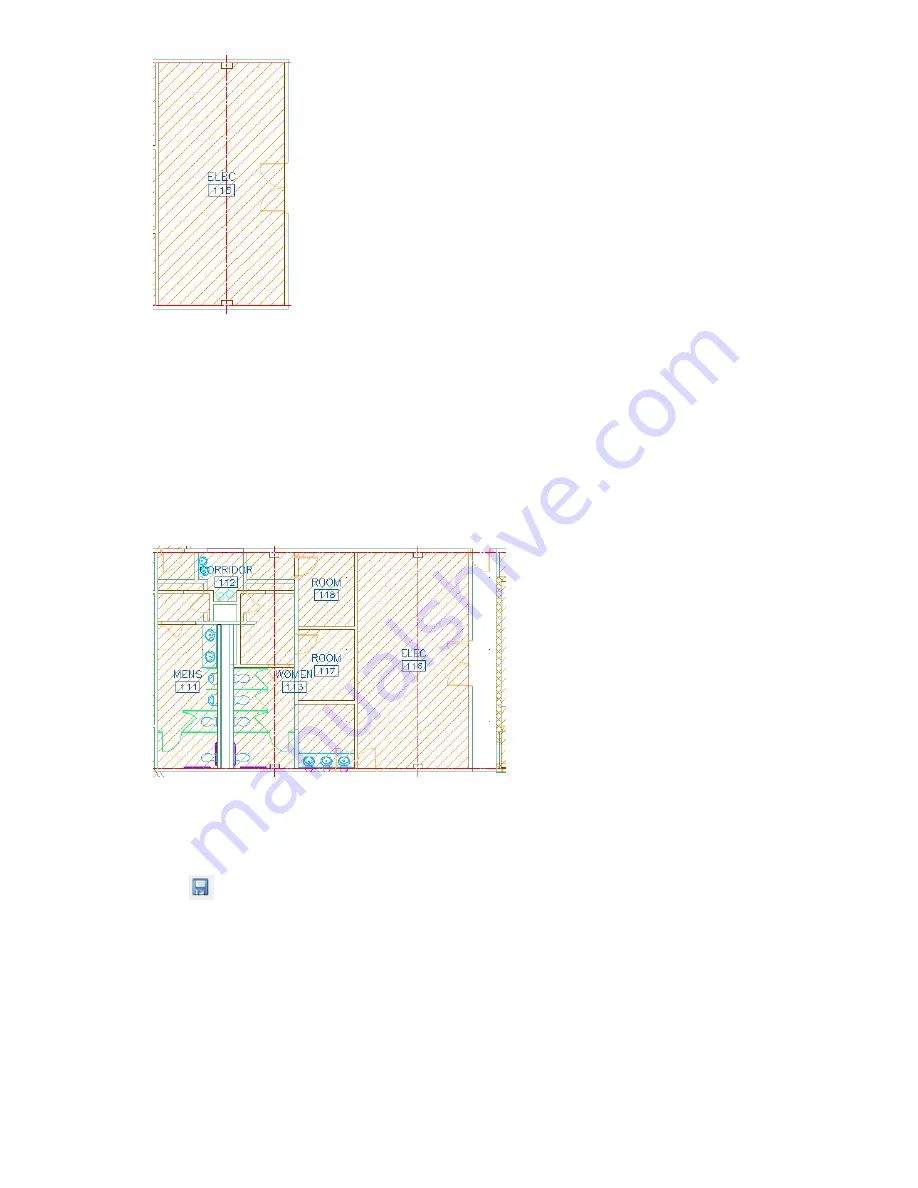
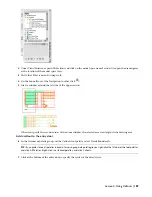
The room tag information is assigned to the spaces in the referenced 01 Floor Partitions construct. The information
displayed on the newly added room tags was predefined for the purpose of this exercise.
A sample of the room tags added to the drawing
25
On the Insert menu, click Xref Manager.
26
In the Xref Manager dialog box, select 01 Floor Partitions, and click Reload.
27
Click OK.
28
Click
on the Standard toolbar to save the X- 01 Floor Plan drawing.
Add project-based door tags
29
At the bottom of the screen, click Documentation Tool Catalog - Imperial to maximize the Content Browser.
30
At the top of the Content Browser, click Schedule Tags.
31
In the right pane, click Door & Window Tags.
32
Using i-drop, drag Door Tag - Project Based into the drawing area.
33
Select the door of the electrical room.
34
Press ENTER to accept Centered as the default location of the door tag.
176 | Chapter 4 Producing Construction Documents


