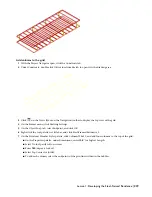
Add columns to the grid
1
With the Project Navigator open, click the Constructs tab.
2
Under Constructs, double-click X-Structure from Sketch to open it in the drawing area.
3
Click
on the Views flyout on the Navigation toolbar to display the top view of the grid.
4
On the Format menu, click Drafting Settings.
5
On the Object Snap tab, select Endpoint, and click OK.
6
Right-click the tool palettes set title bar, and click Steel-Framed Residence_I.
7
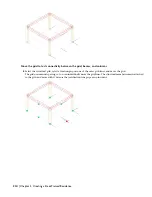
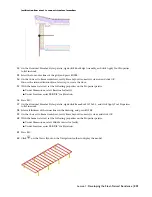
On the Structural Member Styles palette, click Column W8x31, and add four columns to the top of the grid:
■
On the Properties palette, under Dimensions, enter
10'6''
for Logical Length.
■
Select No for Specify roll on screen.
■
Enter
180
(degrees) for Roll.
■
Select Top Center for Justify.
■
To add each column, select the endpoints of the grid lines within in the bubbles.
Lesson 1: Developing the Steel-Framed Residence | 219


