2
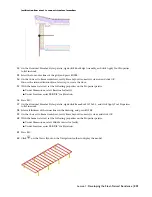
Under the Constructs folder, double-click X-House Skin to open it in the drawing area.
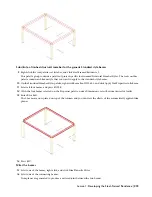
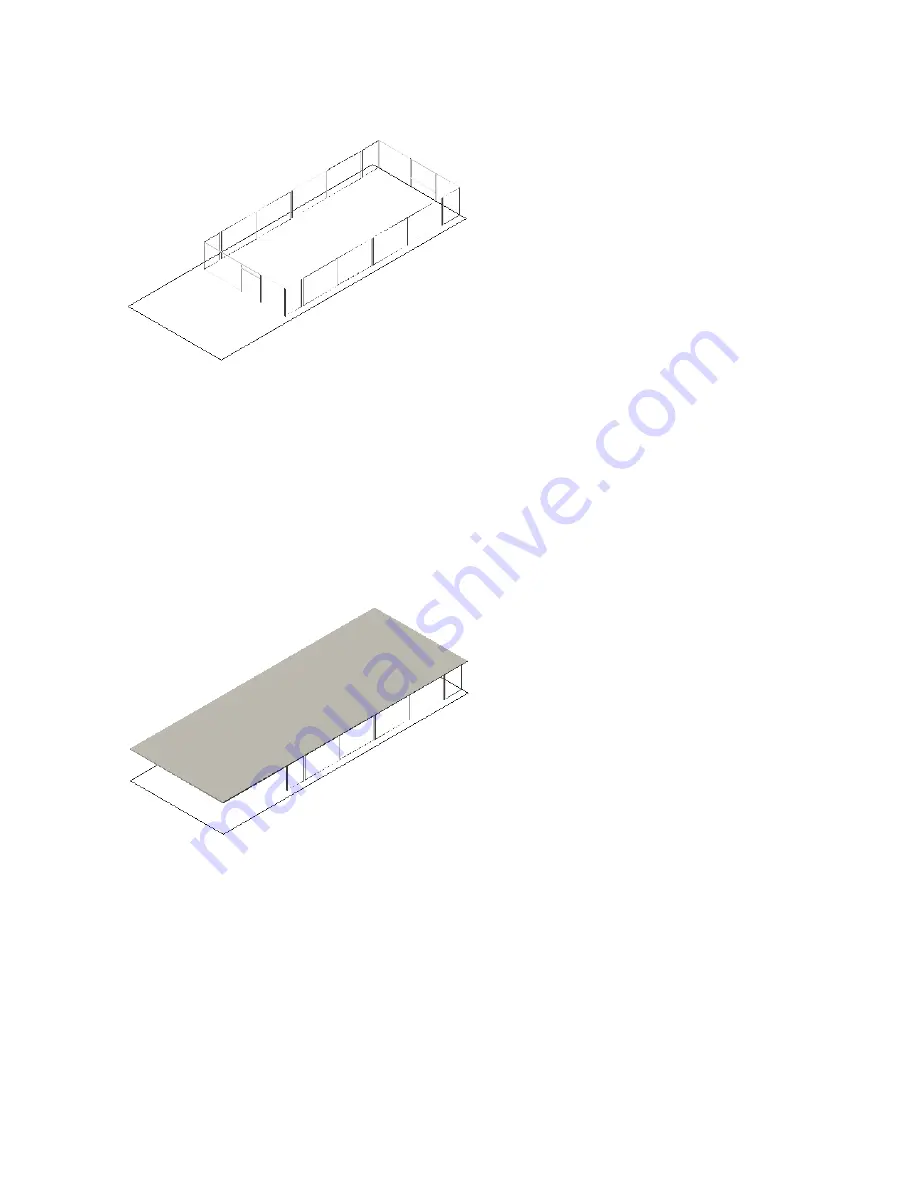
The drawing contains the residence skin, which is composed of beams, columns, and a glazing material. A rectangular
polyline outline is displayed under the skin. You will use this outline to create roof, ceiling, and floor slabs for the
residence.
3
Right-click the tool palettes set title bar, and click Design.
4
On the Design palette, right-click Slab, and click Apply Tool Properties to
➤
Linework and Walls.
5
In the drawing area, select the rectangular slab outline, and press ENTER.
6
Press ENTER to retain the layout geometry.
You need to retain the outline to create the other two slabs later in the exercise.
7
Press ENTER for Creation Mode to project the creation of the slab at a height above the polyline.
8
Enter
10'10-1/2''
to specify the base height, or the height above the polyline where you want to create the slab.
9
Press ENTER to align the bottom of the slab at the base height.
10
With the slab selected, on the Properties palette, under Dimensions, enter a thickness of
4''
.
11
Press ESC.
12
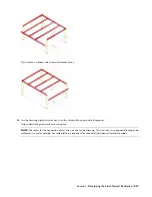
Repeat the same steps to create a ceiling slab, but enter a base height of 9'6'' and a thickness of 5/8''.
Lesson 1: Developing the Steel-Framed Residence | 229

