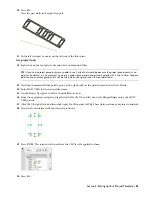
20
Press ESC.
View the new walls in the right viewport.
21
In the left viewport, zoom in on the left side of the floor plan.
Use project tools
22
Right-click on the tool palette bar and select Commercial Office.
TIP:
If you had a project group but were unable to see it listed that would be because the project group contains no
palettes. By default, in a new project, you have a project group and a project tools palette with a link to Help. Drag any
palette onto an empty group and it will be listed when you right-click on the tool palette bar.
23
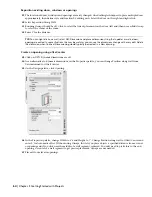
With the Commercial Office palette group active, right-click on the palette bar and select New Palette.
24
Enter MOST USED for the new palette name.
25
On the Project Navigator, click the Content Browser icon.
26
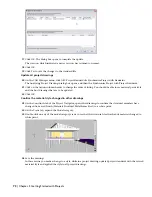
From the appropriate categories, drag the wall style CMU-8 and the door style Hinged-Single onto your MOST
USED palette.
27
Click CMU-8, right-click, and then click Apply Tool Properties to Wall. These styles are from your project standards.
28
Select the four interior walls you selected previously.
29
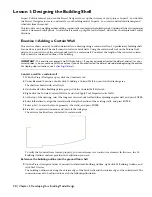
Press ENTER. The selected walls now have the CMU-8 style applied to them.
30
Press ESC.
Lesson 2: Setting up Your Project Template | 61


