33
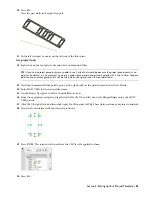
Select the wall segment, then use the TAB key to change focus to the dimension you want to be active. When you
have the dimension to the left of the door, enter 6. You control the door swing direction with the location of the
cursor as you place the door but you can also easily change this at any time with grips.
34
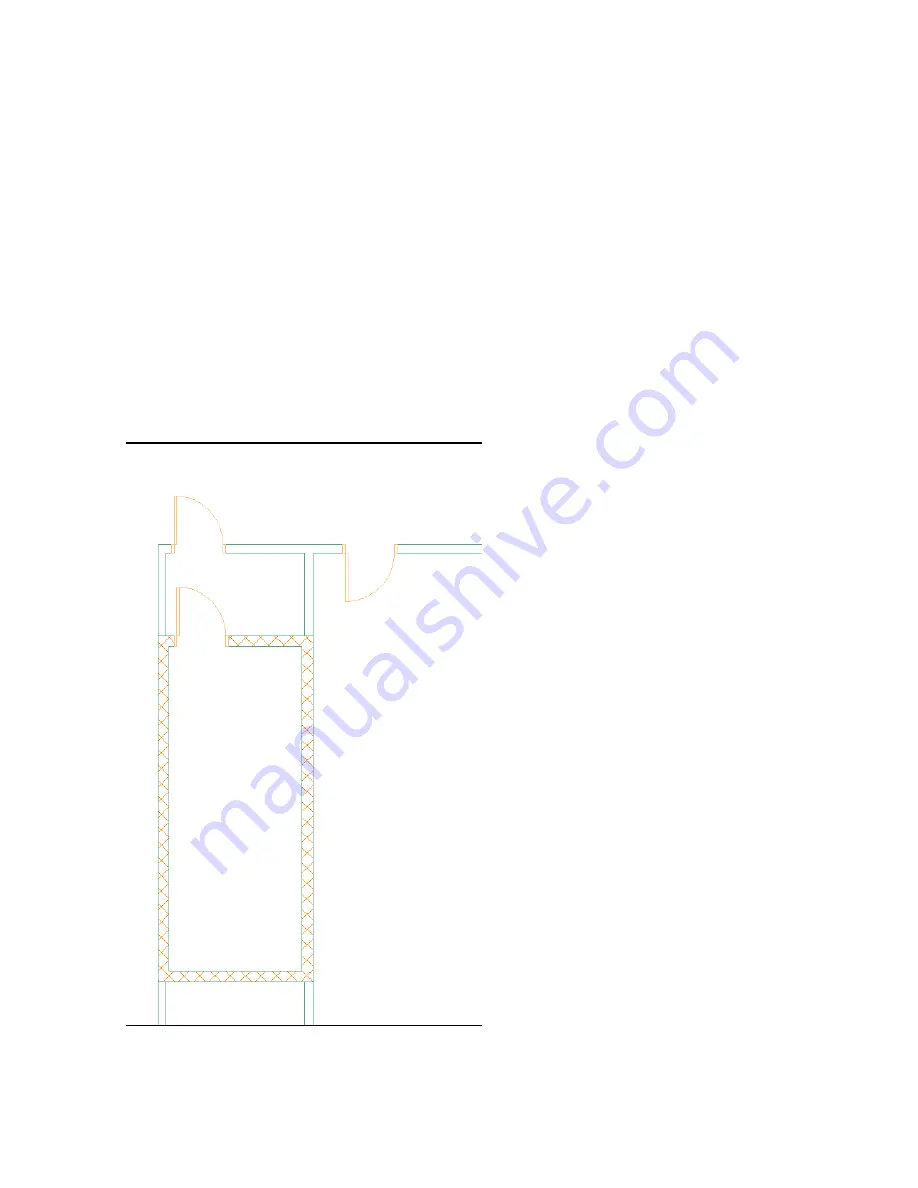
Repeat steps 32-33 to place a door on the hatched wall.
35
Repeat steps 32-33 for a third door but specify 12” from the corner. You placed three generic doors. In a schedule
they would list as “Standard.”
Replace generic doors with doors of a fixed style
36
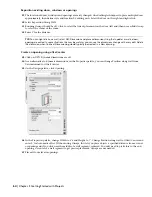
With the Commercial Office palette active, on the MOST USED palette, right-click Hinged-Single, and click Apply
Tool Properties to
➤
Door. Then, select all three doors.
37
With the three doors selected, in the Properties palette, select the Standard size closest to 3’-0” x 6’-10”. Generic
or standard doors had user defined sizes but fixed style doors have a listing of manufactured sizes. They also have
materials assigned, so as you refine a design from standard styles to fixed styles the information and representation
of the objects is more exact. If you know what the finished components are then you can bypass the use of the
generic styles. Styles are easily changed at any time.
Grip edit the doors
38
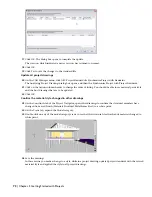
Click on a door and click grips to make changes. Tool tips explain the function of the grips. Change the door
swings to match the illustration - with exit doors opening outwards. The grips let you change location, size, and
direction. The grey lines that appear on selection of the size grip, show the manufactured widths available for the
door style.
Lesson 2: Setting up Your Project Template | 63


