In this exercise, you added an entrance to the front of the building using a door/window assembly tool, and then used
the Flip grip to reverse the door swing. Next, you add an entrance to the rear of the building, using a sketch as the basis
for creating a door/window assembly object.
Exercise 3: Creating an Entrance from a Sketch
This exercise shows how to make a simple door/window assembly to use as the entrance in the rear curtain wall. You
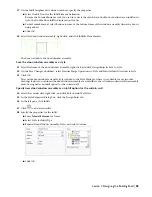
begin by merging cells in the curtain wall to form a larger cell (opening) for the entrance. Then, you use this opening
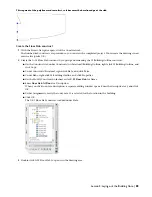
to sketch a design of the entrance, and convert the custom sketch to a window assembly. Later, you will add a door to
the window assembly, and insert the door/window assembly in the curtain wall using an override.
Add an opening in the curtain wall for an entrance
1
Open the exercise drawing.
■
If you completed the previous exercise, you can continue in the open drawing.
■
If you prefer to use a supplied drawing, double-click X-Creating an Entrance.
2
Click
on the Views flyout on the Navigation toolbar.
3
Click
on the Zoom flyout on the Navigation toolbar, and zoom in to the area around the curtain wall.
4
Click
in the lower-right corner of the drawing area to turn off the surface hatch on the bricks.
5
Select the curtain wall, right-click, and click Infill
➤
Show Markers.
Displaying the cell markers makes selecting individual cells of the curtain wall easier.
6
Select the curtain wall, right-click, and click Infill
➤
Merge.
7
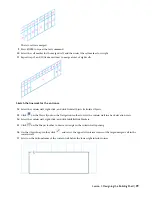
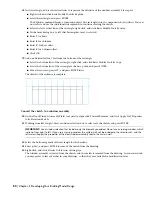
Locate the cell identified with the number 1 in this isometric view, and select its cell marker [
].
The number 1 identifies this cell as the first one to be merged.
8
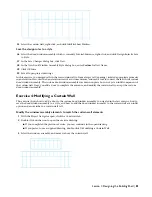
Select the cell marker to the right of the cell you just selected.
78 | Chapter 3 Developing Your Building Model Design

