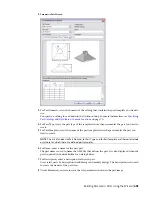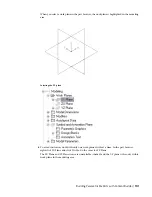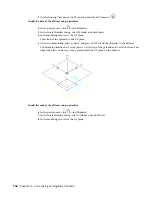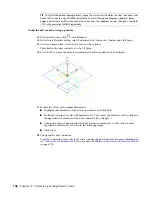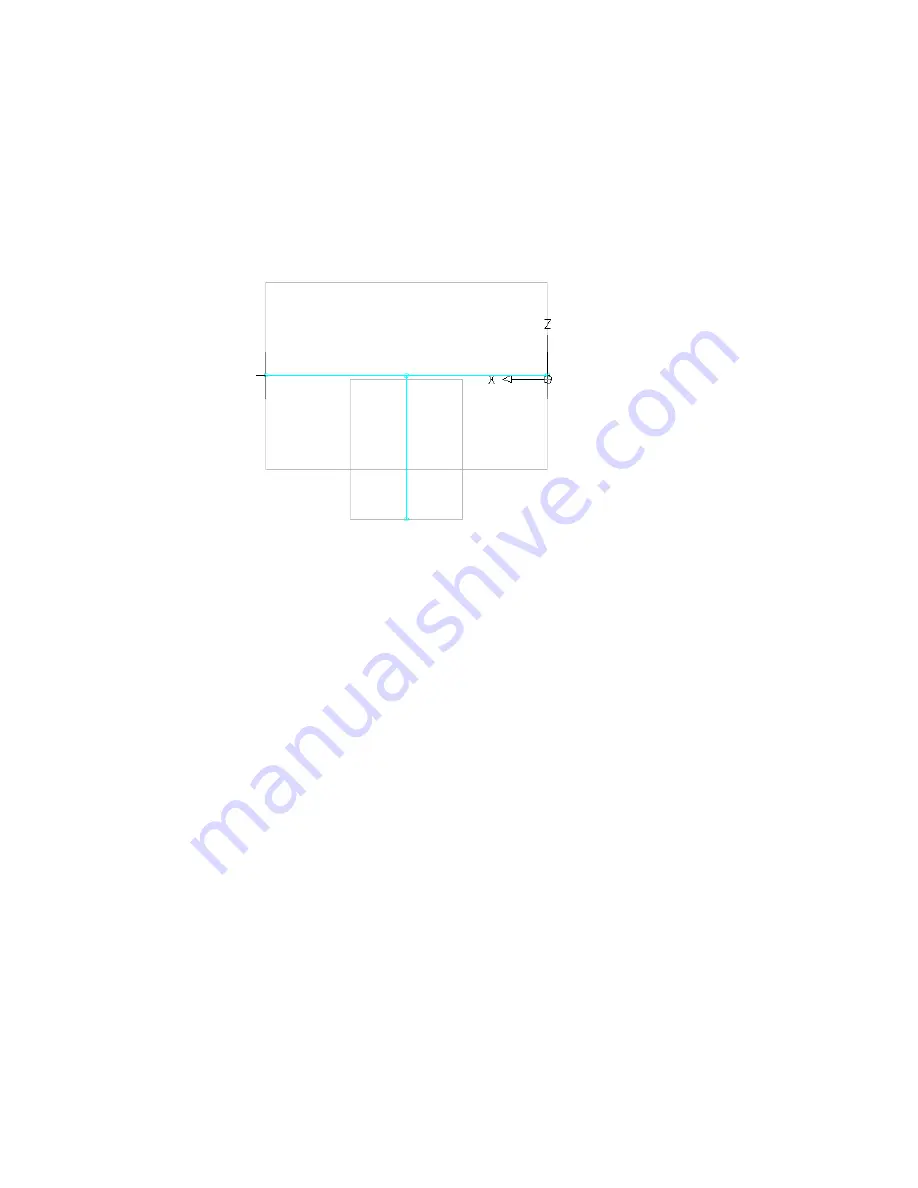
For the start of trim length 2, select the point at the center of the trunk. For the end of trim
length 2, select the point at the right end of the trunk.
■
Define the third trim length.
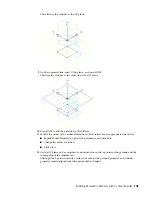
For the start of trim length 3, select the point at the top of the branch (the center of the
trunk). For the end of trim length 3, select the point at the bottom of the branch.
Trim length lines are displayed between the selected points.
6
In the part browser, right-click Layout Data, and click Select Placement Point.
You are prompted to select a point on your model. This point is the location at which connecting
segments would intersect if they were extended along their logical paths. The placement point
is used as the insertion point for the fitting when it is added to a drawing during autolayout
using the Add commands.
7
Select the trim length point at the center of the trunk.
692 | Chapter 14 Customizing Catalog-Based Content
Summary of Contents for 235B1-05A761-1301 - AutoCAD MEP 2010
Page 1: ...AutoCAD MEP 2010 User s Guide March 2009 ...
Page 22: ...4 ...
Page 86: ...68 ...
Page 146: ...128 ...
Page 180: ...162 ...
Page 242: ...Modifying the elevation of a duct 224 Chapter 6 Drawing HVAC Systems ...
Page 264: ...246 ...
Page 480: ...462 ...
Page 534: ...516 ...
Page 616: ...598 ...
Page 658: ...640 ...
Page 788: ...770 ...
Page 802: ...784 ...
Page 820: ...802 ...
Page 878: ...860 ...


