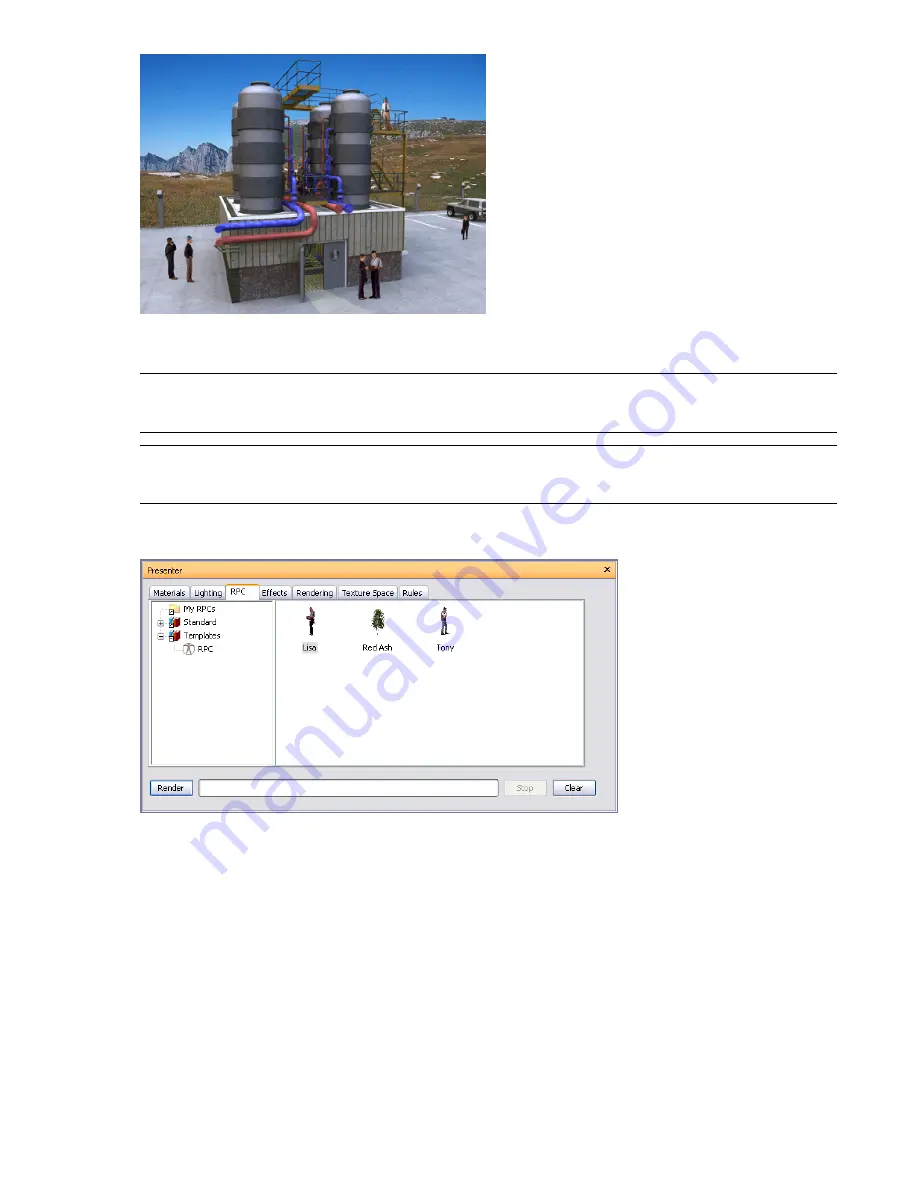
The key benefit to using RPC content is that it only takes a short amount of time to fill a scene with realistic
content, and it adds very little to the rendering time.
NOTE
Whilst navigating through the scene, RPCs will always turn to face the camera. If the RPC is 3D or 3.5D
right-clicking it in the Scene Area, and clicking Refresh on the shortcut menu will set it to the correct frame based on
the current camera position. Rendering the scene using the Render button will always refresh all RPCs.
IMPORTANT
When publishing a scene using the Publisher dialog box, any RPCs included in that scene are not published
to the Presenter_maps directory or embedded in the NWD file. The size of the files and the fact that most are licensed
currently prohibits this.
and
tabs, the RPC tab is divided into two panes for archives and palette.
This tab is where you set up RPCs (Rich Photorealistic Content).
To add an RPC to a palette
1
Open the Presenter window, and click the RPC tab.
2
In the left pane, expand the Templates folder, and drag the RPC icon to the palette on the right.
3
Double-click the RPC icon in the palette.
4
In the RPC Editor, click the ... button in the File Name field.
RPC Tab | 319
Summary of Contents for 507B1-90A211-1301 - NavisWorks Manage 2010
Page 1: ...Autodesk Navisworks Manage 2010 User Guide March 2009 ...
Page 12: ...xii Contents ...
Page 14: ...2 Part 1 Welcome to Autodesk Navisworks Manage 2010 ...
Page 64: ...52 Chapter 3 Installation ...
Page 97: ...Get a Whole Project View 85 ...
Page 98: ...86 Part 2 Get a Whole Project View ...
Page 136: ...124 Chapter 5 Work with Files ...
Page 178: ...To toggle ViewCube Click View Head Up Display ViewCube 166 Chapter 6 Explore Your Model ...
Page 262: ...250 Chapter 9 Use Viewpoints and Sectioning Modes ...
Page 270: ...258 Chapter 11 Work Within a Team ...
Page 282: ...270 Chapter 12 Share Data ...
Page 346: ...334 Chapter 14 Create Photorealistic Visualizations ...
Page 460: ...448 Chapter 17 Autodesk Navisworks Reference ...
Page 466: ...454 Glossary ...


