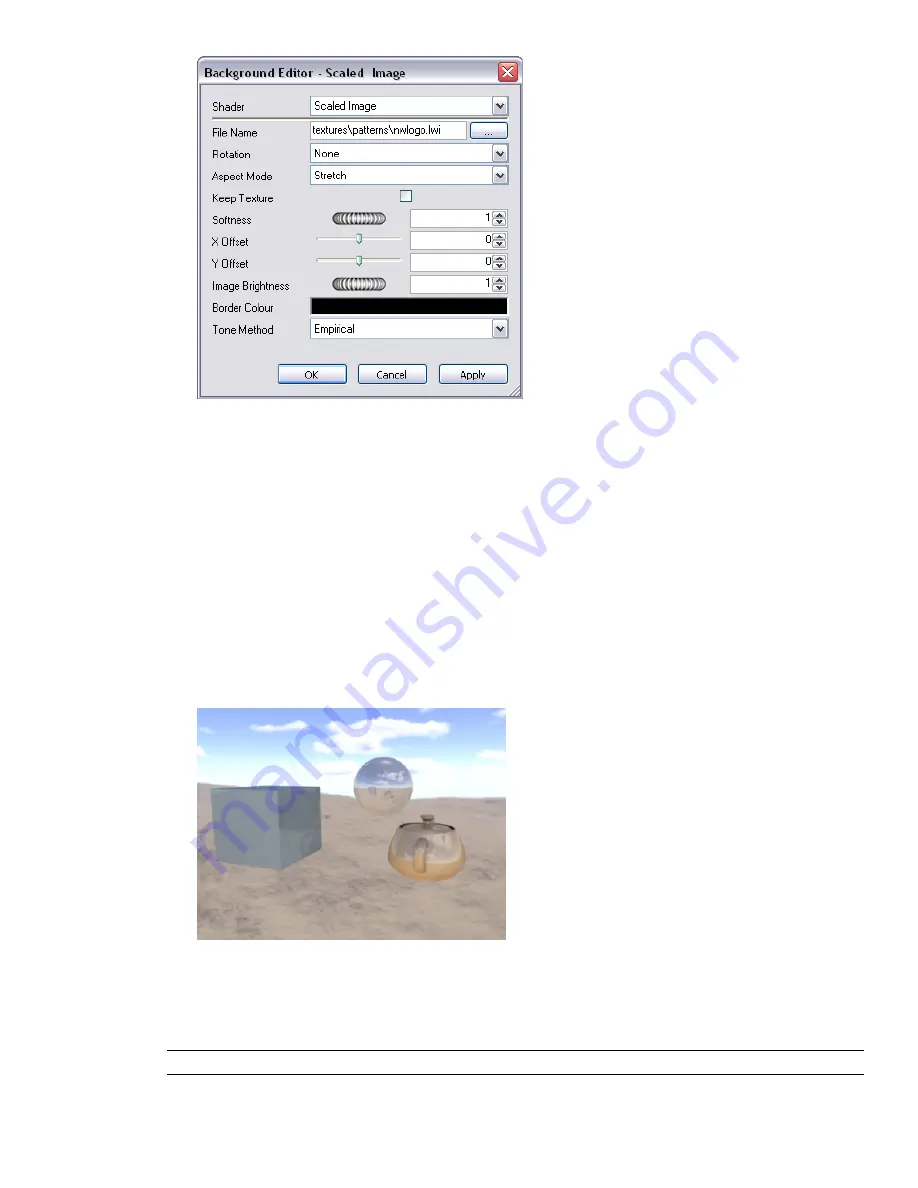
4
Click OK.
To add an environment background
1
Open the Presenter window, and click the Effects tab.
2
In the left-hand pane, expand the Recommended archive, open the Environments subfolder, and then open
the Panorama folder.
3
Drag the Sky effect over to the palette on the right.
The background is not yet visible in the Scene Area.
4
Return to the Recommended archive, open the Backgrounds sub-folder, and drag the Environment effect
over to the palette.
The background is now visible. This is because this type of background is made up of two parts, the Sky
image and the background Environment shader that points at the image; the two elements link together
automatically.
Once this is complete, moving around the model will see the background moving appropriately in real-time.
With a modern graphics card, if there are reflective surfaces in the scene, setting the Presenter Hardware Shading
in the Options Editor to Lighting will show the newly set up background reflected in all such surfaces (see
“
” on page 436).
TIP
Pressing the Render button will show this background in the photorealistic output.
324 | Chapter 14 Create Photorealistic Visualizations
Summary of Contents for 507B1-90A211-1301 - NavisWorks Manage 2010
Page 1: ...Autodesk Navisworks Manage 2010 User Guide March 2009 ...
Page 12: ...xii Contents ...
Page 14: ...2 Part 1 Welcome to Autodesk Navisworks Manage 2010 ...
Page 64: ...52 Chapter 3 Installation ...
Page 97: ...Get a Whole Project View 85 ...
Page 98: ...86 Part 2 Get a Whole Project View ...
Page 136: ...124 Chapter 5 Work with Files ...
Page 178: ...To toggle ViewCube Click View Head Up Display ViewCube 166 Chapter 6 Explore Your Model ...
Page 262: ...250 Chapter 9 Use Viewpoints and Sectioning Modes ...
Page 270: ...258 Chapter 11 Work Within a Team ...
Page 282: ...270 Chapter 12 Share Data ...
Page 346: ...334 Chapter 14 Create Photorealistic Visualizations ...
Page 460: ...448 Chapter 17 Autodesk Navisworks Reference ...
Page 466: ...454 Glossary ...


