NOTE
To get a copy of your settings, select the Copy to Clipboard button.
If you do not wish to make configuration changes on the Review - Configure - Create Deployments page, click
Create Deployment.
Your Deployment Choices
When you create a deployment, you will make several choices during the process to create various client
deployment images and deployment types. The following sections outline your choices in more detail.
Enter Product and User Information
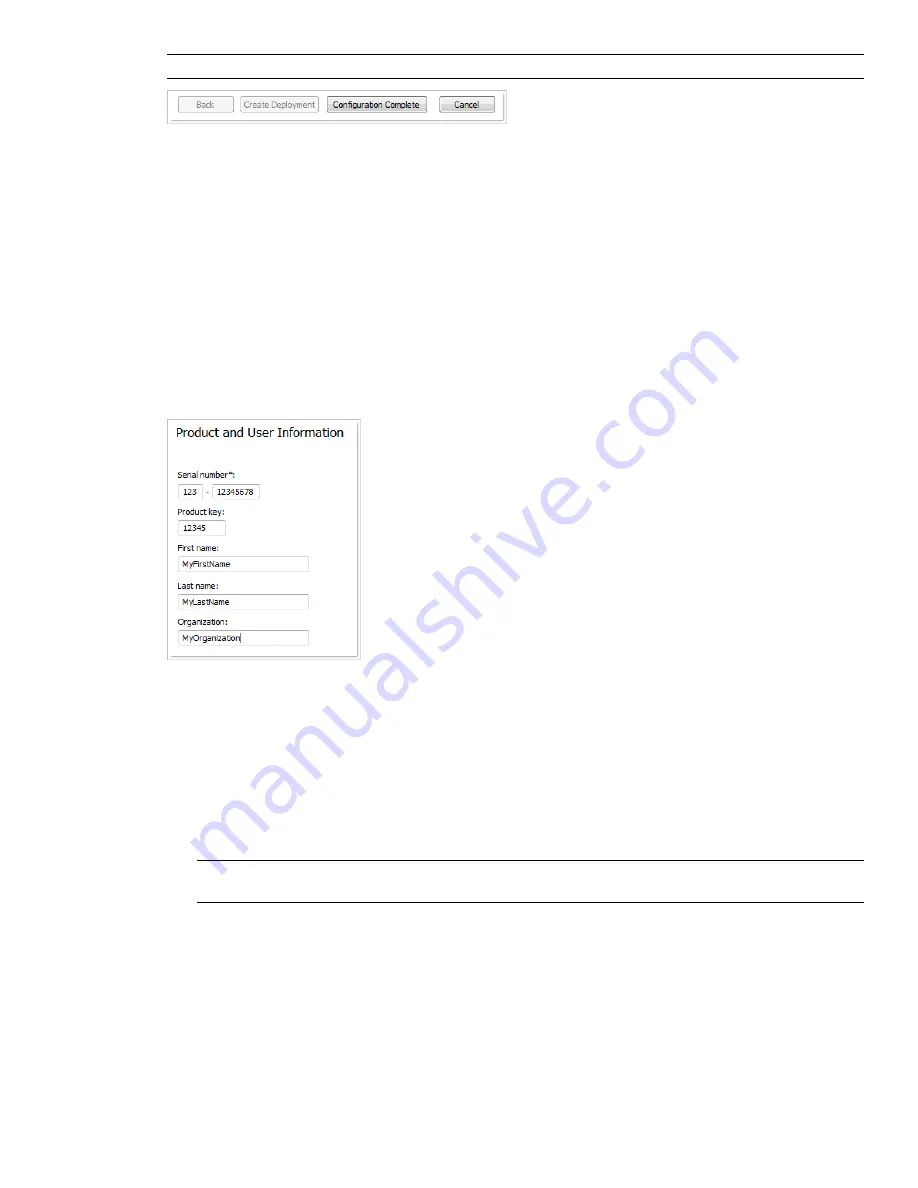
The Product and User Information page is used to personalize the program for your environment.
The information you enter is permanently retained with the product and is displayed in the Help menu on all
workstations. Because you can't change this information later without uninstalling, take care when entering the
information.
You must also enter the product serial number and product key in order to run the product. The product serial
number and product key are located on the product packaging, or in the electronic fulfillment messaging. The
serial number must contain a three-digit prefix followed by an eight-digit number. The product key consists of
five digits.
Your client’s can review this product information later, by clicking Help
➤
About.
To enter your serial number and personal information
1
When creating a deployment, on the Product and User Information page, enter your product serial number
and the required personalization data.
NOTE
Although it is required that you enter information in each box on this page, you can enter any information
that you want to convey to users who install the deployment.
2
Click Next.
Specify Log File Locations
The program has two types of log files with which you can monitor information about deployments and
installations.
■
Network log
. The network log file keeps a record of all workstations that run the deployment. On the General
Deployment Settings page of the deployment process, you choose whether or not to create a network log
36 | Chapter 3 Installation
Summary of Contents for 507B1-90A211-1301 - NavisWorks Manage 2010
Page 1: ...Autodesk Navisworks Manage 2010 User Guide March 2009 ...
Page 12: ...xii Contents ...
Page 14: ...2 Part 1 Welcome to Autodesk Navisworks Manage 2010 ...
Page 64: ...52 Chapter 3 Installation ...
Page 97: ...Get a Whole Project View 85 ...
Page 98: ...86 Part 2 Get a Whole Project View ...
Page 136: ...124 Chapter 5 Work with Files ...
Page 178: ...To toggle ViewCube Click View Head Up Display ViewCube 166 Chapter 6 Explore Your Model ...
Page 262: ...250 Chapter 9 Use Viewpoints and Sectioning Modes ...
Page 270: ...258 Chapter 11 Work Within a Team ...
Page 282: ...270 Chapter 12 Share Data ...
Page 346: ...334 Chapter 14 Create Photorealistic Visualizations ...
Page 460: ...448 Chapter 17 Autodesk Navisworks Reference ...
Page 466: ...454 Glossary ...


