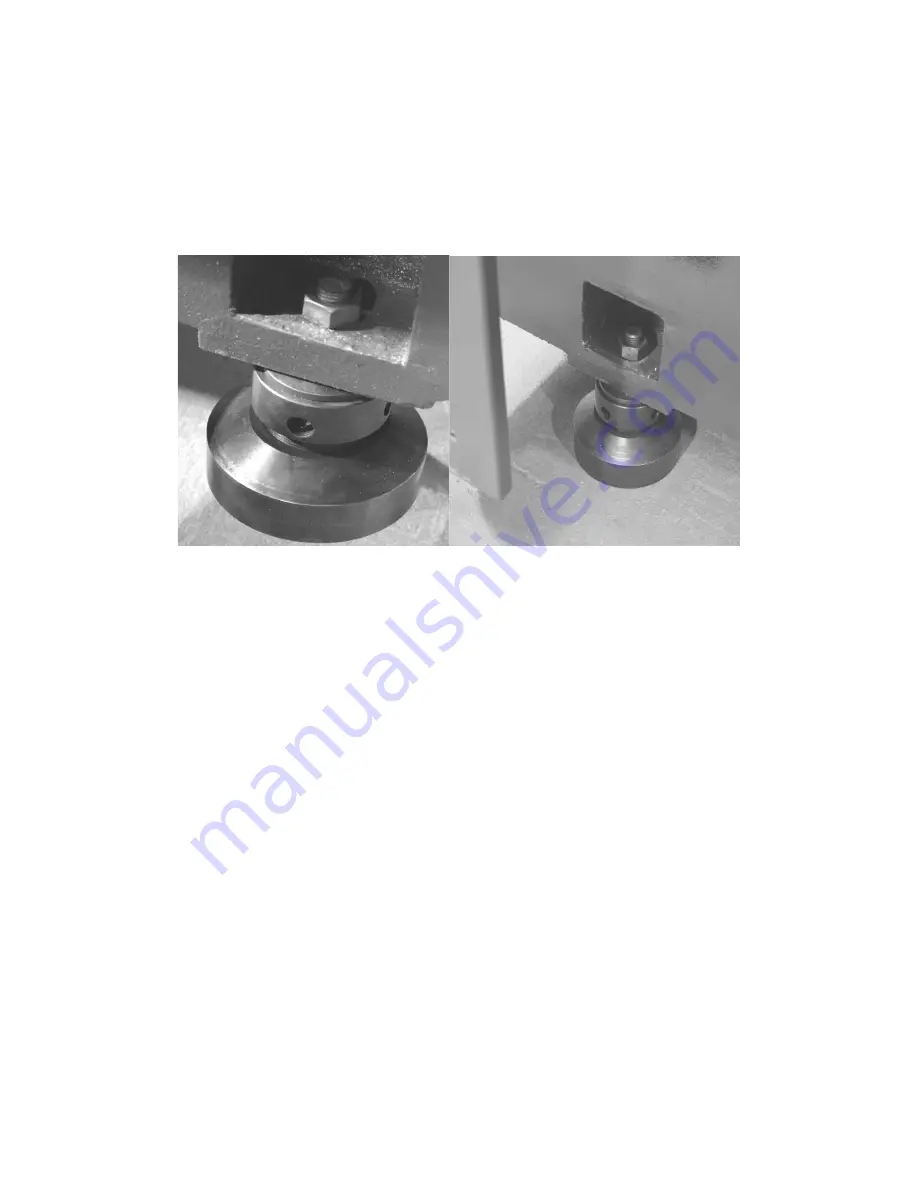
1. Screw the threaded rod all the way down into the leveling foot.
2. Place the beveled washer over the threaded rod with the bevel down.
3. Unscrew the large adjusting ring of the leveling foot .5” above the base of the foot. This
will ensure that you will have both up and down movement available when leveling the
machine.
4.
Install the leveling feet in each of the four locations on the machine and attach the foot
with the hex nut.
DO NOT
tighten the hex nut at this time, it must remain loose until
the leveling process is completed.
Once the leveling feet are installed, place the machine in it’s final location. Lower it slowly to
the floor. Sudden dropping of the machine can cause severe loss of precision. Then remove
the forklift and adjust the leveling screws as needed to make sure all four feet are securely on
the floor. This is a preliminary adjustment only.
Connecting The Electrical
All electrical work must be done according to the National Electrical Code and any other local
electrical codes and safety requirements. It is recommended that a licensed electrician perform
these tasks. 3 phase power must be connected to the L1, L2, and L3 terminals inside the
machine.
Power must be routed through an approved 40 amp breaker.
Important!!! Wire size and length must
conform to local electrical codes.
The neutral line is not used as a ground. A separate ground
conductor must be run to earth ground.
Connecting The Hydraulics (optional hydraulic chuck)
All hydraulic hoses for the machine are already installed on the machine itself. They require attachment
to the hydraulic power module.
Connect the two pressure lines and return line to the hydraulic power module. Hoses are
marked on the hose as to proper location on the module.


