3
POST INSTALLATION GENERAL
There are quite a few variables when it comes to ways to fix posts but we will basically suggest that you will either bolt to an existing
structure (wall, brick piers, etc) or concrete your post into the ground or sometimes both. Either way before you start you need to survey
your site for rises and falls and establish the high point in your site. In an ideal situation the site will be perfectly flat and level but
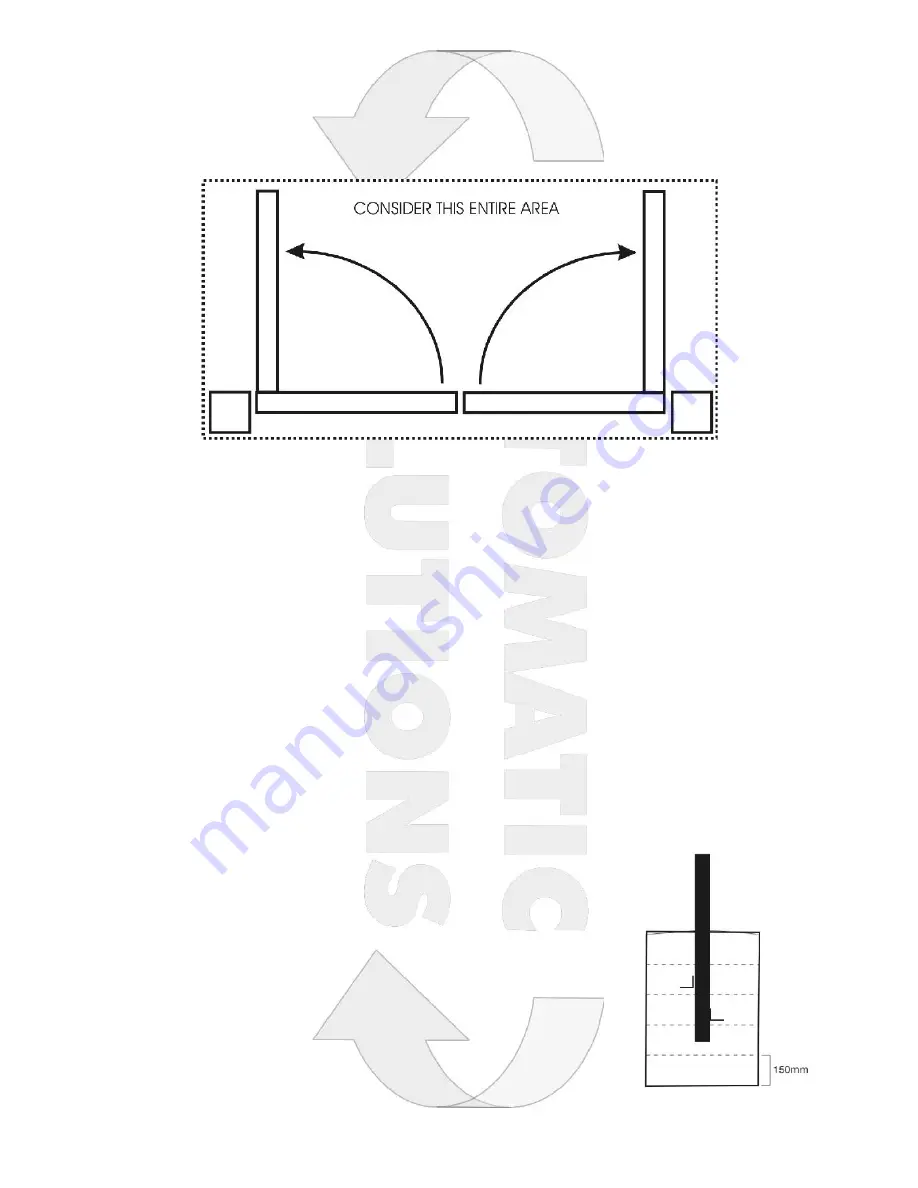
experience tells me that there are not many of these. You need to consider the entire total width and opening arc area to ensure that your
gate can swing freely to a full 90 degrees in most cases.
Now that you understand your high point you can install your first post at approximately 1530mm to the top of the post from your high point.
Why approximately and why 1530mm? Because there are no hard and fast rules here. Your gate is 1500mm high and you need to allow a
clearance gap. We use 30mm as it enables us to keep our centre stop nice and low, but 50mm is fine and you can get away with 5mm if it
suits. The point is that you must add your clearance gap to the height of your gate to determine your finished height above your high point
level.
Once you have your first post installed you then have a level from which to install all remaining posts. There are many tools you can use to
get your levels, with the obvious being a spirit level, but others include laser beams, a dumpy or if you are skilled enough the good old
water level works a treat.
POST INSTALLATION DETAIL
BOLTING TO AN EXISTING STRUCTURE – We have provided brackets (four per post) that you can use if you choose, or you can fix
directly through the post itself. Whatever method you choose cut your post to length, use adequate fasteners of correct size and suitable
for the structure you are fitting to. Touch up paint has been provided to color match any exposed brackets or fasteners if you wish.
CONCRETE IN – Dig a hole of at least 300mm diameter and minimum 800mm deep (at least 100mm deeper than your in hole post length).
Size of hole will vary dependent on soil conditions but as a general rule depth is more important than width and you should aim for one
third of the post in the ground. Attach the wall fix brackets that are not being used to the base of the post by Tek screw. These can be fitted
indiscriminately as they will be underground in concrete and will give your post a method of gripping the concrete. Using a suitable
concrete mix including aggregate pour about 150mm into the hole before inserting your post. You can now pour batches of 150mm
concrete checking your post for square, level and correct height as you go and prodding your concrete with a stick to get rid of air pockets.
When your hole is full, clean off the area suitably and check again, position, height, square and level of your post.
NOTES ON CONCRETE –
We do not recommend any type of quick dry or rapid set concrete. There are however many good
premix packs of normal concrete mix with aggregate available at the hardware stores.
Concrete may cure in as little as 12 hours in hot conditions but true full strength is not attained for up
to a month. In general terms your posts should be ready to hang gates from in four to seven days.
We would strongly suggest that you allow at least four days for concrete to set sufficiently before
hanging your gates.


