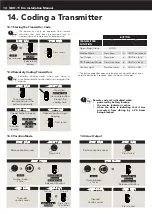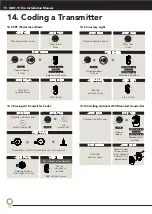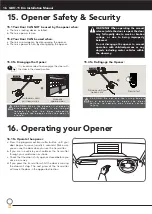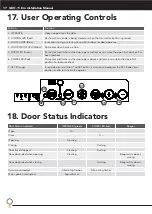
GDO-11 Ero Installation Manual
10
11. Setting Limits
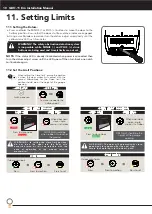
11.1 Setting the Datum:
a. Press and hold the MINUS (-) or PLUS (+) buttons to move the door to the
halfway position. Ensure that the door, shuttle and chain index are engaged.
b. Using a small blade screw driver turn the datum adjust screw slowly until the
yellow status LED just illuminates.
c.
d.
e.
NOTE:
If the status LED is already illuminated when power is connected then
turn the datum adjust screw until the LED goes off then turn back one notch
to illuminate again
.
AUX
OSC
0V
EB2
0V
EB1
V+
WARNING! The safety obstruction detection system
is inoperable while MINUS (-) and PLUS (+) drive
buttons are being used and travels limits are not set.
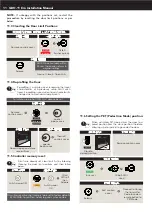
11.2 Set the Limit Positions:
S T E P O N E
When setting the Close limit, ensure the position
is when the door makes first contact with the
ground. Alternatively for the Open limit the
position should be at the height of the garage
opening.
S T E P T W O
Switch power on
To move the door to the
halfway point.
tip
S E T T I N G L I M I T S
OR
S T E P O N E
C L O S E L I M I T P O S I T I O N
S T E P T W O
HOLD
Press to close door
S T E P T H R E E
W A R N I N G ! In setting the close limit position,
do not force the door into the floor with
excessive force, as this can interfere with the
ease of operation of the manual release
mechanism.
If door overshoots
Press
Press to position
Press to set
RELEASE
When door near
close, single
presses inch door
CLOSE limit should be
when rubber strip touches
the ground
S T E P O N E
O P E N L I M I T P O S I T I O N
S T E P T W O
HOLD
W A R N I N G ! The door will automatically close.
open and close again after the next step.
Ensure that nothing is in the door’s path.
Press to close door
RELEASE
When door near
open, single
presses inch door
OPEN limit should be the
height of the garage
opening
S T E P T H R E E
If door overshoots
Press
Press to position
Press to set


