April 28
th
, 2020
Page 23 of 49
Plug all power supply units and power cables into the provided socket strip and connect
them to a supply connection. Switch on the socket strip as well as the main switch of the
control electronics of the blackbody and follow the instructions of the system setup,
which is described below:
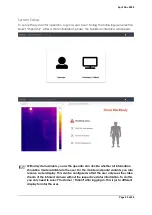
The user display must be switched on separately. To do this, press the orange
button on the left side of the holding frame until you get a noticeable, haptic
feedback. The tablet automatically starts up and makes all necessary
connections. The process takes about 1-2 minutes.
As an alternative, you have the possibility to watch the setup and initial setup of the
system in the short video provided.
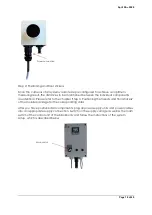
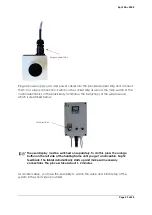
Screw connection
Main switchr
Summary of Contents for FebriScan
Page 1: ...April 28th 2020 Page 1 of 49 AT Automation Technology GmbH FebriScan USER GUIDE...
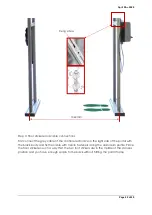
Page 10: ...April 28th 2020 Page 10 of 49 Wing screw Central fixing screw...
Page 12: ...April 28th 2020 Page 12 of 49 320mm...
Page 42: ...April 28th 2020 Page 42 of 49 Appendix Technichal Documentation Blackbody...
Page 43: ...April 28th 2020 Page 43 of 49 Control electronics Blackbody...


