background image


4


Congratulations on your purchase of the RS720LCD remote start vehicle security 
system.  We sincerely hope the purchase of the RS720 remote start security system 
gives peace of mind to you.   
 
The RS720 LCD is a state-of-the-art two-way communication system.  Please take the 
time to read over this manual to thoroughly familiarize your self with the many features 
and options of the RS720. 
 
Auto Page, Inc. has over 25 years of experience in the vehicle security industry in the 
United States and is a wholly owned subsidiary of Iwata Electric Co., of Tokyo, Japan.  
Iwata has been an industry leader for over 50 years, establishing a reputation for 
ingenuity in its engineering capability and innovative communication products.  Auto 
Page and Iwata maintain a long tradition of providing the best value to their customers.   
 

TRANSMITTERS  
 

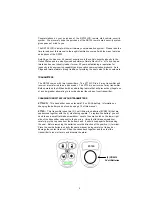
The RS720 comes with two transmitters.  The XT72LCD is a 2-way transmitter and 
receiver, also referred to as a transceiver.  The XT72s is a mini-size 1-way transmitter.  
Both operate on the AM band with a code-rolling feature that will prevent any illegal use 
of a code-grabber attempting to record and steal the codes of your transmitter. 
 

CHANGING THE BATTERY IN YOUR TRANSMITTERS  
 
XT72LCD:  

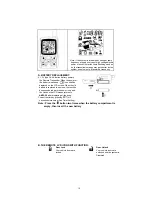
This transmitter uses a standard 1.5 -volt AAA battery.  Information on 

changing the battery can be found on page 12 of this manual. 
 

XT72S:  

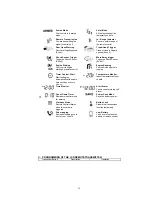
This transmitter uses two (2) 3 -volt lithium ion batteries (#CR2016) that are 

sandwiched together with the (+) side facing upward.  To replace the battery, you will 
need to use a small flat blade screwdriver.  Locate the small notch on the lower right 
side of the transmitter case next to the key ring.  Using the flat blade screwdriver, 
carefully pry the top case from the bottom case.  It should snap apart after breaking 
the seal.  Before removing the batteries note the direction of the positive (+) terminal.  
Place the new batteries in exactly the same manner, being careful not to bend or 
damage the contact terminal.  Snap the cases back together and then test the 
transmitter to insure it arms and disarms the alarm. 


(2) CR2016 

3-Volt Batteries


XT-72S 

Summary of Contents for RS-720LCD

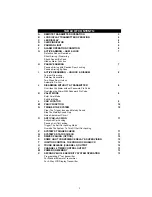
Page 1: ...1 RS 720LCD PROFESSIONAL REMOTE CAR STARTER WITH ALARM SYSTEM 2 WAY LCD COMMUNICATION OPERATION MANUAL THIS PRODUCT IS DESIGNED FOR PROFESIONAL INSTALLATION ONLY...

Page 2: ...m With Password Pin Code 8 K VALET MODE Enter Valet Mode Exit Valet Mode 9 L CAR LOCATOR 9 M PANIC FUNCTION 10 N TRIGGER THE SYSTEM Clear The Trigger Icons and Melody Sound Stop The Melody Sound Only...

Page 3: ...16 H SHUT DOWN INPUT FOR REMOTE STARTER 16 I DISABLING THE REMOTE START SYSTEM 16 LCD REMOTE TRANSMITTER A BATTERY REPLACEMENT 17 B THE REMOTE LCD ICONS WITH FUNCTION 18 C PROGRAMMING OF THE LCD REMOT...

Page 4: ...ceiver The XT72s is a mini size 1 way transmitter Both operate on the AM band with a code rolling feature that will prevent any illegal use of a code grabber attempting to record and steal the codes o...

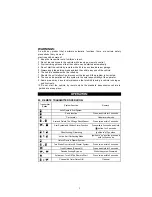
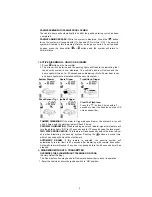
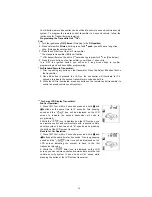
Page 5: ...es that prohibit leaving a vehicle running on public streets 10 Do not start the vehicle by remote while the standard transmission vehicle is parked at a steep place OPERATION A REMOTE TRANSMITTER OPE...

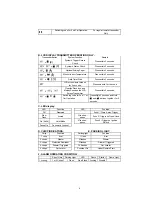
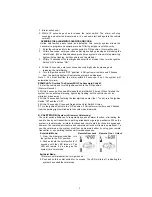
Page 6: ...ing code for 2nd 1st Car Operation Press within 3 seconds and Hold and buttons together for 2 seconds C LED display LED Function LED Function Off Disarmed Zone 1 Warn Away Trigger Slow Flash Armed 2 f...

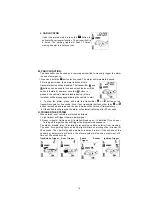
Page 7: ...ity sy stem and by pass the shock sensor The system will chirp one additional time to confirm the sensor bypass mode was activated The sensor bypass feature is programmed to activate for one arming cy...

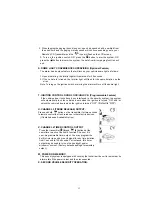
Page 8: ...r The Flash Icon Press the button 3 times within 3 seconds to clear the flash icon on the LCD screen transmitter TAMPER DISARMING If the alarm is triggered upon disarm the system s siren will chirp 4...

Page 9: ...sound 2 Within 5 seconds Press and Release the Valet Switch 8 times When finished the system s siren will stop alarming lights stop flashing but the vehicle can not be started or driven away 3 Within...

Page 10: ...nsmitter or button on the transmitter again for 3 seconds Also if any transmitter buttons other than or button is pressed and released the panic mode will be turned off immediately 4 If the button is...

Page 11: ...er Noise A batement Circuit covers doors Hood Trunk differently If the alarm is triggered by an open door for six full cycles the doors will be bypassed until the trigger ceases O ANTI CAR JACKING War...

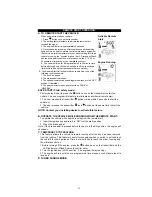
Page 12: ...check the system s present status through the LCD screen Press the transmitter button twice Within 3 seconds press the C button It will respond with one melody sound Note If it has no response then y...

Page 13: ...e vehicles door locks have been interfaced to the security system the system will automatically lock the vehicle s doors when the ignition is turned ON and or unlock the vehicle s doors when the ignit...

Page 14: ...e transmitter will illuminate for 3 5 seconds to indicate the second transmitter pin code has built in 3 While the LED is illuminated press any button on the remote control transmitter to control a se...

Page 15: ...ne Running SAFE START Child safety mode Factory default is set to press the button once on the transmitter to start the vehicle You can program this feature to eliminate an accidental remote start 1 T...

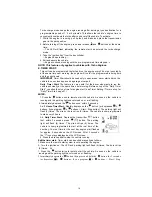
Page 16: ...you time for engine start see Timer Setting Timer set up for Daily Timer Start page 21 ENTER 1 Press the button once to remote start the vehicle As soon as the vehicle is running and the parking ligh...

Page 17: ...ress the brake pedal The vehicle will shut down and turn off the parking light to indicate engine stopped H SHUT DOWN INPUT FOR REMOTE STARTER If any of the following conditions exist while the system...

Page 18: ...ttery weakens a icon shall be displayed on the LCD screen When the old battery is replaced to new one there will be beep sounds indicate the power is up and the clock on the LCD screen returns to AM12...

Page 19: ...emote control Engine Running Your vehicle s engine is running Timer Control Start Start the Engine automatically at the same time next day or every 3 hour Temperature Monitor Indoor temperature of you...

Page 20: ...ll turn on for 5 seconds 2 Power Save Mode While in the power save mode the LCD remote transmitter uses 0 current to save the battery power Entry Press hold the button for 5 seconds one melody will so...

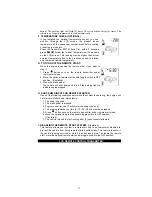
Page 21: ...y weakens it has two short bi sound and flash icon while pressing the button of the LCD screen transmitter 9 Set Up Fixed Count Down Timer 1 Press the button first within 3 seconds press and hold the...

Page 22: ...0seconds the system will exit the programming mode 1 Timer Setting Example to AM10 30 1 Press hold the button for 3 seconds two melodies will sound and the Hours digit flashes for adjusting 2 Press th...

Page 23: ...he icon flashes for the alert alarm ON OFF setting 7 Press the button to start the count down timer and the ON icon will appear on the LCD screen Press the button to stop the count down timer and the...

Page 24: ...a professional installation technician authorized by a dealer of Auto Page will void the product s warranty 3 The purchaser s remedies under this WARRANTY shall be limited to the repair or replacement...

Page 25: ...________________ ________________________________ Your Name Please Print Company Name ___________________________ ________________________________ Address Dealer s Address ___________________________...

Page 26: ...aser s responsibility to keep this card for any future warranty service 1815 West 205th Street Suite 101 Torrance California 90501 1525 Main Office 310 618 2002 Customer Service 800 262 2527 Ext 462 w...

Reviews: