EN
EN
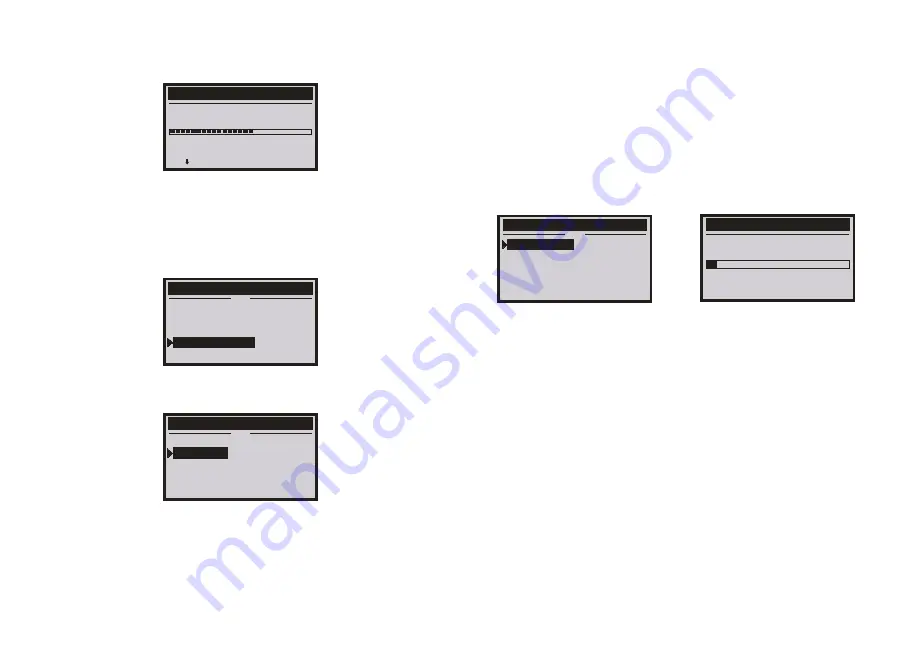
2) From the Contrast menu,use the SCROLL button to increase or decrease
contrast.
3) Press ENTER to save your settings and return to the previous menu.
3.6 Unit of measure
1) From the Main Menu, use the SCROLL button to select Unit of Measure, and
press ENTER.
2) From the Unit of Measure menu, use the SCROLL button to select the
desired Unit of Measure.
3) Press the ENTER button to save your selection and return to the previous
menu.
4. OBDII Diagnostics
CAUTION: Don’t connect or disconnect any test equipment with ignition on or
engine running.
1) Turn the ignition off.
2) Locate the vehicle’s 16-pin Data link Connector(DLC)
3) Plug the scan tool cable connector into the vehicle’s DLC.
4) Turn the ignition on.
5) Press ENTER to enter main menu.Use the SCROOL button to select
diagnostics from the menu.
6) Press ENTER to confirm.
If ”LINKING ERROR!” message shows on the display.
-Verify that the ignition is ON;
-Check if the scan tool’s OBDII connector is securely connected to the vehicle’s
DLC;
-Turn the ignition ‘off’ and wait for about 10 seconds.Turn the ignition back to ‘on’
and repeat the procedure from step 5.
4.1 Read Codes
. Stored codes are also known as “hard codes” or “permanent codes”. These
codes cause the control module to illuminate the malfunction indicator lamp(MIL)
when an emission-related fault occurs.
. Pending Codes are also referred to as “maturing codes” or “continuous monitor
codes”. They indicate problems that the control module has detected during the
current or last driving cycle, but are not considered serious, yet. Pending Codes
will not turn on the malfunction indicator up cycles, the code clears from memory.
6
7
Contrast
(
60%
)
Ues to change
Main Menu
4/4
Diagnostics
Language
Contrast
Unit of Measure
Unit of Measure
2/2
English
Metric
Main Menu
1/4
Diagnostics
Language
Contrast
Unit of Measure
Linking to vehicle
ISO 9414-2
Waiting for vehicle to respond.


