Configuration Examples
Configuration Handbook, Autroprime Interactive Fire Detection System, 116-P-APRIME2-CONFIG/EGB, Rev. A, 2013-04-03,
Autronica Fire and Security AS
Page 129
9.3.2 Step 1: Create Detection Zones and Connect Points
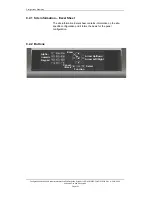
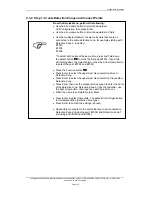
From the Service Menu, perform the following:
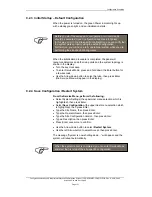
Use the arrow down button to scroll downwards to
Unit Configuration
, then press Enter.
Use the arrow down button to scroll downwards to
Points
.
Use the multiselect feature* to select
all
points that are to be
connected to the same detection zone, for example starting with
Detection Zone 5, including:
B1001
B1005
B1006
*To select both points at the same time, press and hold down
the Select button
to mark the first point B1001, then while
still holding down the Select button, press the Arrow Down button
to select the point B1005 and B1006.
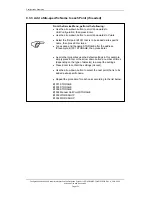
Press the Function button
Press Enter to select the uppermost menu selection
Move to
Detection Zone
.
Press Enter to select the uppermost menu selection
Create New
Detection Zone
.
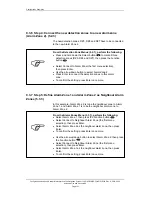
Press Enter, then use the alphanumeric keypad to enter the name
of the detection zone; Detection Zone 5 (type the first letter, use
the right arrow button, then type the next one, and so on).
When the name is completed, press Enter.
Press Enter to select
Immediate
. The default Alarm Organization
is Immediate Action (detection zone type).
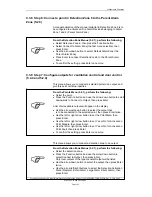
Press Enter to confirm the settings (
Accept
).
Repeat this procedure for the points that are to be connected to
Detection Zone 6 (including point B1002) and Detection Zone 7
(including point B1003 and B1004).
Summary of Contents for Autroprime 2
Page 148: ......

