VERSION 1.9
J120 (38198-X)
Getting started
Applying power
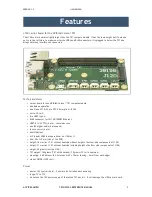
The J120 is powered by the on-board power connector (J11). Rev 1 and 2:
each of the 2 separate power pins features a Schottky diode. These 2 diodes
OR the 2 power inputs together. So 2 independent power inputs are provided
to achieve redundant powering. Rev 3+: reverse voltage protection and
inrush current limiting have been added (now single power input on 2 pins).
Alternatively the power wires may be soldered directly to the J120. Two
power holes have been added between the power connector and the mount
hole.
Auto start
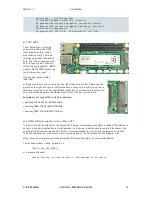
The J120 automatically powers up the TX1 with a digital one shot which pulls
the POWER-BTN input of the TX1 low for approximately 1 second after power
is applied. When the TX1 raises the CARRIER_PWR (A48) line, the power
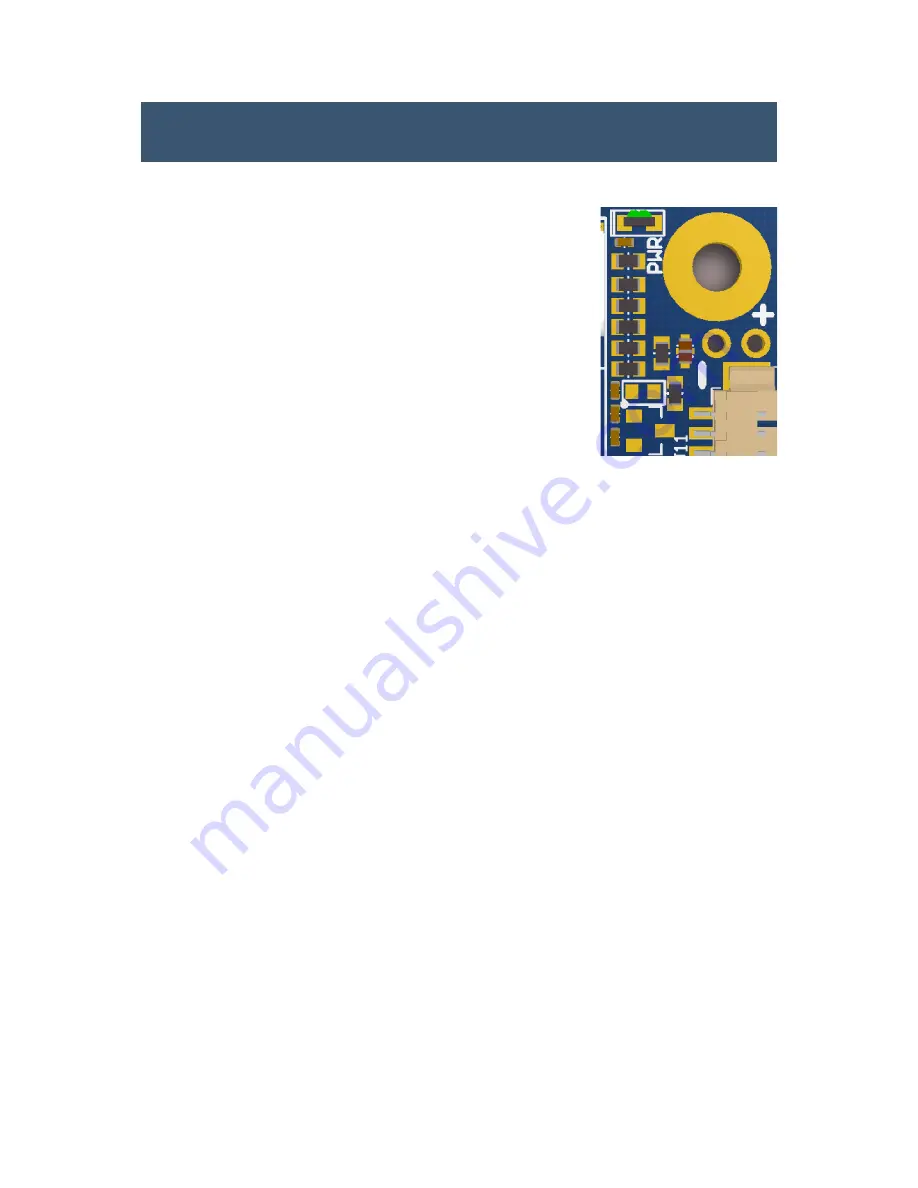
supplies on the J120 are powered up. This is indicated by lighting up the
green power LED below the fan connector. With rev 3 this LED moved to the
right of the M.2 connector.
The auto start logic is powered by Vdd_RTC (A50). Rev 1: for auto start to work, please power down the TX1
for at least 10 seconds. This allows time for the Vdd_RTC supply to drain and the enable auto start, when
power is applied again. Rev 2 of the J120 will shorten this time, by actively draining Vdd_RTC when the main
power is removed. Alternatively power up the J120 by pressing the power button. With rev 3 the auto start
logic is powered by the 12V power supply, not to drain Vdd_RTC and the super cap charge.
Console access
The console port of the TX1 is UART 0. The J120 converts this UART port to standard 3.3V TTL levels. So a
standard USB to TTL serial converter may be used to connect to the console. Just connect TXD, RXD and GND
to the USB converter. Make sure that you connect TXD to the RXD input of the USB TTL converter. Standard
baud rate it 115200. Settings: 8/1/N.
Firmware upgrade of the TX1
The J120 does support a direct firmware upgrade of the TX1. However, there is one issue on rev 1. Once the
USB cable to USB0 is connected the J120 will be back powered through USB. In this mode the J120 will not
boot. Please put the the TX1 into the upgrade mode with the recovery button before connecting the USB cable
to USB0. Alternatively please perform the firmware upgrade on the TX1 development board. Firmware upgrade
is supported fine on the newer revs.
AUVIDEA GMBH
TECHNICAL REFERENCE MANUAL
8


