4
Note:
Please retain the original packing material should the need ever arise to
return the unit. If you find any items are missing, contact your reseller or TV One
immediately. Have the Model Number, Serial Number and Invoice available for
reference when you call.
4.0 CONNECTING THE HARDWARE
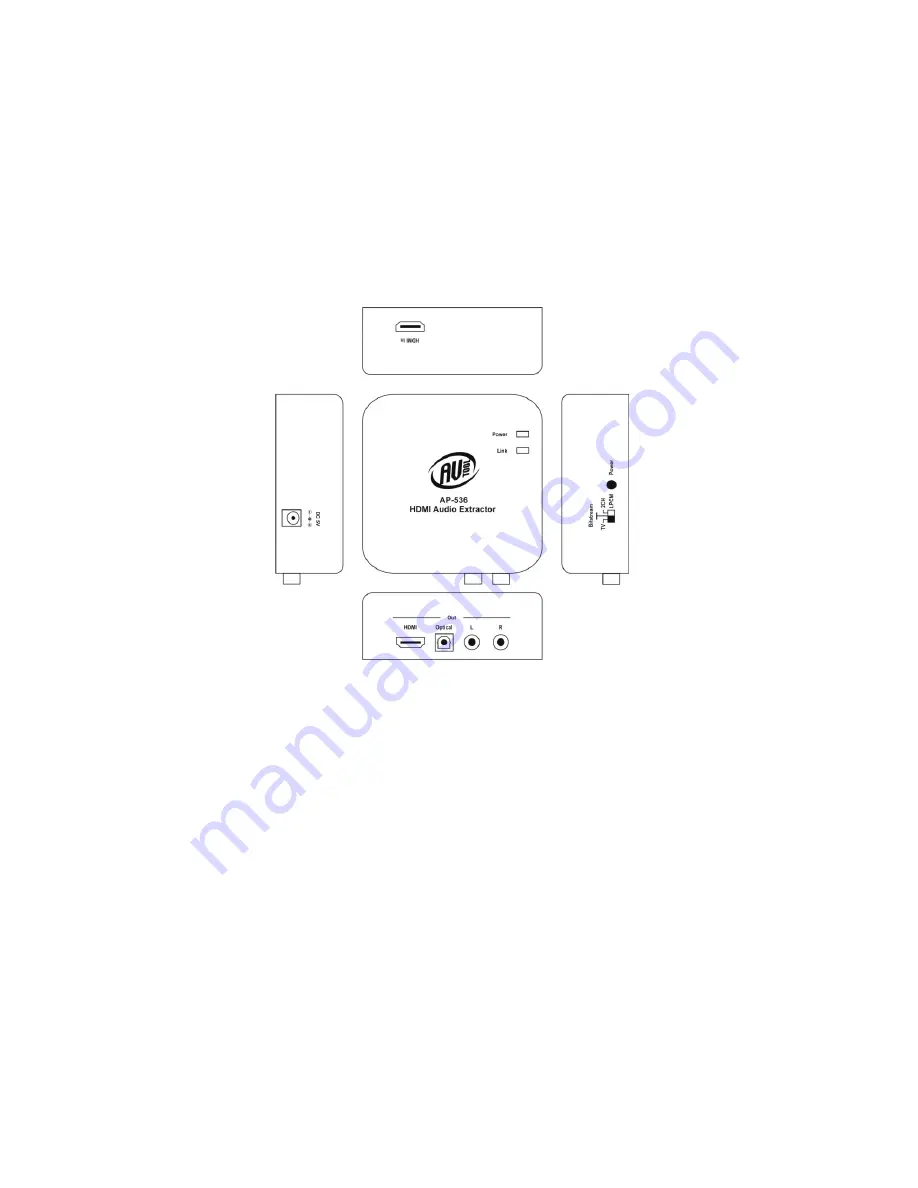
Please study the panel drawings below and become familiar with the Signal
Input, Outputs, Power connector and On/Off switch plus the Signal adjustment
control location.
Connect the HDMI output from the source equipment to the HDMI In connector
on the AP-536. Next, connect the AP-536’s Optical or L and R outputs to the
destination audio equipment. Optionally, connect the HDMI Out to an HDMI
display device.
Set the audio EDID switch on the right side of the AP-536 to the desired audio
support mode (TV Pass-through, Bitstream or 2 Channel LPCM).
Note: The Optical output supports Dolby Digital, DTS and LPCM 2.0 sources.
The L/R Audio output can only support LPCM 2.0 audio sources.
Connect the AC adapter to the AP-536 and to a working AC power socket. You
may then turn on the destination equipment and the source equipment.
5.0
OPERATING THE UNIT
Other than connecting power, connecting the cables to the source and
destination equipment and making the desired audio support selection, there are
no operator interventions required.
Summary of Contents for AP-536
Page 1: ...Instruction Manual AP 536 HDMI Audio Extractor...
Page 2: ......


