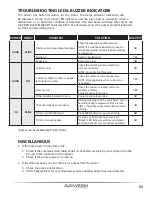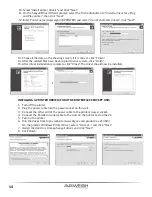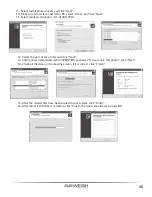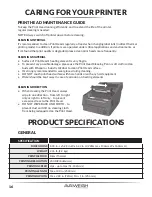
6
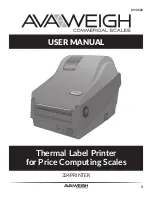
• This Quick Set-Up Guide will connect the Avaweigh (PCS40/PCS40T) to the Avaweigh Printer
(OS-2130D) using default settings, allowing for quick set-up and printing. Additional set-up
options can be found on pages 11-13 in the scale manual.
1. Connect RS232 to scale and printer:
Use the RS232 cable that came with the printer and connect it to the RS232 inserts that are
located on the back of the printer and the left side of the scale.
2. Power on the scale:
Locate the power switch on the right side of the machine and toggle it to the on position.
Wait about 5 seconds for the scale to load and calibrate.
3. Getting to setup mode:
Press the red power button and the number 4 simultaneously for a few seconds until the
machine beeps. You are now in setup mode.
4. Label Length:
Unit price screen should read ‘232.oUt.’ Once you have confirmed you are on the label length
screen please select the number associated with the length and type of label you will be using.
• Press 1: 40mm length/ date will print on label
• Press 2: 60mm length/ date will print on label
• Press 3: 40mm length/ NO DATE will print on label
• Press 4: 60mm length/ NO DATE will print on label
• Press Enter to confirm your selection.
5. Bits Per Second Connection:
Unit price screen should read ‘232.bPs,’ confirming that you are on the BPS screen.
• Press 4: (9600bps)
• Press Enter to confirm your selection.
6. Data Type:
Unit price screen should read ‘232.dFt,’ confirming that you are on the data type screen.
• Press 1: (8N1 8 bits data)
• Press Enter to confirm your selection
7. Date Format:
Unit price screen should read ‘Prtd.dt,’ confirming that you are on the date format screen.
• Press 1: (DD-MM-YY)
• Press Enter to confirm your selection
QUICK SETUP GUIDE
CONNECTING YOUR AVAWEIGH PRINTER (OS-2130D)
TO THE AVAWEIGH PCS40/PCS40T SCALE
SCALE CONNECTION

