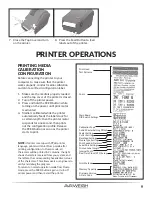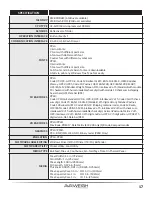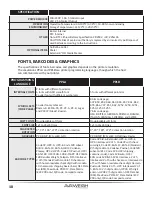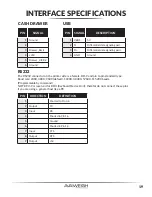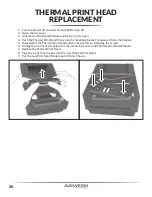
Print Head
Test Patterns
Fonts
Main Board
DIP Switch Settings
Calibration Type
Cutter/Peeler Setting Offset
Peeler Setting
Cutter Setting
Backfeed Setting
Media Type Setting
Print Speed & Darkness
Serial Port Settings
Printed Label Length
Internal Fonts
Real Time Clock (RTC) Setup
Print Method
Memory Capacity
Firmware Version
& Date Code
9
1. Make sure the media is properly loaded
and the top cover of the printer is closed.
2. Turn off the printer power.
3. Press and hold the FEED button while
turning on the power, until print motor
is activated.
4. Media is calibrated while the printer
automatically feeds the label stock for
a certain length; then the printer motor
suspends for one second, then prints
out the configuration profile. Release
the FEED button as soon as the printer
starts to print.
NOTE:
If printer is set up with PPLB printer
language, printer will enter Dump mode after
printing configuration. In Dump mode, all
characters will be printed in 2 columns: the right
shows characters received from you system, and
the left are the corresponding hexadecimal values
of the characters. This allows users or engineers to
verify and debug the program.
To return to normal operation mode from Dump
mode, press the FEED button again, or turn off
printer power and then restart the printer.
7. Close the Top Cover and turn
on the printer.
8. Press the Feed Button to feed
labels out of the printer.
Before connecting the printer to your
computer, to make sure that the printer
works properly, conduct media calibration
and print a self-test/configuration label.
PRINTER OPERATIONS
PRINTING MEDIA
CALIBRATION
CONFIGURATION

