Avalon Bay EcoWash Product Guide
3
http://www.avalon-bay.com
5.
Fit the pressure lid on the top of the machine, and turn clockwise about a one-eighth turn-until it
cannot turn anymore. Tighten the pressure knob at the top of the lid by turning clockwise until fully
tight.
6.
Attach the handle and turn the machine at about one turn per second for the recommended time.
7.
After washing, unscrew the pressure lid by turning the pressure knob slowly to release the pressure.
8.
Remove pressure lid by turning counter-clockwise.
9.
To drain, insert the water release valve at the bottom right of the drum. To do so, push slightly in
and turn the valve a quarter turn clockwise, until it clicks into position.
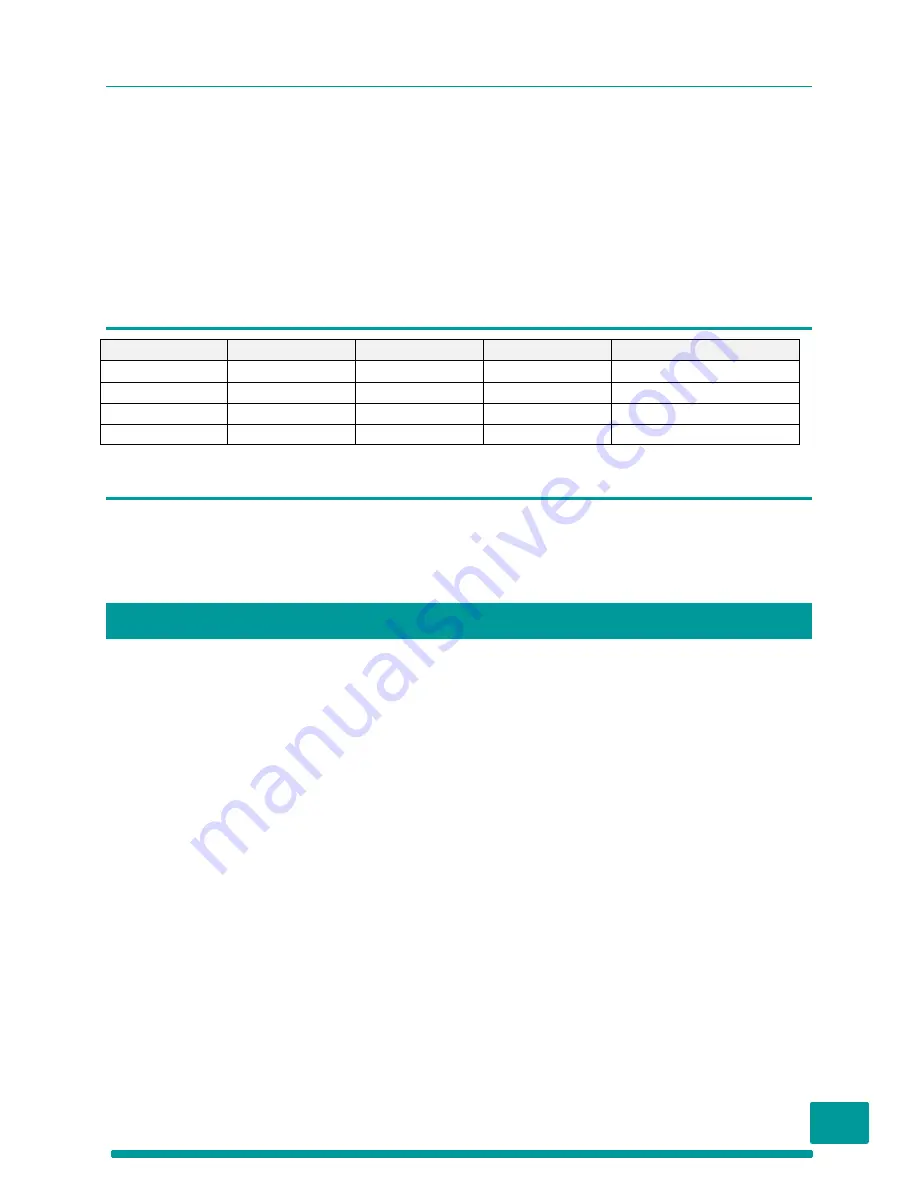
Washing Chart
Load (lbs)
% Full
Water(quarts)
Detergent
Wash Time
1.1
1/4load
1.5
1 tablespoon
1 minute
2.2
1/2load
3.0
2 tablespoon
1.25minutes
3.3
3/4load
4.5
3 tablespoon
1.5 minutes
4.84
Full load
6.0
4 tablespoon
2 minutes
Rinsing
Rinsing can be done in the machine. After draining the dirty water, leave the laundry in the machine and
fill with clean cold water. Replace the pressure lid, tighten and turn the machine for about 30 seconds.
This will drain the EcoWash and if needed repeat again.
Assembly
Putting this machine together is easy. It does require simple assemble when new, but anyone can do it
in a minute or two.
1.
To assemble the machine, make sure the lid is off, then place it (main washing drum portion) up-
side-down on a flat surface.
2.
Take one of the triangular parts of the base, and the two front and back pieces.
3.
Connect the three parts together by inserting the tabs into the corresponding holes, and then
sliding to lock the parts in place.
4.
Once you have three of four base parts connected together, line up the hole at the top of the
triangular piece with the connector part on the washing drum, slide it into place.
5.
After most of the base has been connected to the drum, take the last triangular piece and line
up the hole with the connector on the other side of the drum.
6.
Once the post is through the hole, connect to the rest of the base by inserting the tabs, and
sliding to lock in place.
7.
Now slide on the crank handle, and then secure this side of the base by inserting the metal pin
through the little hole.


