AVALON INSTRUMENTS MOUNTS
QUICK START GUIDE
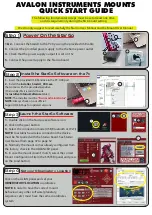
The following fundamental 4 steps, must be set at least one time
and it is required only during the first mount setting
Step 1
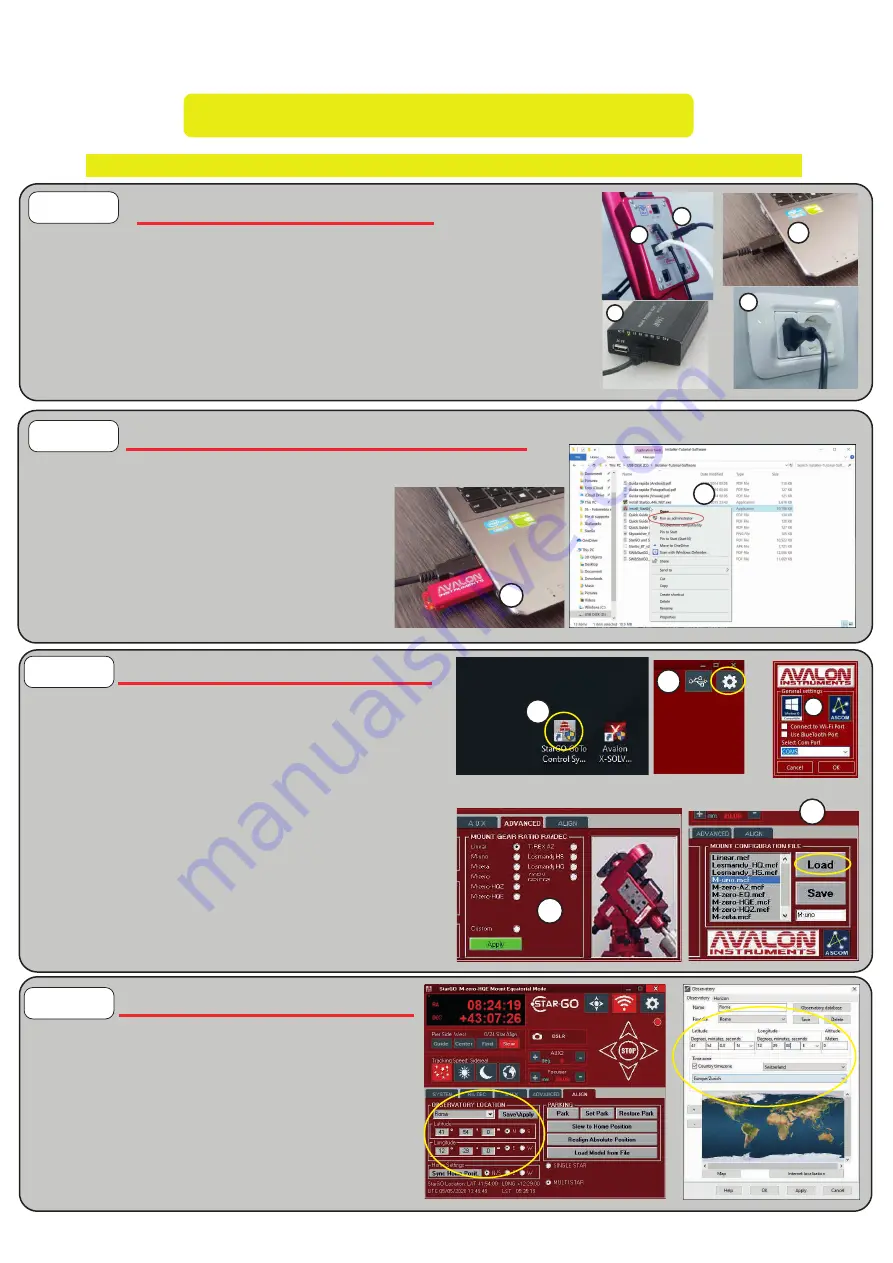
Install the StarGo Software on the Pc
Launch the StarGo Software
Set your Observatory Location
1 & 2
- Connect the StarGO to the PC by using the provided USB cable
3
- Connect the provided power supply to the the home power outlet
4
- Check that the power supply output it is set on 15v
5
- Connect the power supply to the StarGo board
1
- Insert the provided USB Pendrive in the PC USB port
2
- Install the
Installer_StarGO_XXX.exe
that comes with the provided pendrive
(The installer file it is located inside
the
Installer-Tutorial-Software
Folder)
NOTE:
The installer must be
“Run as administrator”
NOTE:
Always check on our official
Support Web Page for updated versions
Click on the ALIGN panel and set your
OBSERVATORY LOCATION
coordinates.
1
4
2
5
3
2
1
2
3
4
1
1
- Double click on the StarGo.exe software icon
2
- Click on the gear button
3
- Select the connection mode (USB, Bluetooth or Wi-Fi)
NOTE:
to establish a wireless connection the device
must be first paired with the StarGo board.
See StarGo
User Manual from page 47 to page 52
4
- Normally the mount comes already configured from
the factory, check in the ADVANCED panel
5
- In case the mount doesn’t match, select the correct
Mount Configuration File in the SYSTEM panel and press
on the Load button
5
We strongly suggest to read carefully the StarGo User Manual and the Mount User Manual
Power On the StarGo
Step 2
Step 3
Step 4
NOTE:
in order to have the correct mount
behaviour, any other software (planetary,
sequencer etc.) must have the same coordinates
system


