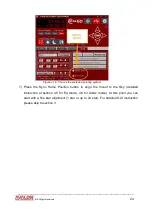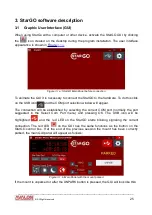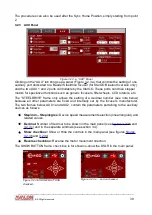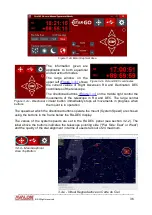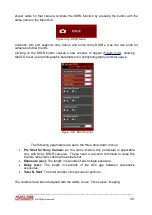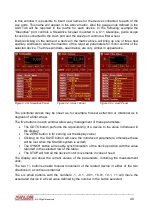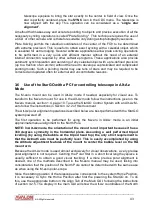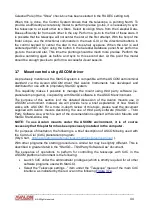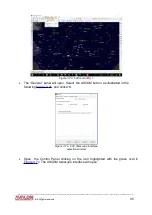
On the top right there are three buttons, by clicking the first on the left the "Virtual Keypad"
will appear, a small panel always on top screen very useful to control the mount with third
party Software as "Carte du ciel", "Stellarium" etc.
The Virtual Keypad panel allows to easily control and move the mount
with the StarGo software functions also when you are using third party
softwares. By clicking on the directionals button the mounts will move at
the selected speed. By clicking on the Stop button the mount will stop his
movement. The Virtual Keypad panel also allows to change the mount
speed movement.
NOTE: in case the Virtual Keypad lose the always on top function
just click again on the Virtual Keypad button on the StarGo Software top panel and it
will soon recover the always on top function.
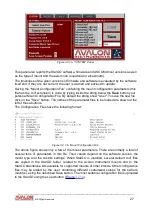
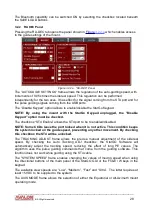
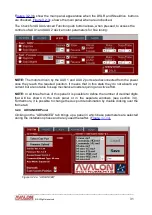
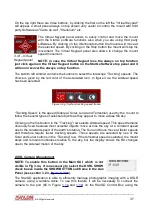
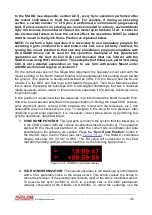
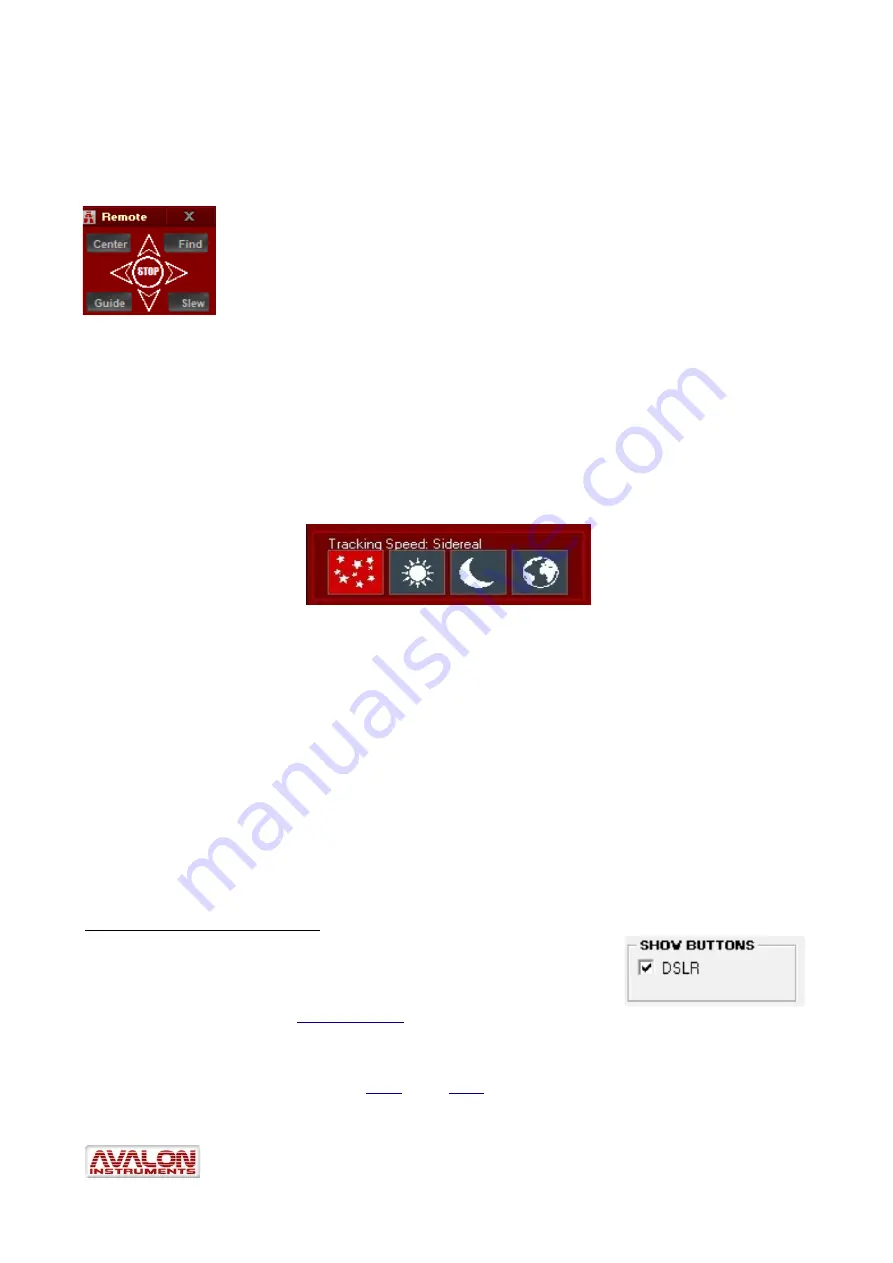
The bottom left window contains the buttons to select the telescope “Tracking” speeds. The
choice is given by the red color of the associated icon. In figure 3.4.e the sidereal speed
has been selected.
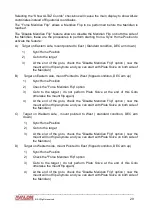
“Tracking Speed” is the speed (Sidereal, Solar, Lunar and Terrestrial) used by the mount to
follow the several types of celestial objects as they appear to move across the sky.
Clicking on the first button in the “Tracking” row selects sidereal speed. This speed remains
obviously fixed because most celestial objects move across the sky at a constant speed
due to the constant speed of the earth’s rotation. The Sun and Moon move at faster speeds
and therefore require faster tracking speeds. Those speeds are selected by use of the
Solar and Lunar buttons in the “Tracking”
row. If the terrestrial speed is selected, the mount
stops and remains motionless relative to the sky, but the display shows the RA changes
due to the sidereal motion of the sky.
DSRL Camera
M
anagement
NOTE: To enable this button in the Main GUI, which is not
visible in Fig 3.4a, it is necessary to select the DSRL SHOW
check boxes inside the SHOW BUTTON sub frame in the Aux
Panel (see section 3.2.3,
).
The StarGO application is able to efficiently manage photographic imaging with a DSLR
camera, using a suitable cable. To use this feature it will be necessary to connect the
camera to the port (#5 in Figure
) on the StarGO Control Box using the
____________________________________________________________________
©
All Rights reserved
37
Figure 3.4.g: System tracking speed frame
3.4.f – Virtual
Keypad panel

