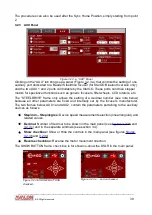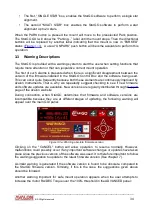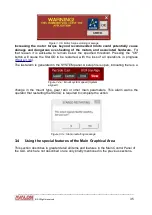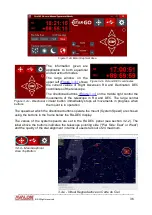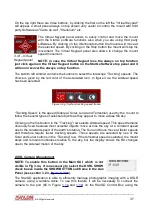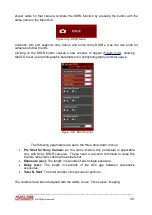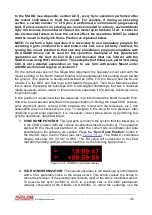
The total time in seconds is reported in the window in the upper left corner.
The “Start” button initiates the sequence of the exposures. The “Stop” button interrupts the
sequence before the total number of shots is carried out.
The “Resume” button re-starts a sequence that has been previously interrupted.
The “Shot” button allows the execution of single shots of variable exposure time. Upon first
clicking on the “Test” button, the exposures start. The second time the “Shot” button is
clicked the process is interrupted.
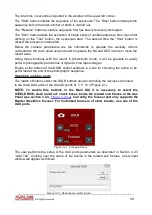
Below the camera parameters are the commands to operate the auxiliary motors
connected to the Aux1 and Aux2 ports and to operate the RA and DEC motors to move the
mount axes.
Using these functions with the mount in Alt-Azimuth mode, it will be possible to easily
perform photographic panoramas or dynamic time lapse images.
Finally, at the bottom of the DSLR control windows is a box for choosing the action to be
performed at the end of the photographic sequence.
Steeldrive and Aux ports
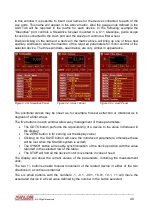
The matrix of buttons under the DSLR buttons allows controlling the devices connected
to the three AUX ports of the StarGO (ports N. 7, 9, 10 of Figure 2.1).
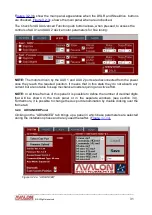
NOTE: To enable this buttons in the Main GUI it is necessary to select the
STEELDRIVE, Aux2 and Aux1 check boxes inside the related sub frames in the Aux
Panel (see section 3.2.3,
). Currently, the focuser port only supports the
Baader Steeldrive focuser. For motorized focusers of other brands, use one of the
AUX ports.
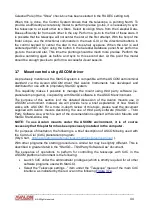
Figure 3.4.i: Focusers Panel
The user performs the setup of the AUX ports parameters as described in Section 4.2.3
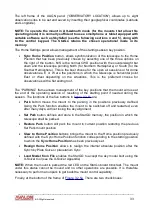
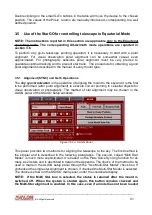
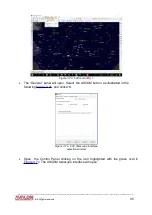
“AUX Tab”. Clicking over the name of the device in the related sub frames, a new input
window will appear as follows.
____________________________________________________________________
©
All Rights reserved
39
Figure 3.4.l: Rename aux motor panel

