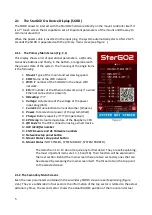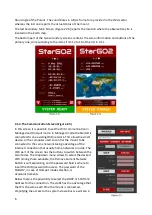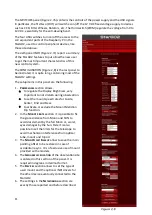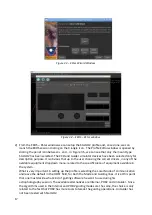
Choose the speed at which the telescope moves.
Select the tracking speed (Terrestrial, Lunar, Solar, Sidereal)
Report the Time information (UTC, LST)
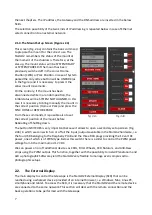
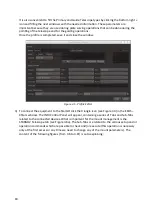
Through the TELESCOPE ADVANCED panel (Figure 2.6c) is possible to perform the operations for
defining a correct position the telescope when parked and the Home position, usually matching
the Counter Weight Down position (CDW - North Pole pointing) before to start the GOTO actions.
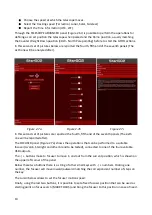
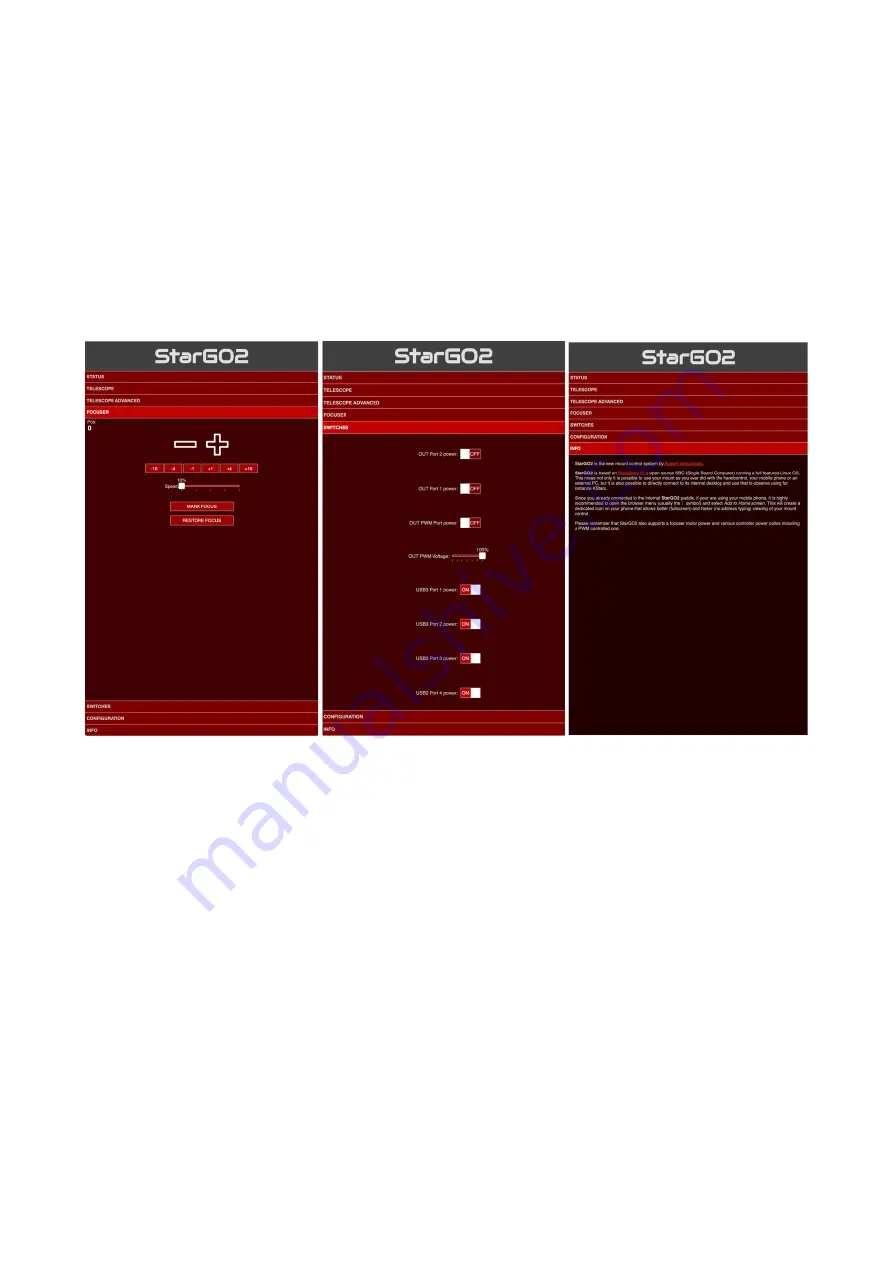
In this second set of pictures below are reported the fourth, fifth and of the seventh panels (The
sixth one will be analyzed after).
Figure 2.7a
Figure 2.7b
Figure 2.7c
In this second set of pictures are reported the fourth, fifth and of the seventh panels (The sixth
one will be reported after).
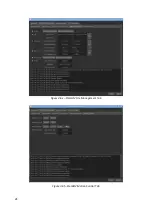
The FOCUSER panel (Figure 2.7a) shows the operations that can be performed to a suitable
focuser (Avalon, Starlight and other brand to be tested), connected to one of the four available
USB outputs.
The - / + buttons make to focuser to move in and out from the current position, which is shown on
the upper left corner of the panel.
Below these two buttons there is a string of other small keys with - / + numbers. Clicking one
number, the focuser will move inward/outward matching the correspondent number of steps on
the key.
The cursor below allows to set the focuser motion speed.
Finally, using the last two buttons, it is possible to set a fixed focuser position that can be used as
starting point on focus search (MARK FOCUS) and bring the focuser to this position in case of need.
10
Summary of Contents for StarGo2 Pro
Page 19: ...Figure 3 6a StarGO2 Main Control Tab Figure 3 6b StarGO2 General Info Tab 19...
Page 20: ...Figure 3 6c StarGO Option Tab Figure 3 6d StarGO2 Connection Tab 20...
Page 21: ...Figure 3 6e StarGO2 Site Management Tab Figure 3 6f StarGO2 Motion Control Tab 21...
Page 48: ...Fig 3 1 1g Fig 3 1 1h Fig 3 1 1i Fig 3 1 1l Fig 3 1 1m Fig 3 1 1n 48...

