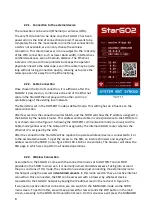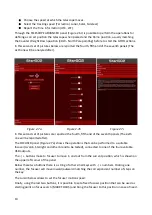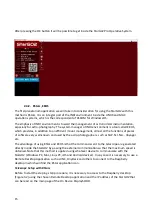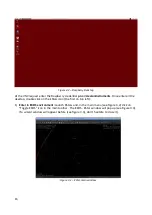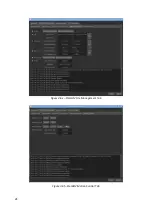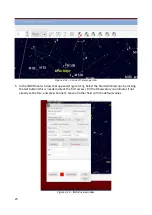
Figure 3.3 – KStar Wizard Window
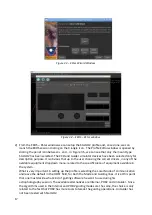
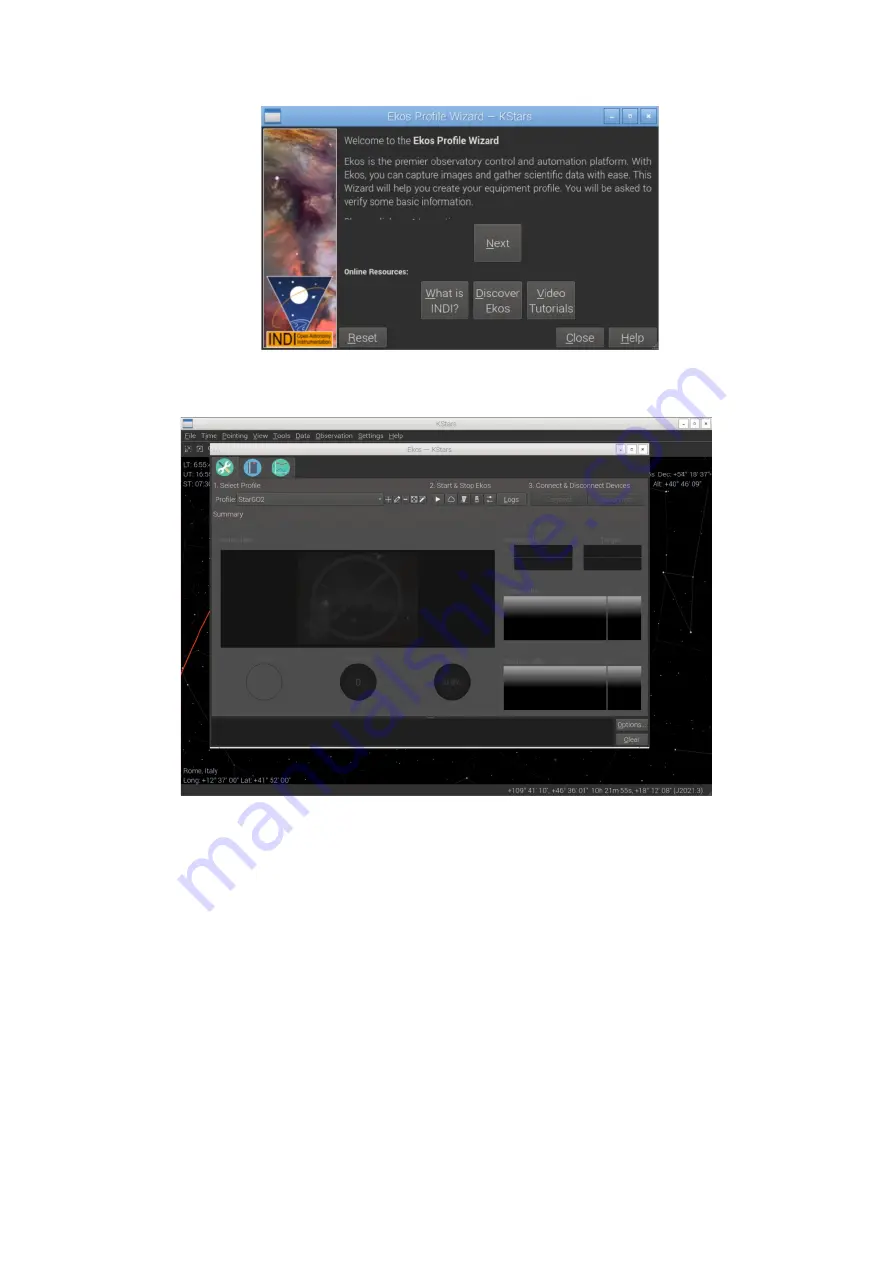
Figure 3.4 – EKOS – KStar window
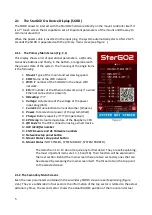
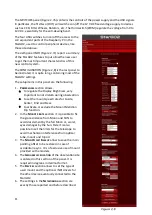
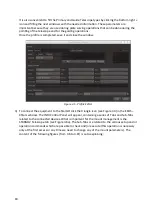
2) From the EKOS – KStar window we can setup the StarGO2 profile and, once done, we can
launch the EKOS session clicking on the triangle icon. The Profile Editor window is opened by
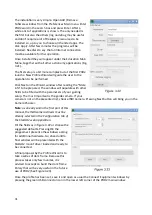
clicking the pencil icon b and -. In Figure 3.5, we can see that only the mount type
StarGO2 has been selected. The CCD and Guider simulator devices have been selected only for
description purpose. It is obvious that up to the user choosing the correct drivers, in any of the
available equipment dropdown menu, related to the specific piece of equipment available in
the system.
What is very important in setting up the profile is selecting the Local Mode of communication
and leave the default in the HOST field, for both the Mode and Guiding lines. It is at this point
that one must decide what kind of guiding software he want to use during his
astrophotography session. The available alternatives are Internal, PHD2 and LinGuider. Since
the algorithms used in the Internal and PHD2 guiding modes are the same, the choice is only
related to the fact that PHD2 has more tools to tweak the guiding operations. LinGuider has
not been tested with StarGO2.
17
Summary of Contents for StarGo2 Pro
Page 19: ...Figure 3 6a StarGO2 Main Control Tab Figure 3 6b StarGO2 General Info Tab 19...
Page 20: ...Figure 3 6c StarGO Option Tab Figure 3 6d StarGO2 Connection Tab 20...
Page 21: ...Figure 3 6e StarGO2 Site Management Tab Figure 3 6f StarGO2 Motion Control Tab 21...
Page 48: ...Fig 3 1 1g Fig 3 1 1h Fig 3 1 1i Fig 3 1 1l Fig 3 1 1m Fig 3 1 1n 48...

