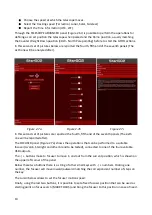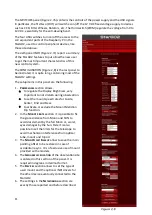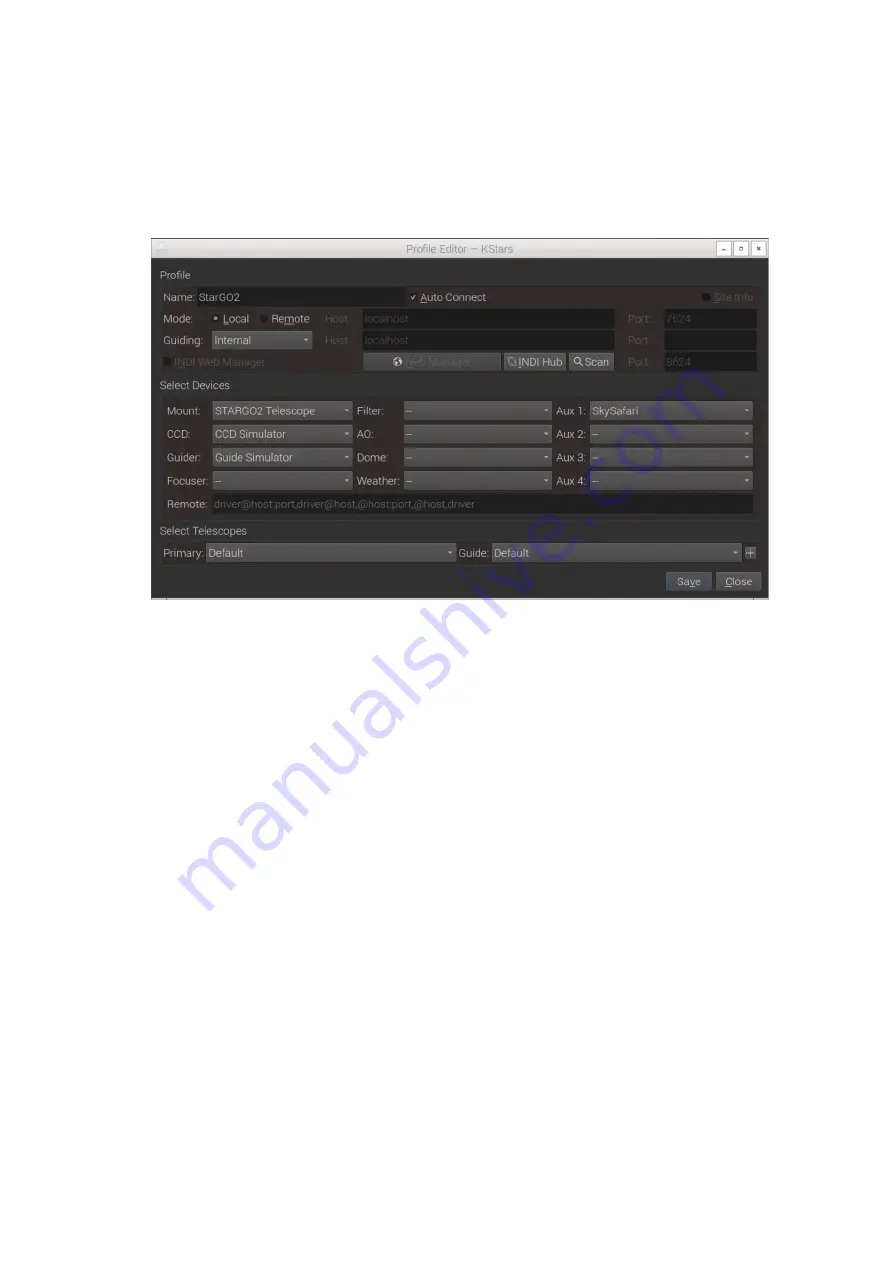
It is also convenient to fill the Primary and Guide Telescope types by clicking the bottom right +
icon and filling the next windows with the needed information. These parameters are
important because they are used during plate solving operations that can be done during the
pointing of the telescope and for the guiding operations.
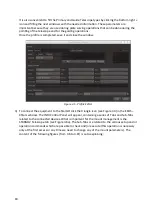
Once the profile is completed, save it and close the window.
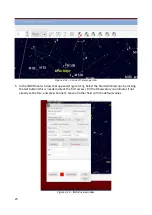
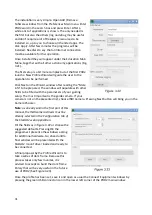
Figure 3.5 - Profile Editor
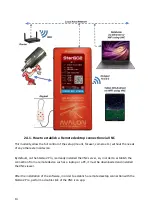
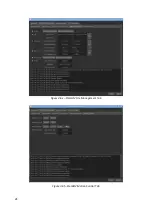
3) To connect the equipment to the StarGO click the triangle icon (see Figure 3.4) in the EKOS –
KStars window. The INDI Control Panel will appear, containing a series of Tabs and Sub-Tabs
related to the connected devices. What is important for the mount management is the
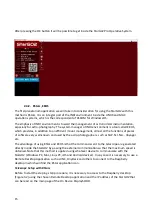
STARGO2 Telescope tab (see Figure 3.6a). The Sub-Tabs are related to the various setup and or
operation commands which are possible to check and/or execute (this operation is necessary
only at the first access or any time we need to change any of the mount parameters). The
content of the following figures (from 3.6 to 3.6f) is auto-explaining:
18
Summary of Contents for StarGo2 Pro
Page 19: ...Figure 3 6a StarGO2 Main Control Tab Figure 3 6b StarGO2 General Info Tab 19...
Page 20: ...Figure 3 6c StarGO Option Tab Figure 3 6d StarGO2 Connection Tab 20...
Page 21: ...Figure 3 6e StarGO2 Site Management Tab Figure 3 6f StarGO2 Motion Control Tab 21...
Page 48: ...Fig 3 1 1g Fig 3 1 1h Fig 3 1 1i Fig 3 1 1l Fig 3 1 1m Fig 3 1 1n 48...


