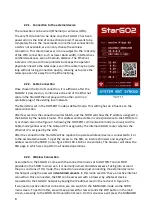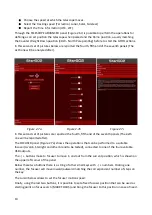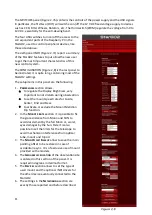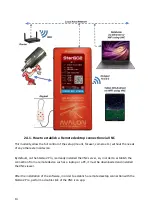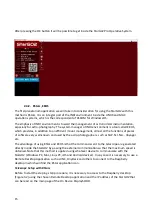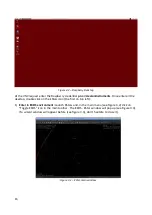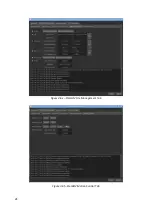
4) Once we are satisfied with our controls and sets, we can close the INDI Control Panel. We will
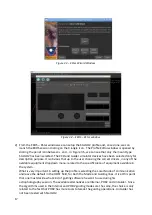
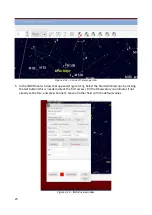
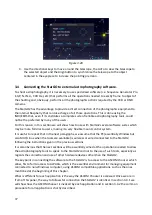
note that now, the EKOS – KStars Panel has been renamed EKOS – StarGO2 Profile – KStars and
its top is now populated with a long raw of colorful icons, each related to the tabs necessary to
operate the single pieces of equipment in our profile (se figure 3.7).
Figure 3.7 – EKOS – StarGO2 Profile – KStars window
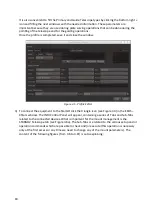
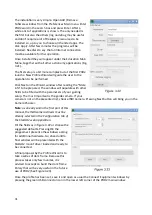
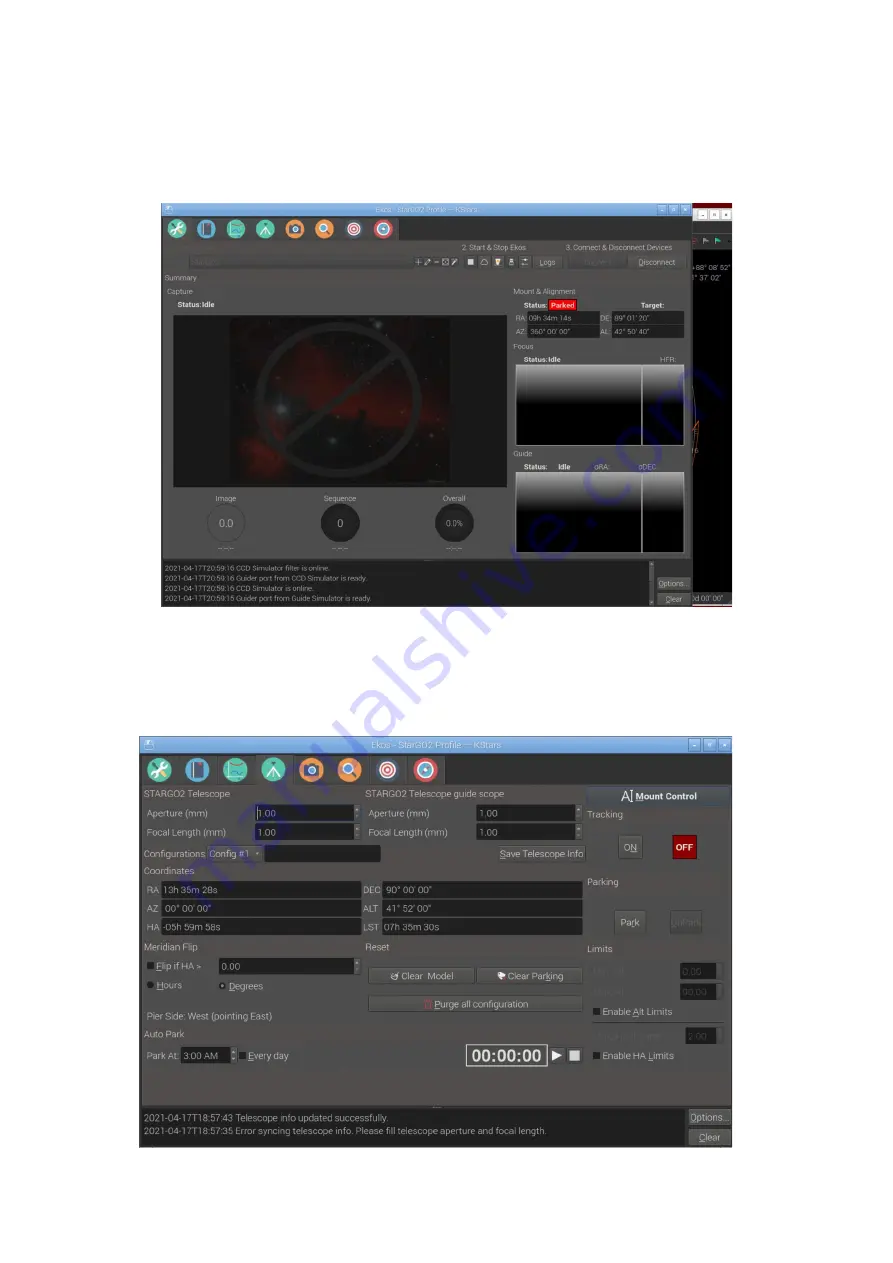
5) The important Tab for the purpose of managing the mount is that with a green one, with a
tripod inside: it allows to open the mount Tab window containing the most important selection
of parameters and commands (Figure 3.8). This is also auto-explaining.
22
Summary of Contents for StarGo2 Pro
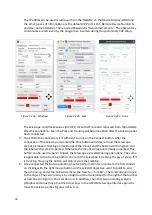
Page 19: ...Figure 3 6a StarGO2 Main Control Tab Figure 3 6b StarGO2 General Info Tab 19...
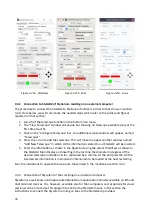
Page 20: ...Figure 3 6c StarGO Option Tab Figure 3 6d StarGO2 Connection Tab 20...
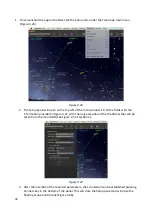
Page 21: ...Figure 3 6e StarGO2 Site Management Tab Figure 3 6f StarGO2 Motion Control Tab 21...
Page 48: ...Fig 3 1 1g Fig 3 1 1h Fig 3 1 1i Fig 3 1 1l Fig 3 1 1m Fig 3 1 1n 48...

