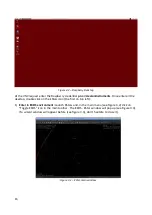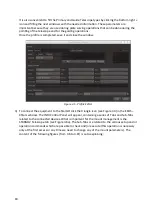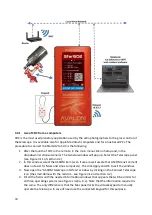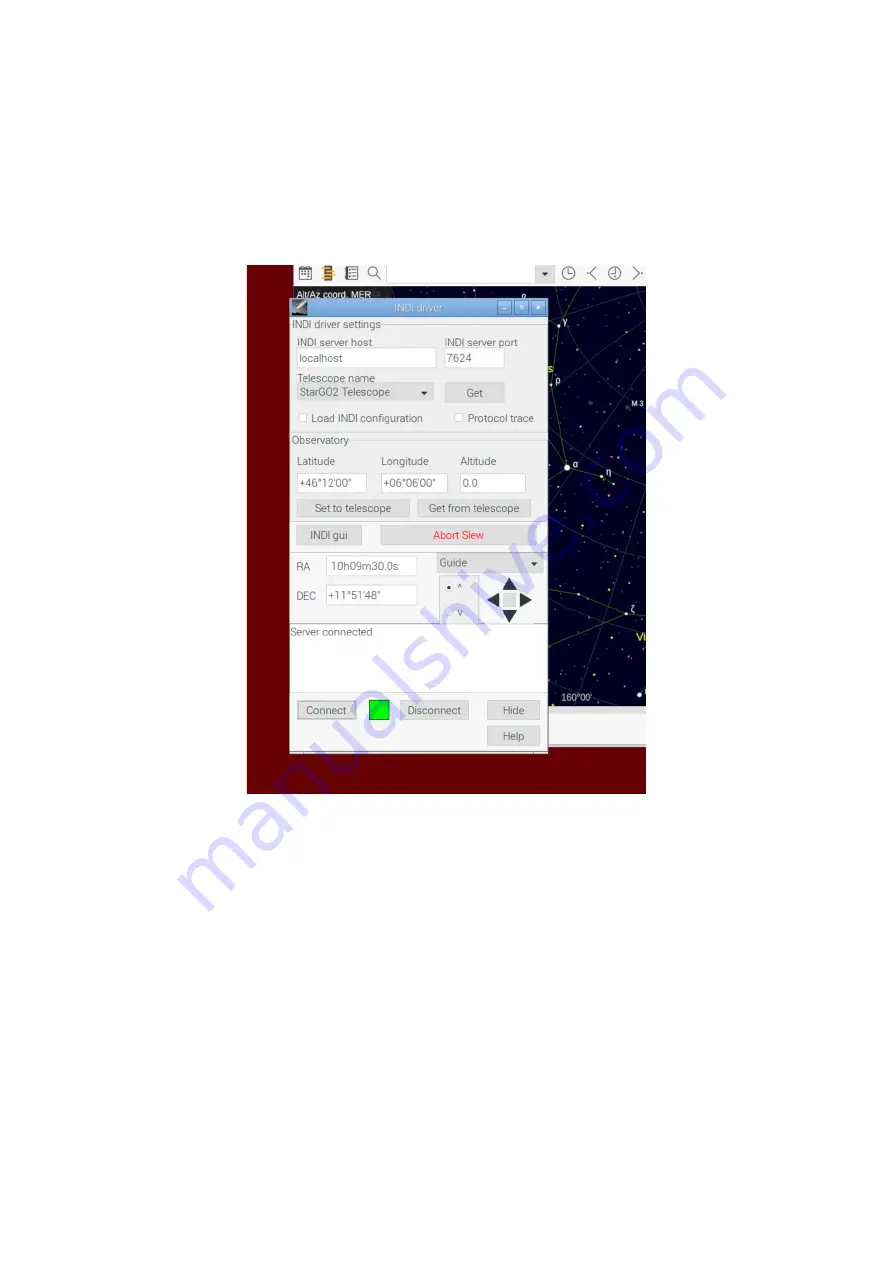
6. After the connection, the Connect indicators goes green (Figure 3.14). The RA and DEC fields
will be populated with the actual telescope position and a simple telescope virtual keypad will
appear with a new dropdown menu to select the telescope movement speed. The frame
below the virtual keypad will be filled with all the telescope operation information.
Figure 3.14 – StarGO2 connected
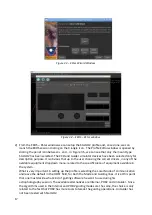
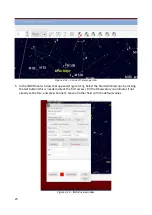
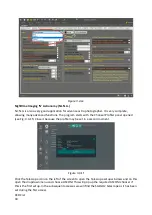
7. If the telescope is still parked, due to CdC not embedding the Unpark command, it is necessary
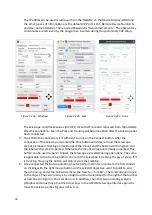
to enter the INDI window by clicking the INDI gui (see Figure 3.14) button. The windows that
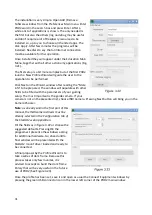
will open (See Figure 3.15), which is the same EKOS windows but with another graphical
aspect, will allow to execute this and other functions non available in CdC. To Unpark open the
StarGO2 Telescope panel, clicking the button in the red oval. This panel is equivalent to the
EKOS panel in Figure 5e. All other tabs are equivalent to those of step 3 in the previous KStars
Method 1 description. All the operation reported there can be performed even under CdC
environment, supplying the missing commands in the main CdC interface.
26
Summary of Contents for StarGo2 Pro
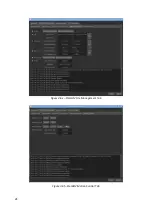
Page 19: ...Figure 3 6a StarGO2 Main Control Tab Figure 3 6b StarGO2 General Info Tab 19...
Page 20: ...Figure 3 6c StarGO Option Tab Figure 3 6d StarGO2 Connection Tab 20...
Page 21: ...Figure 3 6e StarGO2 Site Management Tab Figure 3 6f StarGO2 Motion Control Tab 21...
Page 48: ...Fig 3 1 1g Fig 3 1 1h Fig 3 1 1i Fig 3 1 1l Fig 3 1 1m Fig 3 1 1n 48...


