2.1
The StarGO2 On-Device Display (SODD)
The SODD allows to interact with the StarGO2 hardware directly on the mount controller itself. It
is a 7” touch screen that is capable to set all important parameters of the mount and the way to
communicate with it.
When the power cable is inserted in the input plug, the system automatically starts. After 20-25
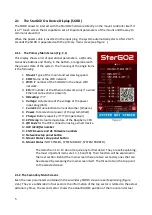
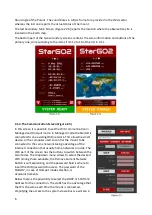
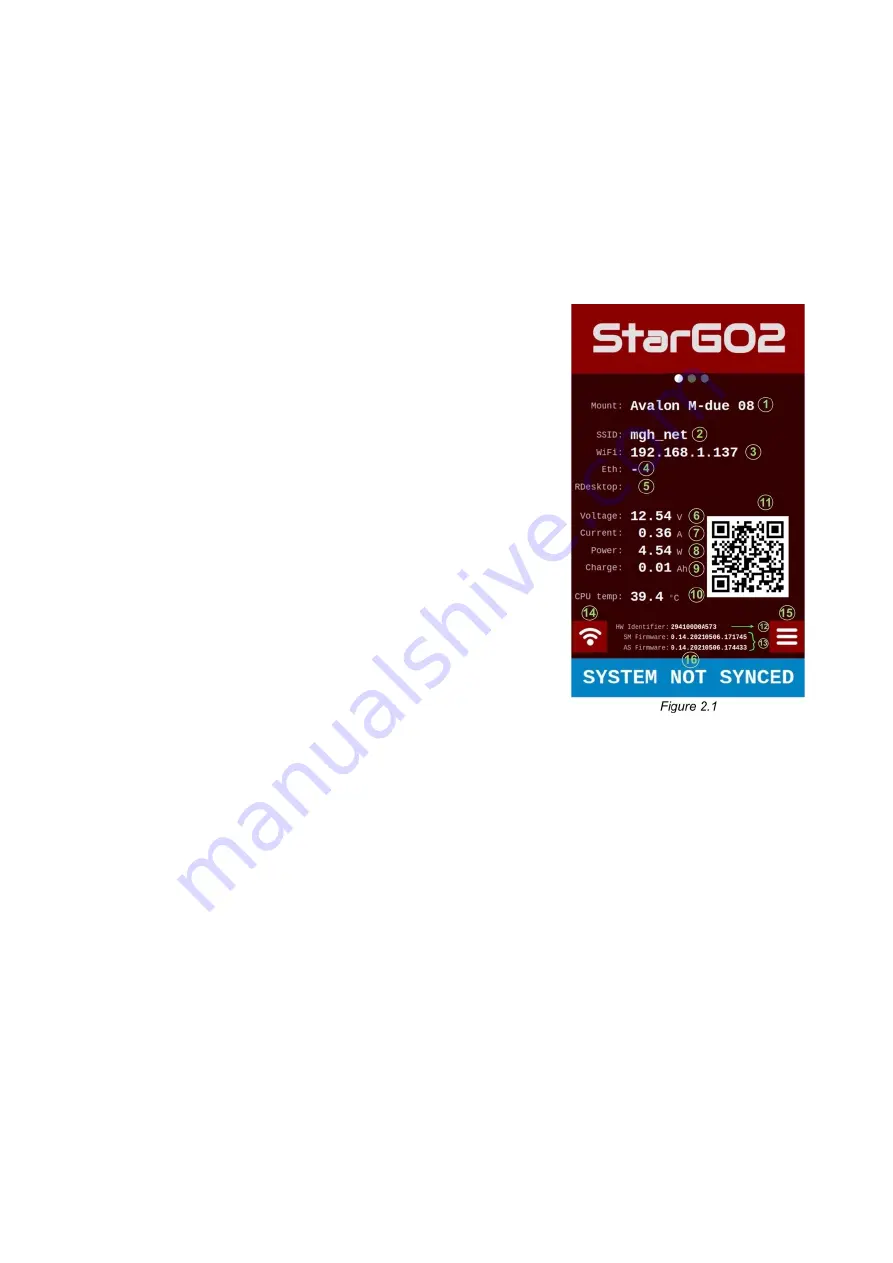
seconds the SODD is populated with the primary main screen (see figure ).
2.1.1. The Primary Main Screen (Fig. 2.1)
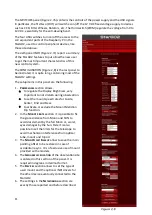
This display shows a list of operational parameters, a QR code,
two active buttons and finally, in the bottom, a large label with
the present state of the system. The meaning of the single items
is the following:
1.
Mount
: Type of the mount and set slewing speed.
2.
SSID
: Name of the WiFi network
3.
WiFi:
IP number of the StarGO2 in the above WiFi
network.
4.
Eth:
IP number of the Ethernet network (only if a wired
Ethernet connection is present).
5.
RDesktop
: ????
6.
Voltage
: Actual value of the voltage at the power
input plug (Volt).
7.
Current:
Actual electrical current absorber (Ampere).
8.
Power
: Total electrical power of the system (Watt)
9.
Charge
:
Battery capacity ????? (Ampere Hour)
10.
CPU temp
: Actual temperature of the Raspberry CPU
11.
QR Code
for the WiFi connection using a smart device.
12.
HW Identifier number
13.
SM Firmware and AS Firmware numbers
14.
Network setup panel button
15.
Mount Status setup panel button
16.
Mount Status:
NOT SYNCED, SYSTEM READY, SYSTEM PARKED).
The items from 1 to 13 do not require any further detail. They are self-explaining.
The most important items are 14, 15 and 16). Their function will be explained in
the next section. Behind the main screen there are two secondary ones that can
be accessed by sweeping the main screen itself. The three dots on the top point
to the selected screen.
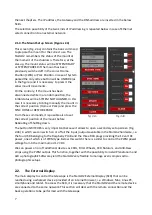
2.1.2.The Secondary Main Screens
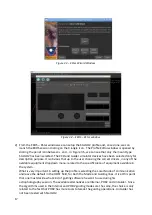
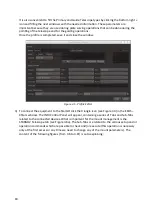
Even the new parameters contained in the secondary SODD screen are self-explaining (Figure
2.2a): They are subdivided in four sectors: the information of the top sector is related to the actual
astronomy times, the second sector shows the actual RA/DEC position of the mount and actual
5
Summary of Contents for StarGo2 Pro
Page 19: ...Figure 3 6a StarGO2 Main Control Tab Figure 3 6b StarGO2 General Info Tab 19...
Page 20: ...Figure 3 6c StarGO Option Tab Figure 3 6d StarGO2 Connection Tab 20...
Page 21: ...Figure 3 6e StarGO2 Site Management Tab Figure 3 6f StarGO2 Motion Control Tab 21...
Page 48: ...Fig 3 1 1g Fig 3 1 1h Fig 3 1 1i Fig 3 1 1l Fig 3 1 1m Fig 3 1 1n 48...

