3.
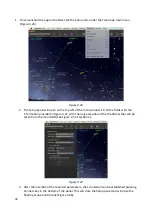
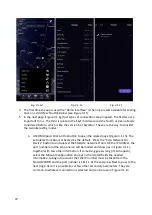
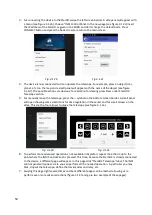
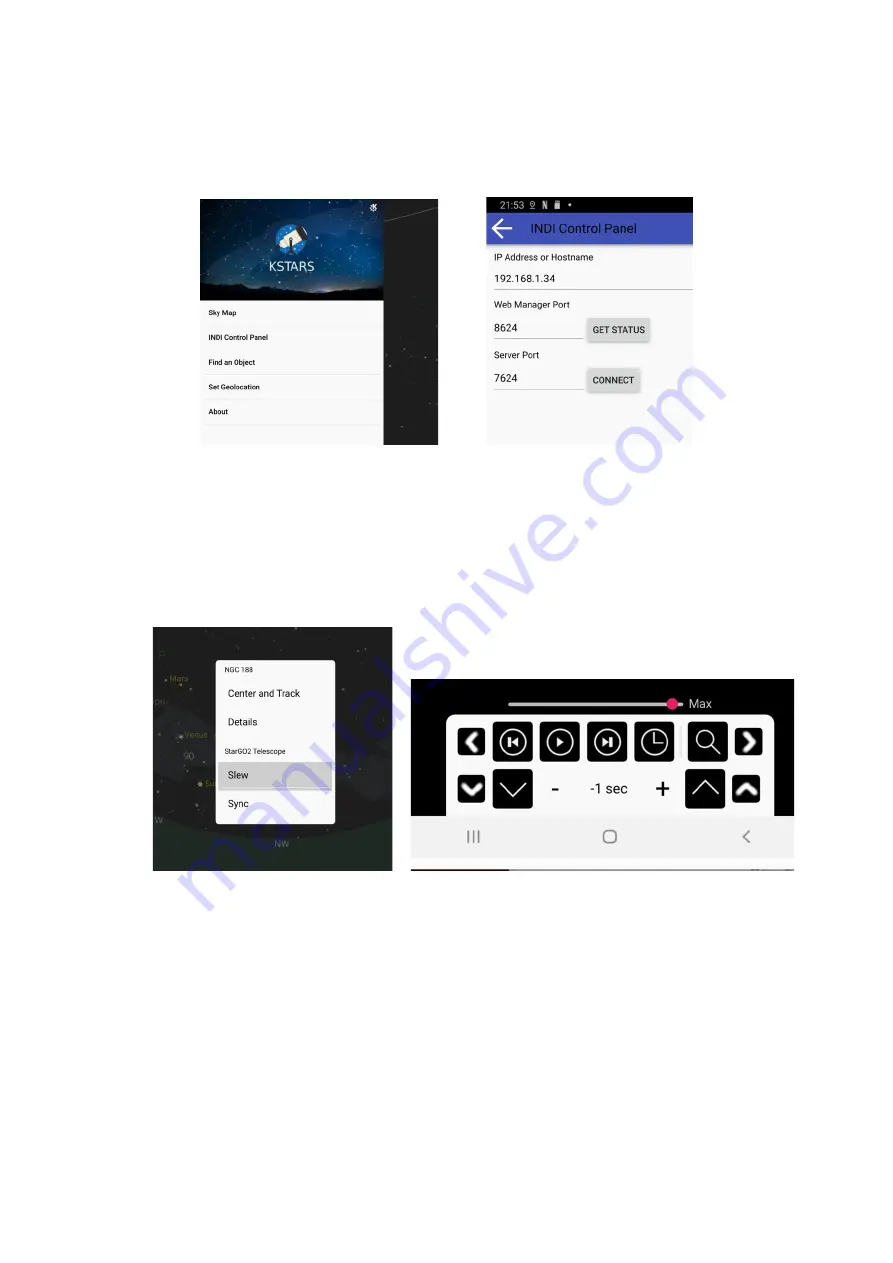
For connecting the device to the StarGO swipe the left screen border. A side panel will appear with
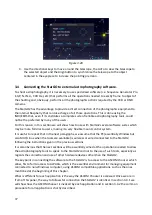
a menu (see figure 3.1.2b). Choose “INDI Control Panel. In the new page (see figure 3.1.2c) insert
the IP address of the StarGO as given in the SODD and don’t change the default ports. Press
CONNECT button and press the back arrow to return to the main screen.
Fig. 3.1.2b
Fig.3.1.2c
4.
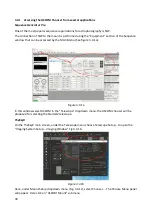
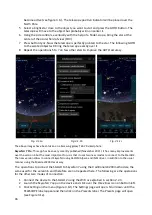
The device is now connected and can operate the telescope. For example, press an object (star,
planet, etc.) on the map and a small panel will appear with the name of the object (see figure
3.1.2d). The possible actions are obvious: for example, for slewing press Slew under StarGO2
Telescope section.
5.
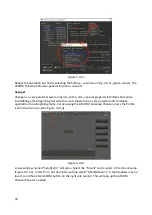
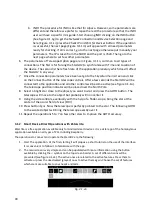
For manually move the telescope, press the
symbol on the bottom screen border. A small panel
will open showing some small icons for time regulation in the center and for small arrows on the
sides. This are the four arrows to move the telescope (see figure 3.1.2e).
Fig. 3.1.2d
Fig. 3.1.2e
6.
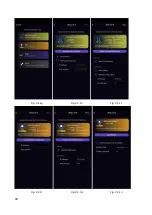
To perform more advanced operations, not available in Skysafari, repeat the action 3 up to the
point where the INDI Control Panel is pressed. This time, because the StarGO2 is already connected
to the device, a different page will appear. In this page click “StarGO2 Telescope” label: The INDI
control panel will appear. Here you can perform all the needed operation. In particular you may
Park, Unpark the telescope, define the track modes and rates, etc.
7.
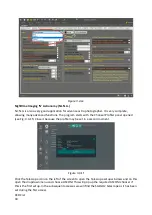
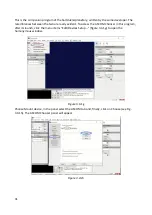
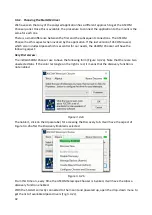
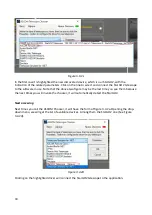
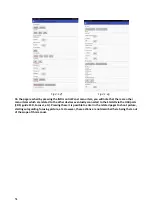
Swiping this page right several times and back different pages can be reached allowing us to
perform even more advanced actions (figure 3.1.2f and g are two example of these pages).
50
Summary of Contents for StarGo2 Pro
Page 19: ...Figure 3 6a StarGO2 Main Control Tab Figure 3 6b StarGO2 General Info Tab 19...
Page 20: ...Figure 3 6c StarGO Option Tab Figure 3 6d StarGO2 Connection Tab 20...
Page 21: ...Figure 3 6e StarGO2 Site Management Tab Figure 3 6f StarGO2 Motion Control Tab 21...
Page 48: ...Fig 3 1 1g Fig 3 1 1h Fig 3 1 1i Fig 3 1 1l Fig 3 1 1m Fig 3 1 1n 48...

