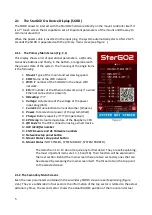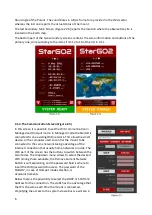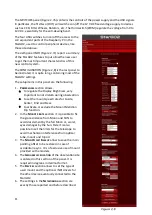
Hour Angle of the Polaris. The coordinates in Alt/Az format are provided in the third sector
whereas the last one reports the actual status of the mount.
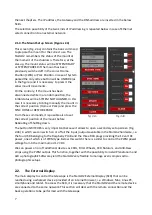
The last Secondary Main Screen (Figure 2.2b) reports the location where the observation site is
located on the Earth map.
The bottom part of the two secondary screens contains the same information and buttons of the
primary one, corresponding to the items from 12 to 16 of the list in 2.1.1.
2.1.3.The Communication Screen (Figure 2.3)
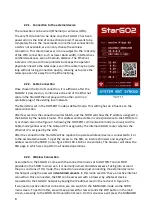
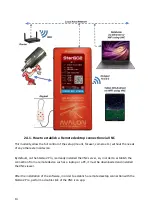
In this screen it is possible to set the WiFi communication in
Managed and Hotspot mode. In Managed mode the StarGO is
connected to one existing WiFi network. This allow the smart
device, or the computer used to control the mount to be
connected to the same network taking advantage of the
Internet connection that usually home networks provide. The
WiFi part of the screen has the buttons to switch between the
two modes. The dropdown menu allows to select the desired
WiFi among those available, the Remove Current Network
Button is self-explaining, and the password field is where to
insert the WiFi password to access. The password of the
StarGO2, in case of Hotspot mode selection, is
AvalonInstruments
.
Below there is the possibility to select the DHCP or STATIC IP
Address for the connection. The static has the advantage that
the IP is the same each time the mount is connected,
simplifying the access to the system via web as we will see in
6
Summary of Contents for StarGo2 Pro
Page 19: ...Figure 3 6a StarGO2 Main Control Tab Figure 3 6b StarGO2 General Info Tab 19...
Page 20: ...Figure 3 6c StarGO Option Tab Figure 3 6d StarGO2 Connection Tab 20...
Page 21: ...Figure 3 6e StarGO2 Site Management Tab Figure 3 6f StarGO2 Motion Control Tab 21...
Page 48: ...Fig 3 1 1g Fig 3 1 1h Fig 3 1 1i Fig 3 1 1l Fig 3 1 1m Fig 3 1 1n 48...

