15
Coupling the attachments
200 Series
COUPLING THE ATTACHMENTS
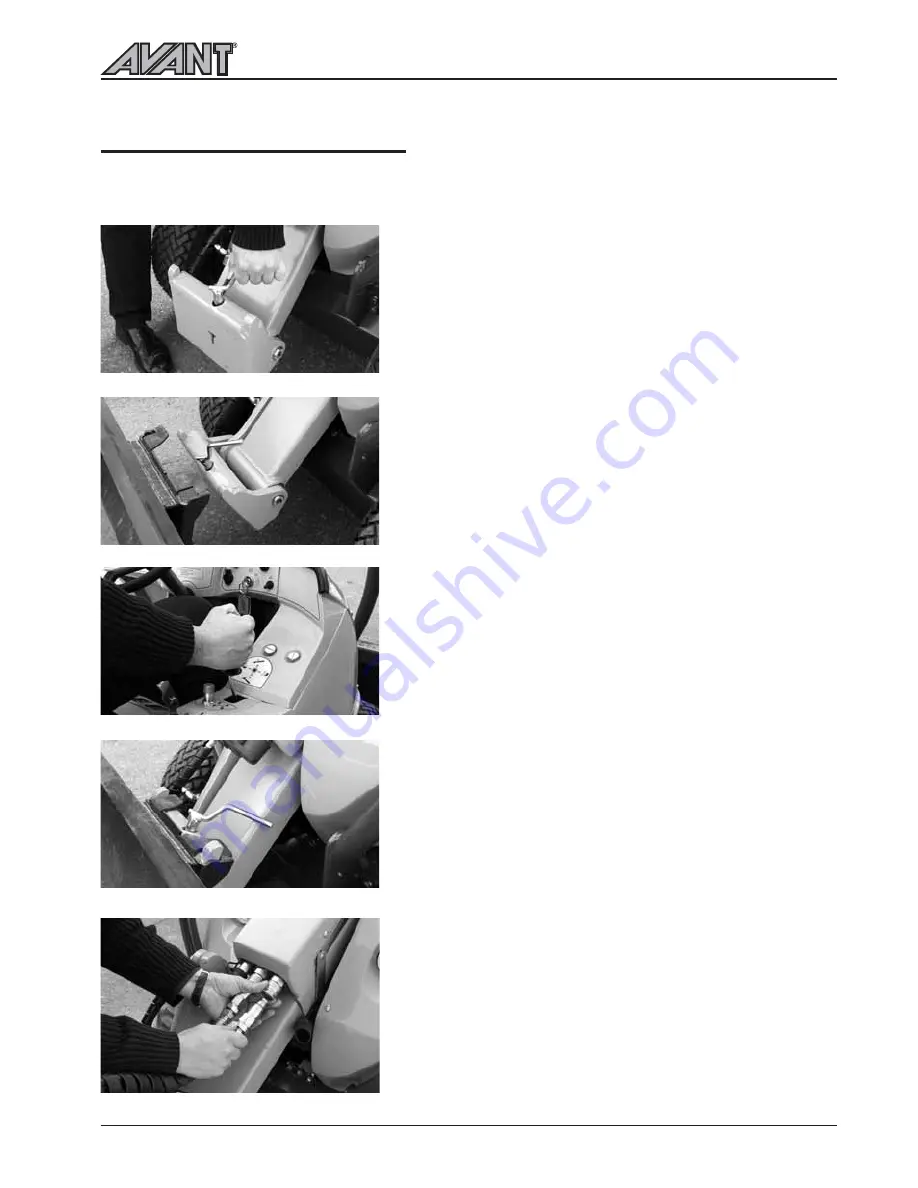
Coupling of the attachments into the attachment coupling plate happens as follows:
Stage 1:
Lift up the locking pin and turn it backward so that it remains
in the locked up position.
Make sure that the pin remains in the up position, otherwise
you cannot couple the attachment properly!
Stage 2:
Turn the attachment coupling plate with the tilt movement
so that the upper edge of the plate leans forward.
Drive the loader into the attachment so that the pins in the
upper left and right corner of the attachment coupling plate
go into the holes of the attachment bracket.
Stage 3:
Lift the boom a little so that the attachment lifts off of the
ground.
Pull the boom control lever to the left so that the lower edge
of the attachment coupling plate turns into the attachment.
Stage 4:
Pull the boom control lever more to the left so that attachment
coupling plate turns more and the boom pushes the pin
down in the hole of the attachment.
CAUTION! Make sure that the pin locks properly
down in the hole of the attachment.
Stage 5:
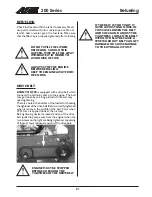
If the attachment is equipped with hydraulic hoses, make
sure to connect the hoses in the quick couplings on the loader.
Engine must be stopped when connecting the hoses. Before
connecting the hoses move the auxiliary hydraulics control
lever in both directions a couple of times in order to release
eventual back pressure.
Additional information about the coupling is provided in the
instruction manual of the attachment.
NOTICE! When fitting an attachment, make sure that
the hydraulic hoses are not overstretched and are not
in a position where they can be trapped during the
operation of the machine and attachment.


