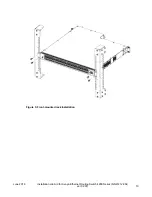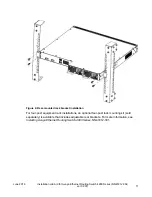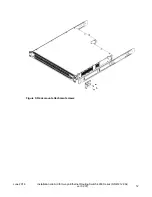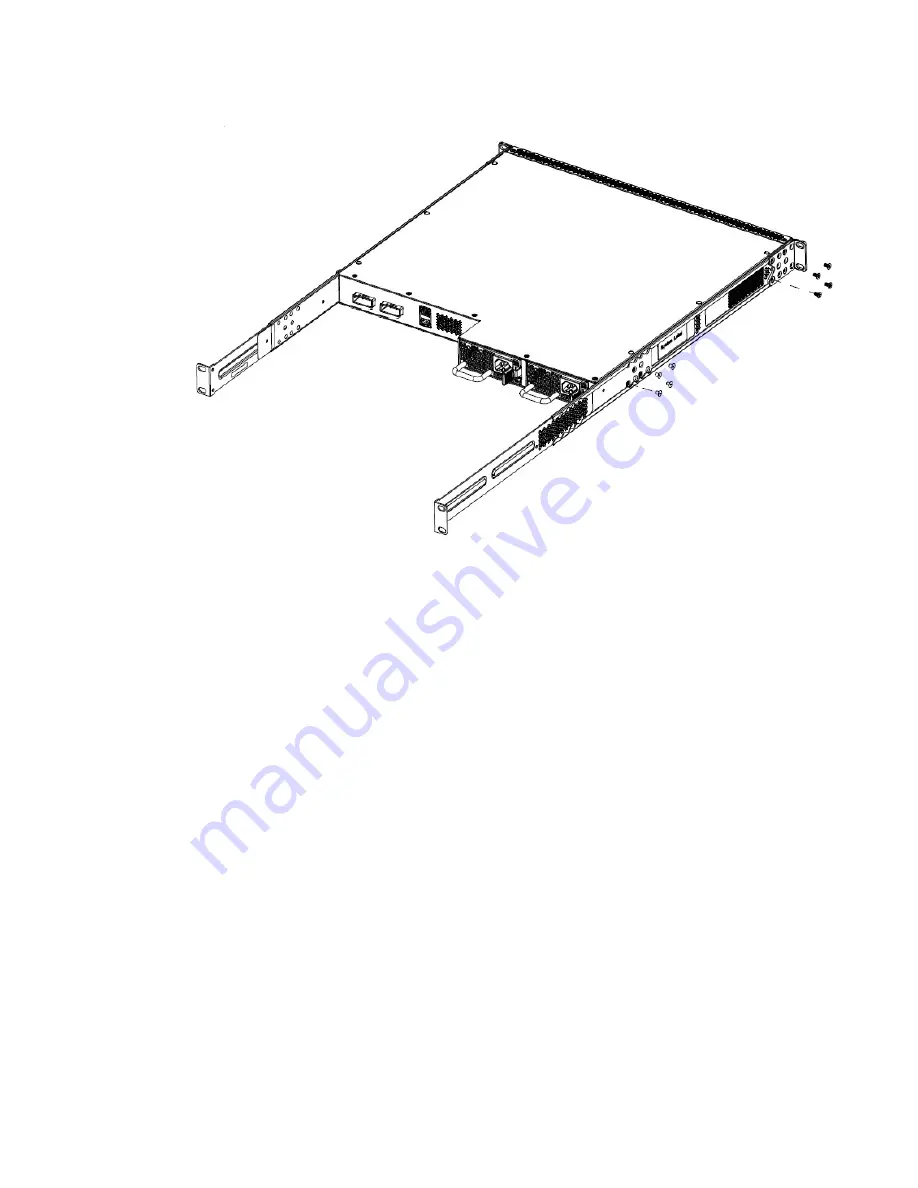
Figure 6: Optional four-post rack mount brackets
5. Slide the switch into the rack.
6. Fasten the switch to the equipment rack with rack mount screws.
For four-post equipment rack installations, fasten the switch to the equipment rack with rack
mount screws on all four corners.
7. Verify that the switch is securely fastened to the rack.
You can proceed with the installation by connecting power and network connections to the
switch.
Connecting AC power
About this task
The Ethernet Routing Switch 4900 Series does not have a power switch. When you connect the AC
power cord to a suitable AC power outlet, the switch powers up immediately.
Before you begin
Ensure to use the correct power cord for the switch and power supply.
Procedure
1. Connect the AC power cord to the back of the switch.
2. Connect the cord to a power outlet.
June 2016
Installation Job Aid for Avaya Ethernet Routing Switch 4900 Series (NN47212-302,
ver 02.01)
13


