Section B: Installing Option 11C Mini cables
In this section
Installing the NTRH3502 SCSI cable for Option 11C Mini
on page 65
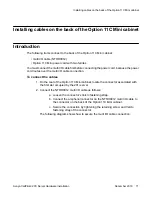
Installing cables on the back of the Option 11C Mini cabinet
Installing the NTRH3502 SCSI cable for Option 11C Mini
Introduction
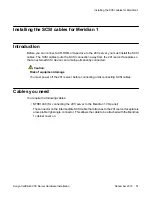
Before you can connect a CD-ROM or tape drive to the 201i server, you must install the
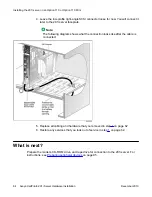
NTRH3502 SCSI cable. The NTRH3502 SCSI cable routes the SCSI connection away from
the 201i server faceplate so that an external SCSI device can remain permanently connected.
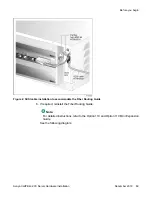
If the Option 11C Mini is equipped with a Fiber Routing Guide (consisting of a spool and
mounting bracket), you must remove it before you can install the NTRH3502 SCSI cable, and
then reinstall it when you are finished.
For detailed instructions on removing and installing the Fiber Routing Guide, refer to the Option
11C and Option 11C Mini Expansion Guide
What the completed installation looks like
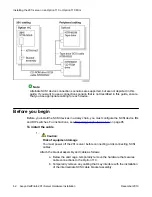
The following diagram shows how the intermediate SCSI cable, CD-ROM drive, and tape drive
are connected to the Option 11C Mini. In the diagram, the CD-ROM drive is the first device.
The tape drive is the last device.
Section B: Installing Option 11C Mini cables
Avaya CallPilot
®
201i Server Hardware Installation
December 2010 65

