Maintenance Procedures
317
December 2003
9
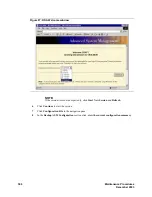
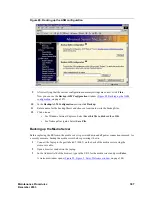
Verify that the file in the confirmation window is the file you want to update. If you do not want to
continue click Cancel.
10
To continue with the firmware update click Continue.
A progress window opens as the firmware on the RSA updates. A confirmation window appears
when the update is completed.
11
Repeat
through
for the remaining two firmware files.
12
Restart the RSA by clicking on Restart.
13
Click OK to continue.
14
Click OK to close the browser window.
15
Log into the RSA.
Checking the RSA installation
Check the following to ensure that the installation was successful:
1
Under Monitors, System Health ensure that the RSA can read the system health of the S8500.
If the RSA cannot read the system health of the S8500:
•
The RSA may not be seated correctly in the riser card. Follow the instruction starting at
Powering down the Media Server and RSA
on page 309 to reseat the RSA.
•
The RSA may be defective.
•
The S8500 Media Server may be defective. Contact the TSO for verification and
instructions.
•
The ribbon cable might not be seated at either or both ends.
2
Under ASM Control, Login Profiles verify that the login information was restored.
If the login information is not correct:
a
Restore the configuration information file again (
Restoring the RSA configuration
or
b
Manually input the correct information.
3
Under ASM Control, Alerts verify that the remote alert recipients are correct.
If the alert information is not correct:
a
Restore the configuration information file again (
Restoring the RSA configuration
page 314) or manually input the correct information.
b
Generate an alarm to a test alarm by clicking Generate Test Alert. If the RSA has LAN
connectivity, send an SNMP alert. Call the Avaya alarming group and verify the alarm was
received.
•
Under Monitors, Event Log ensure that there are no errors (red X) listed in the log.
If an error exists:
a
Check the timestamp of the error.
b
If the error occurred after you replaced the RSA, contact the TSO for further instructions.
Summary of Contents for CMC1
Page 1: ...Maintenance Procedures 555 245 103 Issue 1 1 December 2003 ...
Page 14: ...Contents 14 Maintenance Procedures December 2003 ...
Page 416: ...Additional maintenance procedures IP Telephones 416 Maintenance Procedures December 2003 ...
Page 426: ...Index X 426 Maintenance Procedures December 2003 ...


