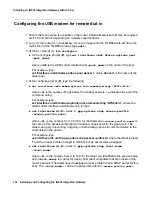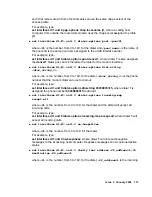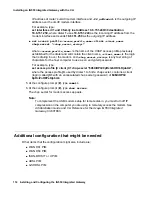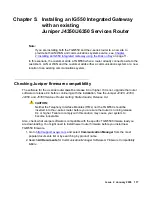
Installing an IG550 Integrated Gateway with an existing Juniper J4350/J6350 Services Router
120 Installing and Configuring the IG550 Integrated Gateway
●
For the Communication Manager server, a license enabled for media gateway
announcements
Ensuring adequate airflow
1. Ensure that the airflow around the chassis is unrestricted. Allow at least 6 inches (15.2
centimeters) of clearance between the front and the back of the J-series router chassis and
adjacent equipment. Ensure that adequate circulation is present in the installation location.
Unpacking equipment
1. Remove all equipment from the box. Equipment includes:
●
The TGM550 Telephony Gateway Module
●
Any additional Telephony Interface Modules (TIMs) and Physical Interface Modules
(PIMs)
●
A grounding cable and cables for the TGM550, TIMs and PIMs.
!
CAUTION:
CAUTION:
You cannot use a 14 AWG grounding cable with the router that hosts a TGM550
and TIMs. The grounding cable must be 10 AWG.
●
A USB modem
●
Two different sets of console cables and adapters:
- An RJ-45 flat rollover cable and a DB-9 adapter for console connections to the
TGM550.
- An ordinary round RJ-45 Ethernet cable and a DB-9 adapter for console connections
to the Juniper router.
Summary of Contents for IG550
Page 1: ...Installing and Configuring the Avaya IG550 Integrated Gateway 03 601554 Issue 2 January 2008 ...
Page 10: ...What procedure you should use 10 Installing and Configuring the IG550 Integrated Gateway ...
Page 176: ...Recovering passwords 176 Installing and Configuring the IG550 Integrated Gateway ...
Page 196: ...196 Installing and Configuring the IG550 Integrated Gateway Index ...

