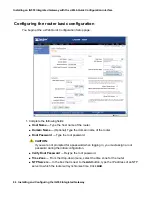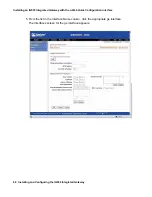
Installing an IG550 Integrated Gateway with the J-Web Quick Configuration interface
62 Installing and Configuring the IG550 Integrated Gateway
Connecting your personal computer to Ethernet port 0/0
The first time that you turn on power to the J-series router, if no configuration is present, the
ge-0/0/0
interface on
LAN PORT 0
acts as a DHCP server and assigns an IP address within the
192.168.1.1/24
subnetwork to any devices that are connected to the interface. DHCP activation
can take up to 10 minutes.
Use
LAN PORT 0
on the router to connect to the J-Web interface:
1. On your laptop or personal computer, verify that the address of the port that you connect to
the router is set to
192.168.1.2
on the
192.168.1.1/24
B: Configuring your computer for J-Web Quick Configuration access on page 177
2. Turn off the power to your computer.
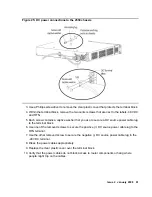
3. Plug one end of the Ethernet cable into the Ethernet port on your computer.
4. Connect the other end of the Ethernet cable to
LAN PORT 0
on the router.
Figure 26: Laptop connection from your computer to Ethernet port
Figure notes: Laptop connection to Ethernet port
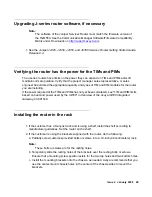
5. Press the power button on the front panel to turn on power to the router. Verify that the
POWER ON
LED on the front panel turns green.
6. Turn on the power to your computer.
The router assigns an IP address to the computer within the
192.168.1/24
subnetwork if the
device is configured to use DHCP.
1. Gigabit Ethernet port 0
2. Ethernet cable
Summary of Contents for IG550
Page 1: ...Installing and Configuring the Avaya IG550 Integrated Gateway 03 601554 Issue 2 January 2008 ...
Page 10: ...What procedure you should use 10 Installing and Configuring the IG550 Integrated Gateway ...
Page 176: ...Recovering passwords 176 Installing and Configuring the IG550 Integrated Gateway ...
Page 196: ...196 Installing and Configuring the IG550 Integrated Gateway Index ...


