INSTALLATION
Avaya
t
S9RM UPS Site Preparation, Installation and Operator’s Manual
S
05147387 Rev C
26
5.
For 230V models only.
Plug the detachable UPS power cord into the
input connector on the UPS rear panel.
6.
Plug the UPS power cord into a power outlet.
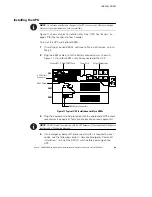
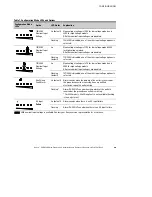
All front panel indicators flash briefly and the UPS conducts a
self-test. When the self-test is complete, the
μ
indicator flashes,
indicating the UPS is in Standby mode with the equipment offline. If
the
or
indicator flashes, see page 61.
Site Wiring Fault
Indicator
Battery Service
Indicator
Figure 12. Fault Indicators
7.
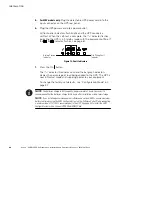
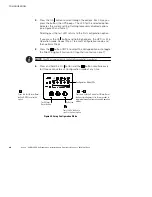
Press the On
button.
The
μ
indicator illuminates solid and the bar graph indicators
display the percentage of load being applied to the UPS. The UPS is
now in Normal mode and supplying power to your equipment.
To change the factory-set defaults, see “Configuration Mode” on
page 37.
NOTE
The batteries charge to 80% capacity in approximately 2 hours. However, it is
recommended that the batteries charge for 36 hours after installation or long-term storage.
NOTE
If you installed power management software and optional EBMs, ensure maximum
battery runtime by using the ERM Configurator tool on the Software Suite CD and connecting
a minimum load of 10% (15% recommended) to the UPS. See page 40 to install the ERM
Configurator tool with a ConnectUPS-X Web/SNMP Card.


